If your hearing aid suddenly sounds weak, muffled, squealy, or about as useful as a whisper in a wind tunnel, ear wax is often the culprit. Tiny amounts of wax can collect around the speaker, dome, wax guard, microphone openings, tubing, or vent. The good news is that in many cases, you can remove wax safely at home without turning your hearing aid into an accidental science experiment.
The trick is knowing where the wax is, which tool to use, and when to stop. That last part matters. Hearing aids are durable enough for daily life, but they are not fond of poking, soaking, scrubbing, or “I saw this on the internet” energy. A careful, dry cleaning routine protects sound quality, helps the device last longer, and saves you from extra repair appointments.
In this guide, you’ll learn how to remove ear wax from a hearing aid step by step, how the process changes by hearing aid style, what mistakes to avoid, and when it’s smarter to call your hearing care professional instead of declaring war on the wax yourself.
Why Ear Wax Causes So Many Hearing Aid Problems
Ear wax is not the villain it gets cast as. Your ears make it for a reason. It helps trap dirt, protects the ear canal, and keeps the skin from drying out. But once you add a hearing aid to the mix, wax can collect on the parts that matter most for sound.
When wax blocks the sound outlet or clogs the wax guard, the hearing aid may sound faint or distorted. If buildup reaches microphone openings or vents, you might notice poor clarity, feedback, or inconsistent performance. In other words, your hearing aid may still be technically “on,” but it can behave like it took the day off.
That is why regular cleaning is more than a cosmetic chore. It is basic hearing aid maintenance. Think of it like brushing crumbs off a keyboard, except the keyboard lives in your ear and costs a lot more.
What You’ll Need Before You Start
Before you remove ear wax from a hearing aid, gather the right tools. A little preparation makes the job faster and much safer.
- A soft, dry microfiber cloth or clean lint-free cloth
- A hearing aid brush or the small brush provided with your device
- A wax pick, hook, or loop approved for hearing aids
- Replacement wax guards or filters, if your model uses them
- A clean, well-lit surface
- An optional drying cup or dehumidifier designed for hearing aids
What you do not need: tap water, rubbing alcohol, hydrogen peroxide, soap, disinfecting wipes, toothpicks, sewing needles, paper towels that shed fibers, or a level of confidence unsupported by the owner’s manual.
How to Remove Ear Wax from a Hearing Aid: Step by Step
1. Turn off the hearing aid and remove it carefully
Start by turning the device off. If it has a battery door, open it. If it is rechargeable, power it down before cleaning. Set it on a soft towel or cloth so that if it slips from your fingers, it does not bounce onto a hard countertop like a tiny expensive gymnast.
Wash and dry your hands first. Clean hands help keep skin oils, lotion, and new debris off the device while you work.
2. Inspect where the wax is hiding
Do a quick visual check under good light. Look at the dome or earmold, the sound outlet, the wax guard, the microphone openings, and any visible vent or tubing. This matters because you should treat each area differently.
If the wax is only on the surface, a brush and cloth may be all you need. If the wax guard looks clogged, replace it instead of trying to dig through it. If the microphone opening looks blocked, be extra gentle. That area is not the place for aggressive “deep cleaning.”
3. Hold the hearing aid with the openings facing downward
This is one of the smartest little tricks in hearing aid care. By pointing the sound outlet or openings downward, loose wax falls out instead of getting pushed farther inside. Gravity becomes your assistant, which is nice because gravity usually just steals pens and cracks phone screens.
Keep the angle steady while you clean. This is especially important around the speaker area and microphone ports.
4. Brush away loose wax first
Use the hearing aid brush to gently sweep wax and debris away from the dome, sound outlet, or shell. Use short, light strokes. Do not scrub hard. The goal is to remove buildup from the outside, not ram it into the device like you are tamping espresso.
For many people, this step alone restores better sound if the wax is fresh and only sitting near the surface.
5. Use a wax pick or loop only on accessible outer buildup
If the brush does not remove everything, use the wax pick or loop very carefully on wax you can clearly see at the outer edge of the opening. Work slowly and avoid inserting the tool deep into the speaker port, receiver opening, or microphone inlet.
If you feel resistance, stop. A hearing aid is not a clogged drain, and forcing the issue can damage a delicate component fast.
6. Replace the wax guard if it is clogged
For receiver-in-canal and many modern hearing aids, the wax guard is designed to take the hit so the receiver does not have to. If the wax guard looks blocked, discolored, or packed with wax, replace it with the correct manufacturer-approved part.
In most models, you remove the old wax guard with the empty end of the tool and insert the new one with the fresh end. Push it straight in, then pull the tool straight out. Reattach the dome if needed.
Important point: a wax guard usually should be replaced, not cleaned and reused. Trying to rescue a clogged filter is like trying to wash and reassemble a coffee filter after it has done its job. Technically creative, but not the best plan.
7. Wipe the outer shell dry
Once the wax is removed, wipe the hearing aid body with a soft, dry cloth. This clears away skin oil, dust, and any residue left behind during cleaning. Do not use a soaking-wet cloth, and do not spray anything directly onto the device.
8. Let the device dry before storage or use
If your hearing aid has a battery door, leave it open for a while to help moisture escape. If you use a hearing aid drying cup or electronic dryer, this is a great time to use it. Moisture and wax love to team up, and they are terrible guests.
How to Clean Wax Based on Hearing Aid Type
Receiver-in-Canal (RIC) or Receiver-in-Ear (RIE)
These are some of the most wax-prone styles because the receiver sits close to the ear canal. Focus on the dome and wax guard first. Brush the dome, inspect the receiver tip, and replace the wax guard when clogged. Be very careful not to poke into the receiver itself.
Behind-the-Ear (BTE) With Tube or Earmold
Wax may collect on the earmold, sound bore, or tubing rather than directly on the main body. Depending on your model, the earmold may be detachable for more thorough cleaning. Follow the manufacturer’s instructions closely. If the tubing looks cloudy, stiff, or chronically dirty, it may need professional replacement rather than home cleaning.
In-the-Ear (ITE), In-the-Canal (ITC), or Completely-in-Canal (CIC)
These compact styles sit deeper in or near the ear canal, so they often collect wax around the sound outlet, vent, and faceplate openings. Use the brush gently and keep the openings down. Be especially cautious around microphone ports because those openings are small and easy to damage.
What Not to Do When Removing Ear Wax from a Hearing Aid
- Do not rinse the hearing aid under running water.
- Do not soak it in alcohol, peroxide, or cleaning solution unless the manufacturer specifically says to use a particular product.
- Do not stick sharp objects into the speaker, receiver, tubing, or microphone openings.
- Do not reuse damaged wax guards or random third-party parts that do not fit correctly.
- Do not ignore recurring wax buildup if it keeps affecting sound every few days.
- Do not confuse cleaning the hearing aid with digging wax out of your ear canal.
That last one deserves bold neon lights. If your ears are producing a lot of wax, the device may keep clogging because the ear itself needs attention. Cleaning the aid helps, but sometimes the real problem is upstream.
Signs You Still Have a Wax Problem
Even after cleaning, ear wax may still be the issue if your hearing aid:
- Sounds weak, dead, or muffled
- Produces more feedback than usual
- Cuts in and out
- Feels uncomfortable because the dome or earmold is coated with residue
- Looks clean on the outside, but the wax guard remains visibly blocked
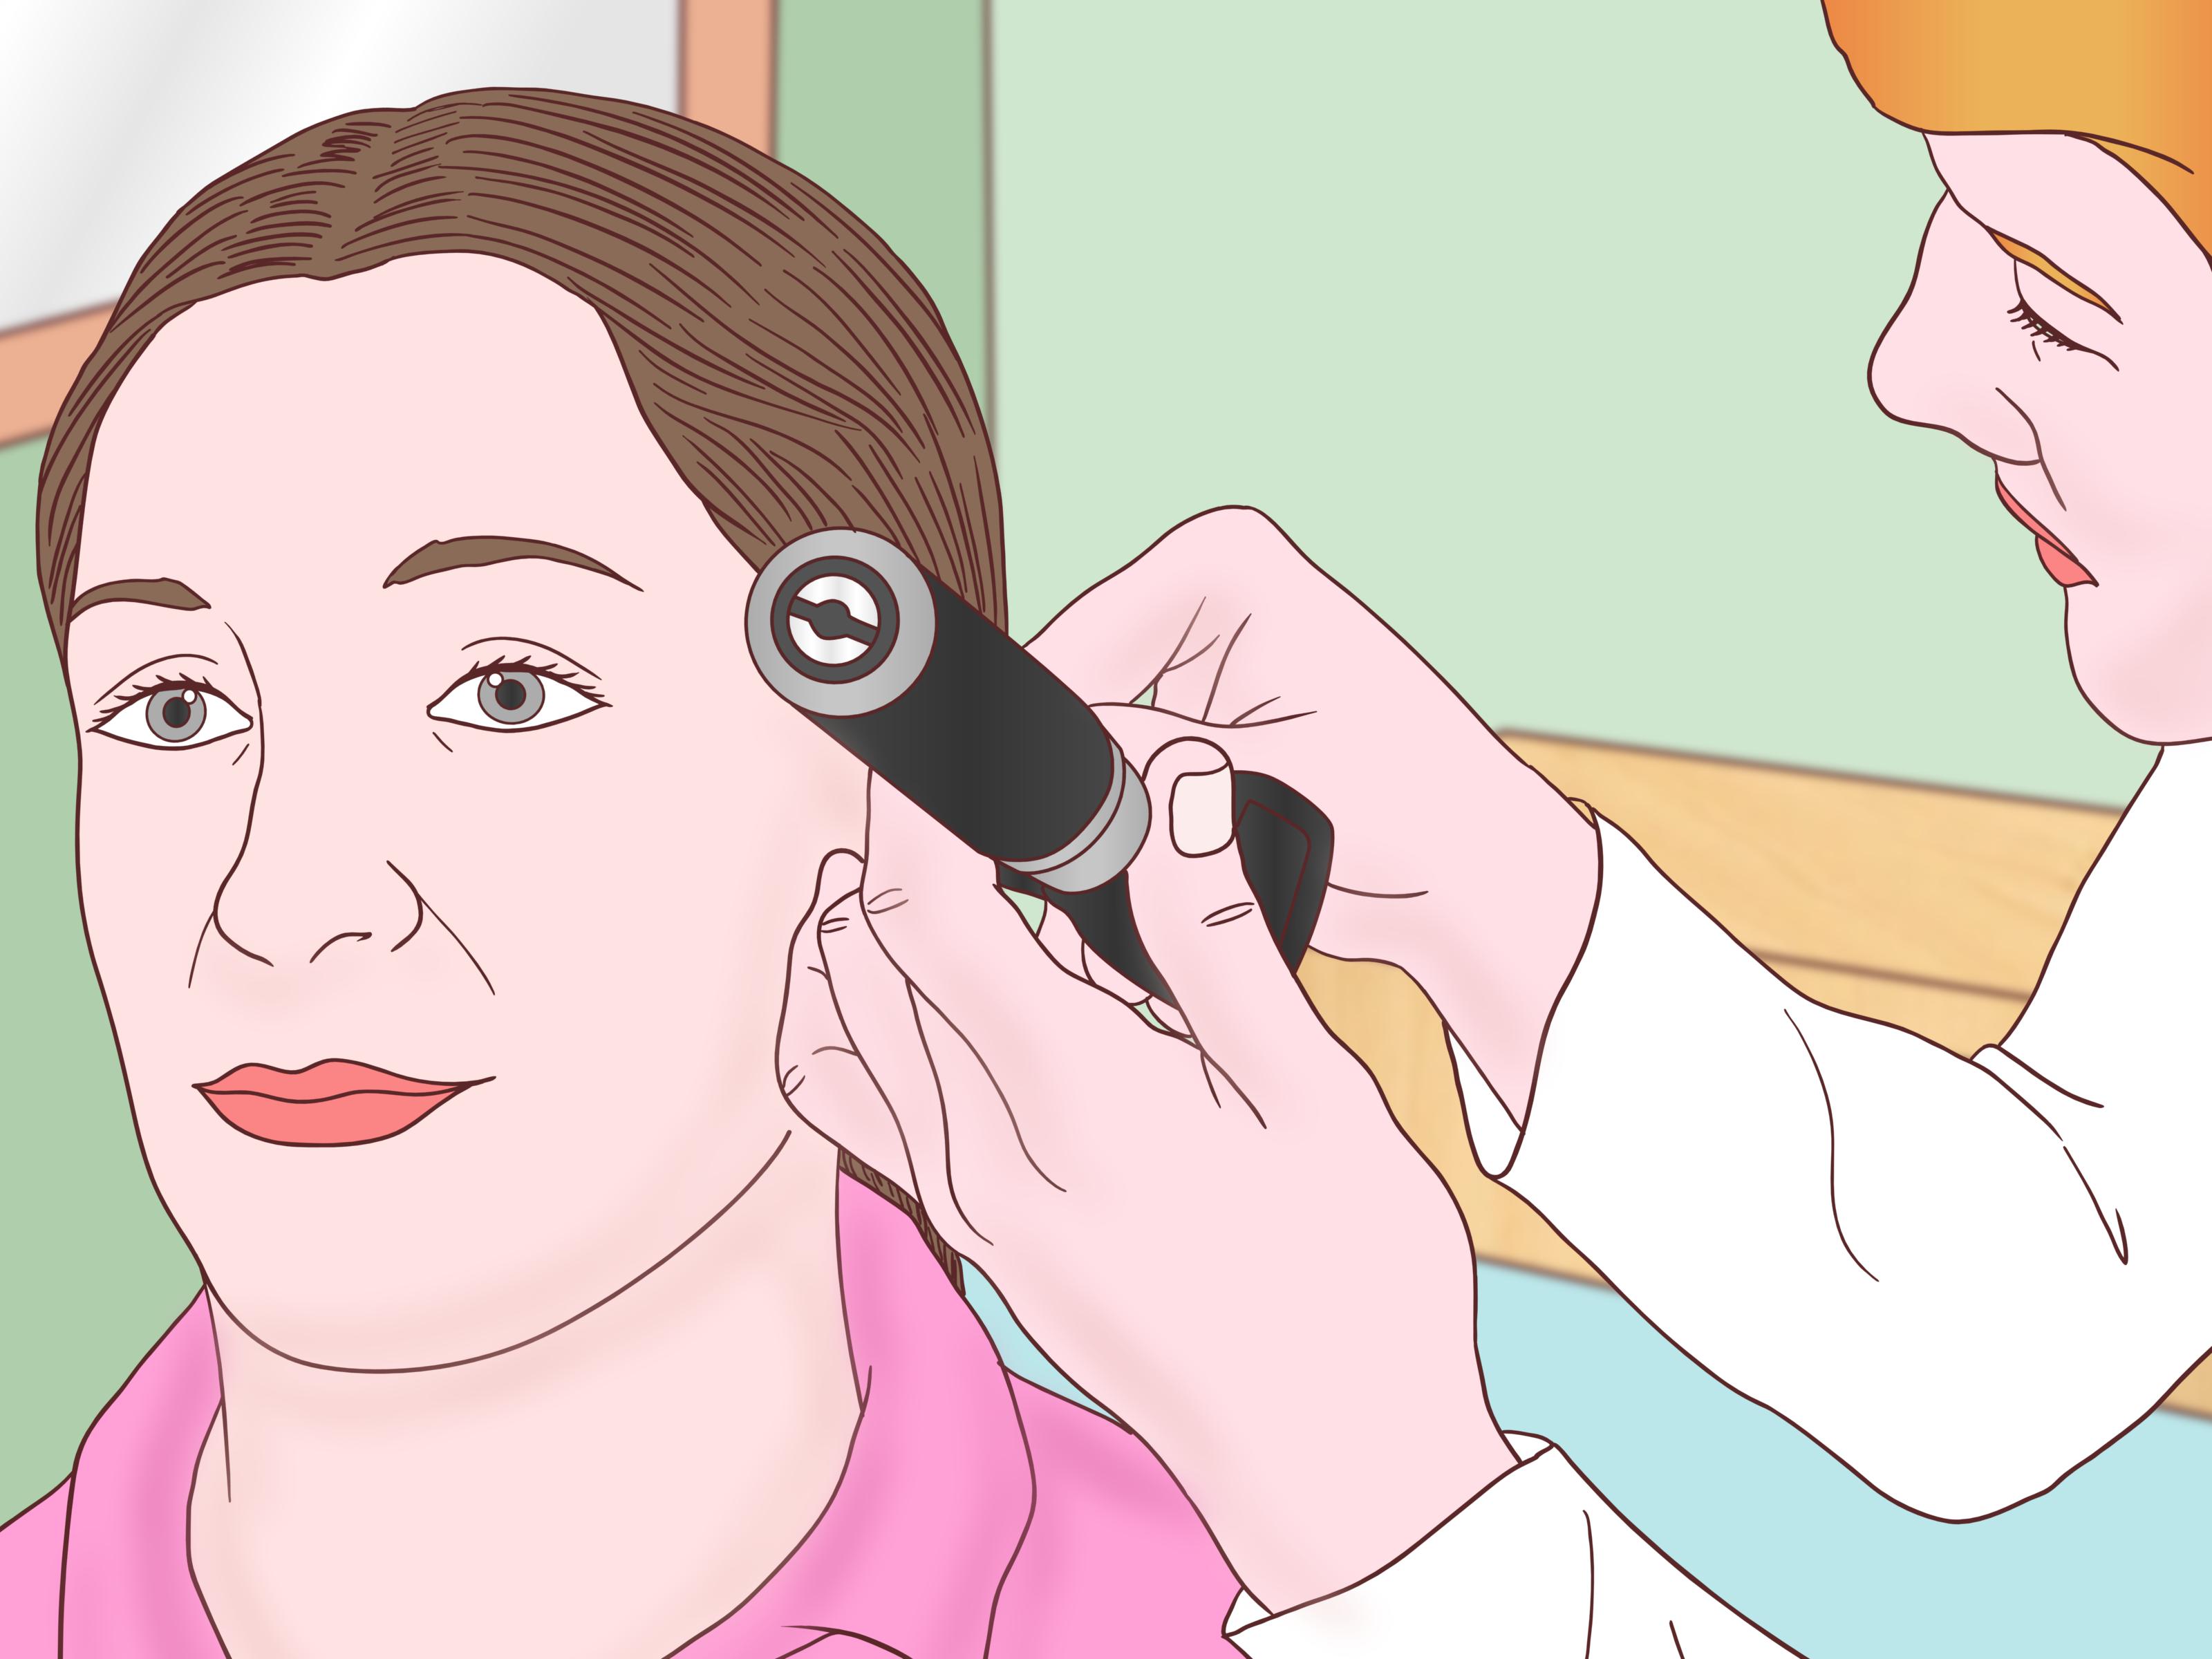
Sometimes the device is fine and the ear canal is blocked with wax instead. If hearing seems dull even when the hearing aid looks clean, an ear exam may be the next smartest step.
When to Call a Hearing Care Professional
Home cleaning is perfect for routine maintenance, but some situations belong in expert hands. Contact your audiologist, hearing instrument specialist, ENT, or hearing aid provider if:
- You cannot remove the wax without pushing at internal parts
- The microphone grid looks blocked
- The hearing aid still sounds bad after a new wax guard and careful cleaning
- The tubing, dome, or earmold needs replacement
- You suspect moisture damage in addition to wax buildup
- Your ears themselves feel blocked, irritated, painful, or suddenly much harder to hear from
Professional cleaning is not admitting defeat. It is more like calling an electrician instead of licking a wire and hoping for insight.
How to Prevent Ear Wax Buildup on a Hearing Aid
The easiest wax removal is the wax you never let pile up in the first place. A quick daily routine makes a huge difference.
Build a 2-minute cleaning habit
At the end of the day, wipe the device with a dry cloth and brush away visible debris. If mornings work better for you because overnight wax has dried and lifts off more easily, that can work too. The best routine is the one you will actually follow.
Check the wax guard regularly
Do not wait until sound quality crashes dramatically. If your device uses filters, inspect them often and replace them as needed. Heavy wax producers may need changes more often than occasional users.
Store hearing aids in a dry place
Moisture can mix with wax and make cleaning harder. Keep hearing aids out of steamy bathrooms, use a drying container if recommended, and allow airflow when the devices are not in use.
Keep your ears healthy too
If your ears regularly produce excessive wax, ask a healthcare professional for advice. Hearing aids can trap wax and make buildup more noticeable. Treating the ear issue may prevent repeated clogs in the device.
Quick Answers to Common Questions
Can I use a Q-tip to clean a hearing aid?
Not a great idea. Cotton fibers can snag, shed, and push debris deeper into tiny openings. A hearing aid brush or wax tool is the better choice.
Can I use alcohol wipes?
Usually no, unless the manufacturer specifically approves a certain product for specific external parts. Many devices can be damaged by alcohol, solvents, or harsh cleaners.
How often should I remove ear wax from my hearing aid?
Inspect it daily and clean visible buildup right away. Some users need only light daily brushing, while others need regular wax guard changes depending on anatomy and wax production.
What if the hearing aid still sounds muffled after cleaning?
Replace the wax guard if your device has one, check the battery or charge status, and inspect for moisture. If sound still seems weak, schedule professional service.
Real-World Experience: What People Learn After Cleaning Hearing Aids for Years
In real life, removing ear wax from a hearing aid is rarely one dramatic event. It is usually a series of tiny lessons learned over time, often after a few mild disasters. People tend to start with the same assumption: “It’s just a little wax. I’ll clean it later.” Then later arrives, the sound turns muddy, a family member starts mumbling in their direction, and suddenly the hearing aid is blamed for crimes it did not fully commit.
One of the most common experiences users describe is surprise at how small the problem can be. A nearly invisible bit of wax on a dome or filter can make the hearing aid sound far weaker than expected. Someone cleans the device, swaps the wax guard, and within minutes the sound comes back so clearly that they wonder whether the hearing aid got repaired by magic. It did not. It was just blocked by a speck with an ego problem.
Another real-life lesson is that consistency beats intensity. People often imagine cleaning as an occasional deep project, the same way some folks treat garage organization or dentist appointments. But hearing aid users who do best are usually the ones with boringly excellent habits. They wipe the aids. They brush the openings. They check the dome. They replace the wax guard before it becomes a miniature wax brick. Nothing dramatic, just smart repetition.
Users also learn quickly that the wrong tool can cause more trouble than the wax itself. Plenty of people have tried tissues that shed lint, cotton swabs that leave fuzz behind, or improvised tools that seem clever until they are one millimeter from a microphone port. After one nerve-wracking cleaning session, most become loyal fans of the proper brush and wax tool. Funny how fast a person becomes disciplined when the object in question costs real money.
There is also the experience of discovering that the hearing aid is not always the true problem. Some users clean the device carefully, replace the filter, and still notice muffled sound. That is often the moment they realize the ear canal itself may have a wax buildup issue. Once the ear is checked and treated professionally, the hearing aid suddenly performs the way it was supposed to all along. It is a humbling reminder that sometimes the gadget is innocent.
Finally, experienced wearers often say the biggest change is emotional, not technical. At first, cleaning hearing aids can feel intimidating. The device is tiny. The parts are delicate. The instructions may seem written for someone with surgeon-level hand control and superhero lighting. But after a few weeks, the routine becomes normal. You stop guessing. You know what a healthy wax guard looks like. You know when the dome just needs a brush and when it needs replacing. And you stop treating maintenance like a crisis.
That confidence matters. A clean hearing aid is not just about preserving a device. It is about preserving conversations, convenience, and the simple relief of hearing clearly without extra hassle. In the end, ear wax removal becomes less of a chore and more of a tiny daily habit that keeps the rest of life running smoothly.
Conclusion
If you want to know how to remove ear wax from a hearing aid safely, the best method is also the least dramatic: turn the device off, inspect it closely, brush away visible debris with the openings facing downward, use the wax tool only on accessible outer buildup, replace clogged wax guards, and finish with a dry wipe and proper storage. That simple routine protects sound quality without risking damage.
The biggest mistake is trying to “deep clean” a hearing aid with water, solvents, or sharp objects. A hearing aid is precision technology, not a casserole dish. Treat it gently, clean it often, and let the replaceable parts do their jobs. And when the device still sounds weak after careful maintenance, let a professional step in. Sometimes the smartest fix is knowing when to stop cleaning and start calling.