A suspiciously green patch of lawn can be a nice surprise. A suspiciously green patch sitting in a miniature backyard swamp? That is usually your sprinkler system asking for help.
A broken sprinkler line can waste water, reduce pressure throughout an irrigation zone, create muddy areas, and keep sprinkler heads from performing correctly. Fortunately, many underground irrigation line repairs are manageable DIY projects when the damaged section is accessible and you are comfortable cutting and joining plastic pipe.
The basic process is straightforward: confirm that the pipe is actually leaking, shut off the water, safely expose the damaged section, remove it, install compatible replacement pipe and fittings, test the repair, and only then refill the hole. The details vary depending on whether your system uses rigid PVC pipe, flexible polyethylene pipe, or drip tubing.
How to Tell If a Sprinkler Line Is Broken
Before digging up half the lawn like an enthusiastic archaeologist, make sure an underground pipe is really the problem.
Common symptoms of a broken sprinkler line include:
- A new soggy or unusually muddy area in the yard
- Water bubbling from the soil while a sprinkler zone operates
- One sprinkler zone suddenly having much lower pressure
- Several sprinkler heads failing to rise completely
- Sprinklers producing weak streams instead of their normal patterns
- Unexpected erosion around a sprinkler head or underground fitting
- An irrigation water bill that suddenly increases
Broken zone piping can cause a significant pressure loss, but low pressure does not automatically mean the pipe has failed. A clogged nozzle, damaged sprinkler head, partially closed valve, faulty zone valve, or inadequate supply pressure can produce similar symptoms. Run the affected zone and watch every sprinkler before reaching for the shovel.
Pay Attention to Where the Water Appears
A large amount of water surfacing between sprinkler heads often points toward a damaged lateral pipe. Water immediately surrounding one head may instead come from a broken riser, swing joint, fitting, or sprinkler body.
Also remember that water dripping from the lowest sprinkler after a zone shuts off can simply be drainage from water remaining inside the pipe. If the flow gradually stops, the problem may be low-head drainage rather than a broken irrigation line.
Why Sprinkler Lines Break
Underground irrigation pipe is durable, but it is not indestructible. Common causes of sprinkler line damage include accidental contact with shovels, edging tools, fence posts, tree planting equipment, and other landscaping projects.
Additional causes include shifting soil, growing tree roots, deteriorated fittings, excessive system pressure, poor installation, and freeze damage. Water trapped in irrigation piping can expand when it freezes, placing significant stress on pipes and fittings.
If the leak appeared shortly after a fence, tree, patio, landscape bed, or other outdoor project was installed, start your investigation there. Your lawn may already be pointing at the guilty party.
Tools and Materials You May Need
The exact repair parts depend on the type and diameter of irrigation pipe installed in your yard. Before purchasing fittings, expose enough pipe to identify the material and measure it accurately.
- Shovel or hand trowel
- Utility marking flags
- Bucket or container for excavated soil
- Plastic pipe cutter, PVC saw, or ratcheting cutter
- Clean rags
- Replacement pipe matching the existing line
- PVC couplings or a telescoping repair coupling for PVC
- Barbed fittings and approved clamps for polyethylene pipe
- Compatible PVC primer and solvent cement when required
- Work gloves
- Safety glasses
How to Repair a Broken Sprinkler Line Step by Step
1. Identify the Damaged Zone
Run one sprinkler zone at a time. When the suspected zone operates, look for bubbling soil, sudden puddles, unusually weak sprinkler heads, or water flowing somewhere it definitely was not invited.
Mark the approximate leak location with a small landscape flag. Shut the zone off once you have narrowed down the problem.
2. Contact 811 Before Digging
In the United States, contact 811 or your state 811 center before excavation so buried public utilities can be located and marked. This applies even to seemingly modest yard projects. Underground electric, gas, telecommunications, and other utility lines are considerably less forgiving than sprinkler pipe.
Utility marking does not necessarily identify privately installed irrigation components, so work carefully even after public utilities have been marked.
3. Shut Off the Irrigation Water
Close the dedicated irrigation shutoff valve if your system has one. If it does not, you may need to shut off the appropriate water supply upstream.
Do not rely only on turning the sprinkler controller to the OFF position. The controller prevents a zone from intentionally opening, but the pipe may still be connected to a pressurized water source.
4. Carefully Expose the Broken Pipe
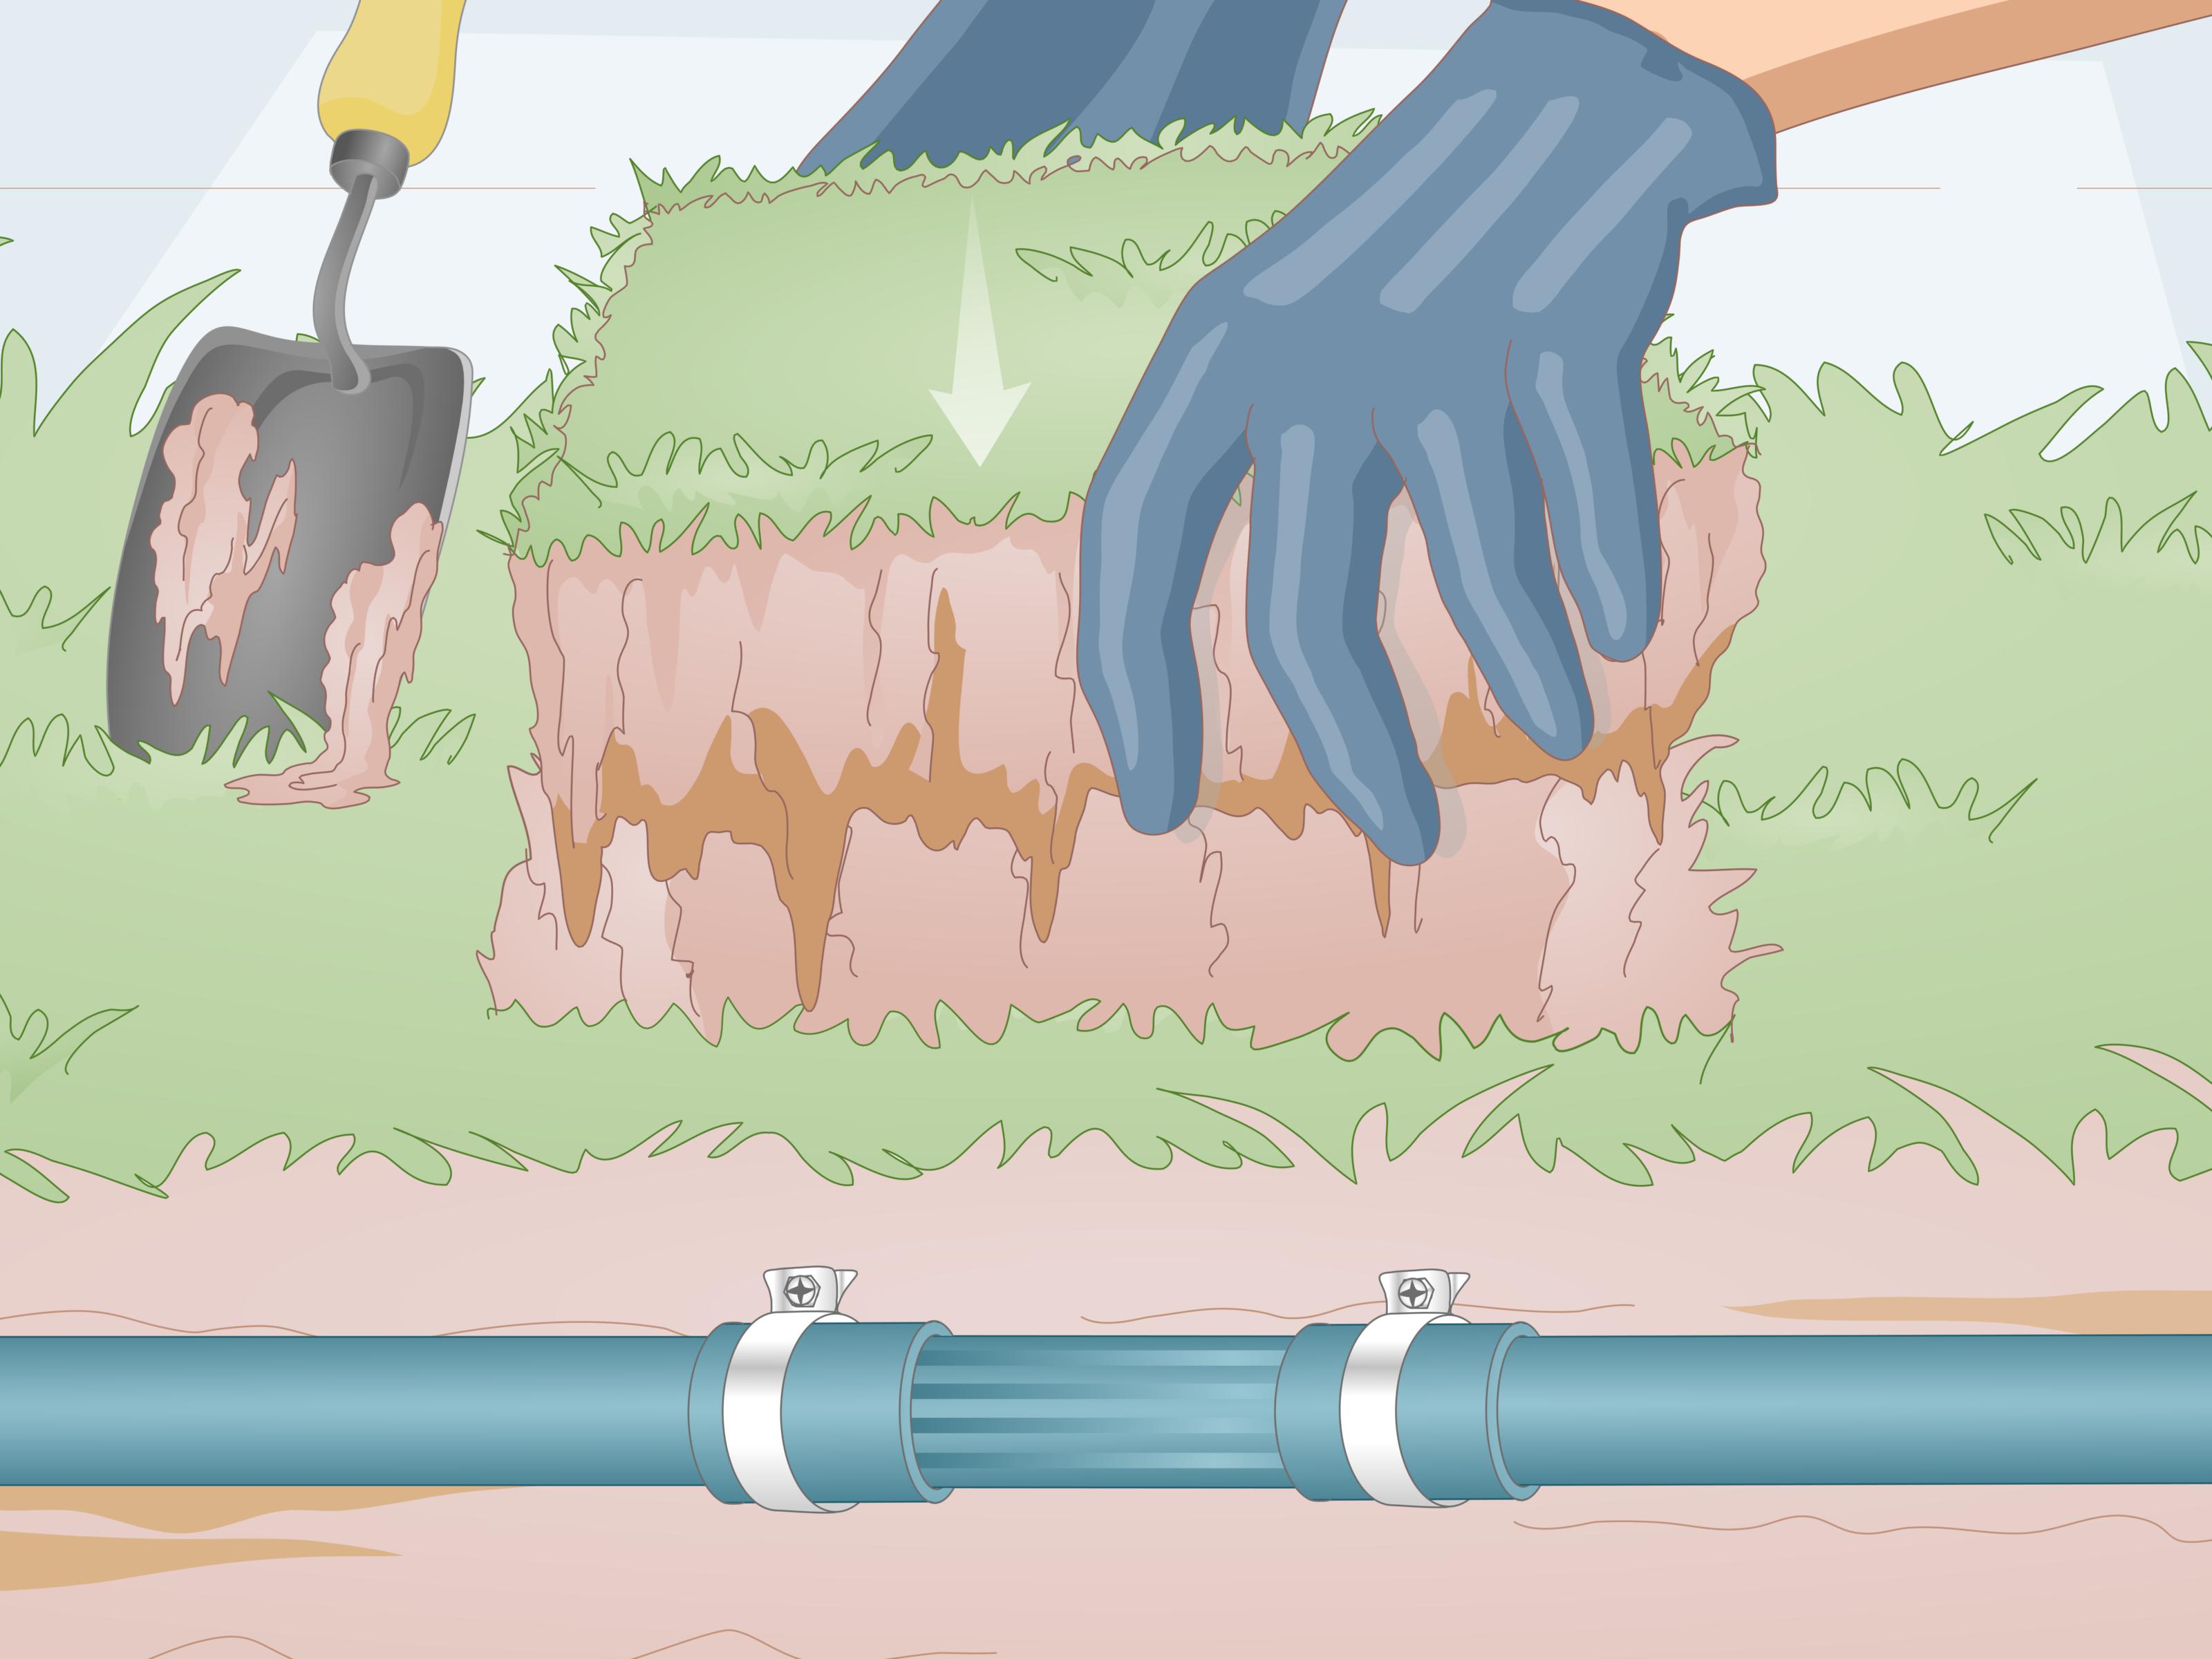
Remove sod in sections when possible so it can be replaced later. Dig cautiously as you approach the suspected irrigation line.
Once the pipe appears, switch from ambitious shovel swings to careful hand digging. Expose several inches of undamaged pipe on both sides of the break. You also need enough room underneath the line to use a cutter and install replacement fittings.
Remove mud and standing water from the immediate work area. A small cup, sponge, or wet/dry vacuum can make a muddy repair trench much more civilized.
5. Inspect the Damage Before Cutting
Do not immediately attack the pipe with a saw. Determine what actually failed.
A cracked PVC fitting may require a different repair than a straight section of cracked pipe. If the leak is directly beneath a sprinkler head, inspect the riser and threaded connection before replacing a long section of irrigation pipe.
Also inspect several inches beyond the visible crack. Damage sometimes extends farther than it first appears.
6. Cut Out the Damaged Section
Make clean, square cuts through healthy pipe on both sides of the damage. Avoid leaving cracked material behind merely to save an inch of replacement pipe.
For PVC, remove burrs, plastic shavings, and rough edges after cutting. A properly prepared square pipe end provides much better contact with a fitting than a crooked, ragged cut.
Repairing a Broken PVC Sprinkler Line
PVC is common in underground irrigation systems, especially in regions where rigid pipe is widely used for sprinkler laterals and mainlines.
Standard PVC Coupling Method
A conventional repair may use a short piece of matching PVC pipe and two couplings. The difficulty is that rigid pipe does not conveniently stretch sideways while you insert the new section.
Where sufficient movement is available, dry-fit the replacement components first. Clean and prepare the pipe according to the fitting and solvent-cement manufacturer’s instructions. PVC solvent welding generally involves cutting and deburring the pipe, checking the fit, cleaning the surfaces, applying the appropriate primer when required, applying compatible PVC solvent cement, assembling the joint promptly, and allowing adequate cure time.
Solvent cement is not ordinary household glue. It chemically softens and joins compatible plastic surfaces. Follow the product label because cure time can change with pipe diameter, temperature, humidity, pressure, and the specific cement being used.
Using a Telescoping Repair Coupling
When existing PVC pipe cannot easily move, an expandable or telescoping repair coupling can make the job considerably easier. These fittings extend to bridge the gap between stationary pipe ends.
They are especially useful in tight trenches where persuading two rigid pipes to move several inches apart would otherwise involve language unsuitable for the neighborhood children.
Use only fittings designed for your pipe size and irrigation application, and follow the manufacturer’s installation procedure precisely.
Repairing Polyethylene Sprinkler Pipe
Flexible polyethylene irrigation pipe is typically repaired differently from PVC. After removing the damaged section, a matching replacement piece can often be installed with properly sized insert or barbed couplings.
Depending on the pipe and fitting system, approved irrigation clamps may secure the connection. Some fittings are easier to insert if the tubing is carefully warmed according to the manufacturer’s instructions.
Never assume a PVC fitting belongs on flexible poly pipe simply because both pieces happen to be black, white, round, and located in the plumbing aisle. Match the fitting to the exact pipe material and diameter.
Repairing Drip Irrigation Tubing
Drip tubing is usually even simpler to repair. Cut out the punctured, split, or leaking section using a clean straight cut, then install compatible barbed couplings or other fittings approved for the tubing.
If the damaged area is large, splice in a short section of replacement tubing instead of trying to force the original ends together.
7. Let PVC Joints Cure Properly
If your repair uses PVC primer and solvent cement, resist the urge to immediately turn the sprinklers on and admire your craftsmanship.
Follow the cement manufacturer’s required set and cure times before pressurizing the pipe. Temperature, humidity, pipe diameter, working pressure, and the formula being used can all affect the required waiting period.
A perfectly assembled joint can still fail if pressure is applied before the solvent weld has adequately cured.
8. Test the Repair Before Filling the Hole
This is one of the most important steps in the entire sprinkler line repair process.
Once the repair is ready for service, gradually restore the water supply and operate the repaired zone. Closely inspect every new connection.
Look for:
- Dripping around couplings
- Moisture forming around pipe ends
- Movement of the repaired section
- Unexpected pressure loss
- Additional cracks nearby
Allow the system to operate for several minutes. A connection that looks dry during the first five seconds may reveal a slow leak once pressure stabilizes.
9. Flush the Line If Dirt Entered the Pipe
Excavating irrigation pipe produces plenty of opportunities for dirt to enter an open line. That soil can later travel into sprinkler filters and nozzles.
If contamination occurred, flush the repaired irrigation line before returning the entire zone to normal operation. Inspect nearby sprinkler nozzles if performance remains weak after the pipe has been repaired.
10. Backfill the Repair Carefully
Only refill the trench after the repaired line passes its leak test.
Support the pipe with suitable soil so it is not suspended over a void or placed under unnecessary bending stress. Remove rocks or sharp debris that could press directly against the pipe.
Replace the excavated soil gradually and compact it reasonably rather than jumping enthusiastically on the trench like you are crushing grapes. Finish by replacing the sod and watering it as needed for recovery.
What If the Sprinklers Still Have Low Pressure?
If the repair remains dry but the zone still performs poorly, continue troubleshooting rather than reopening your new pipe connection immediately.
Check sprinkler nozzles and filters for debris, particularly if soil entered the line. Inspect sprinkler heads for cracks or excessive leakage. Verify that the irrigation valve opens fully and that the system has normal supply pressure.
If sprinklers closest to the valve operate normally while heads farther downstream remain unusually weak, another underground leak may still exist.
When to Call an Irrigation Professional
A homeowner can handle many straightforward lateral-line repairs, but some problems deserve professional equipment and experience.
Consider calling a qualified irrigation contractor when:
- The leak is on a continuously pressurized irrigation mainline.
- You cannot safely locate the damaged pipe.
- The repair is near electrical, gas, or other utility lines.
- Multiple underground leaks appear to be present.
- The irrigation valve manifold is damaged.
- The problem involves a backflow-prevention device.
- Large roots, concrete, or hardscape prevent safe access.
- The system repeatedly breaks because of abnormal water pressure.
Certified irrigation professionals are trained to troubleshoot piping, valves, controls, water delivery components, and system hydraulics. Calling one can be cheaper than turning a small leak into an ambitious weekend excavation project.
How to Prevent Another Broken Sprinkler Line
Mark Irrigation Lines Before Landscaping
If you know the approximate routing of your sprinkler system, document it. Take photos and measurements before burying repairs or installing new sections. Future-you will appreciate the favor.
Check the System Regularly
Run each irrigation zone while you are actually outside watching it several times during the watering season. Look for unusual spray patterns, wet areas, low pressure, damaged heads, and soil erosion.
Keep Water Pressure Under Control
Excessive pressure can contribute to damaged irrigation components and inefficient sprinkler operation. If pipes or fittings repeatedly fail, investigate system pressure rather than continuing to replace whichever component loses the argument first.
Protect the System From Freezing
In climates where irrigation systems can freeze, proper winterization is essential. Water remaining inside sprinkler piping can freeze, expand, and damage pipes, valves, fittings, and heads.
Winterization methods vary by irrigation system, and compressed-air blowouts can create safety hazards when performed incorrectly. Homeowners unfamiliar with the process should consider professional winterization.
Real-World Experience: Lessons From Repairing Broken Sprinkler Lines
The physical repair is often the easy part. Finding the leak without unnecessarily excavating an entire backyard is where patience pays for itself.
A useful first lesson is to run the troublesome zone before digging and observe it for several minutes. A major rupture often announces itself immediately, but smaller cracks may require time for water to saturate the surrounding soil and reach the surface. The wettest point is not always directly above the damaged pipe, either. Water can travel along the trench containing the irrigation line before appearing somewhere else.
Another valuable habit is exposing more pipe than seems necessary. Digging a tiny hole directly over a crack feels efficient until you discover that there is no room for the pipe cutter, coupling, replacement section, or your hands. A slightly wider excavation usually saves time overall and makes it easier to produce square cuts and properly aligned joints.
Mud management deserves more attention than it gets in glamorous DIY tutorials. Water pooled around PVC makes preparation harder, while mud contaminating pipe surfaces can interfere with a reliable joint. After shutting off the irrigation supply, removing standing water and wiping the work area clean can turn an annoying repair into a straightforward one.
It is also worth buying an extra coupling and a little more replacement pipe than the measurement says you need. Cutting errors happen. Fittings roll underneath shrubs. Occasionally, the visible crack turns out to be only part of the damage. Having a few dollars of additional material nearby is far preferable to driving back to the hardware store while an open trench occupies the lawn.
For PVC repairs, dry-fitting and thinking through the assembly sequence before opening the cement container is particularly helpful. Solvent-welded connections provide limited leisurely adjustment time. Knowing exactly where each component goes reduces the possibility of discovering that the replacement section is half an inch too long while the cement is already doing its job.
For rigid lines trapped between immovable sections, repair couplings designed to extend or telescope can dramatically simplify the job. Trying to bend an old PVC lateral far enough to force a standard coupling into position may stress another fitting farther down the trench. Fixing one leak while quietly preparing the next one is not a particularly satisfying business model.
Testing before backfilling is another lesson homeowners typically remember forever after skipping it once. Restoring the entire lawn before discovering a slow drip means performing the same excavation twice. Leaving the pipe visible while the repaired zone runs costs almost nothing and provides valuable confidence that the connection is sound.
Finally, pay attention to why the pipe failed. A clean shovel cut next to a newly planted tree has an obvious explanation. Repeated cracks in an undisturbed line deserve additional investigation. Excessive pressure, freeze damage, root movement, poor support, aging fittings, or previous installation mistakes can turn isolated repairs into recurring problems.
The best sprinkler repair therefore does more than stop today’s leak. It leaves the system easier to understand, inspect, and repair in the future. Photograph the uncovered pipe, note nearby landmarks, and record the pipe diameter and material before covering everything. The grass will eventually erase nearly every clue that you were there, which is wonderful for the lawn and surprisingly inconvenient three years later.
Conclusion
Learning how to repair a broken sprinkler line can save water, restore sprinkler pressure, and prevent a small underground leak from becoming a backyard mud festival. Start by confirming the source of the problem, contact 811 before digging, shut off the water supply, expose the pipe carefully, and remove all visibly damaged material.
Use repair fittings made specifically for the existing pipe material and size. Prepare PVC connections carefully and respect the solvent cement’s required cure time. With poly or drip tubing, use compatible insert, barbed, compression, or manufacturer-approved repair fittings.
Most importantly, test the repaired sprinkler line while it is still exposed. Once it operates under normal pressure without leaking, support the pipe, backfill the trench, replace the sod, and enjoy the rare pleasure of knowing exactly why part of your yard is wet.
Note: Irrigation layouts and local requirements vary. Contact 811 before excavation in the United States, follow the instructions supplied with pipe fittings and solvent cement, and use a qualified irrigation professional when repairs involve utilities, backflow equipment, difficult mainlines, or conditions outside your experience.