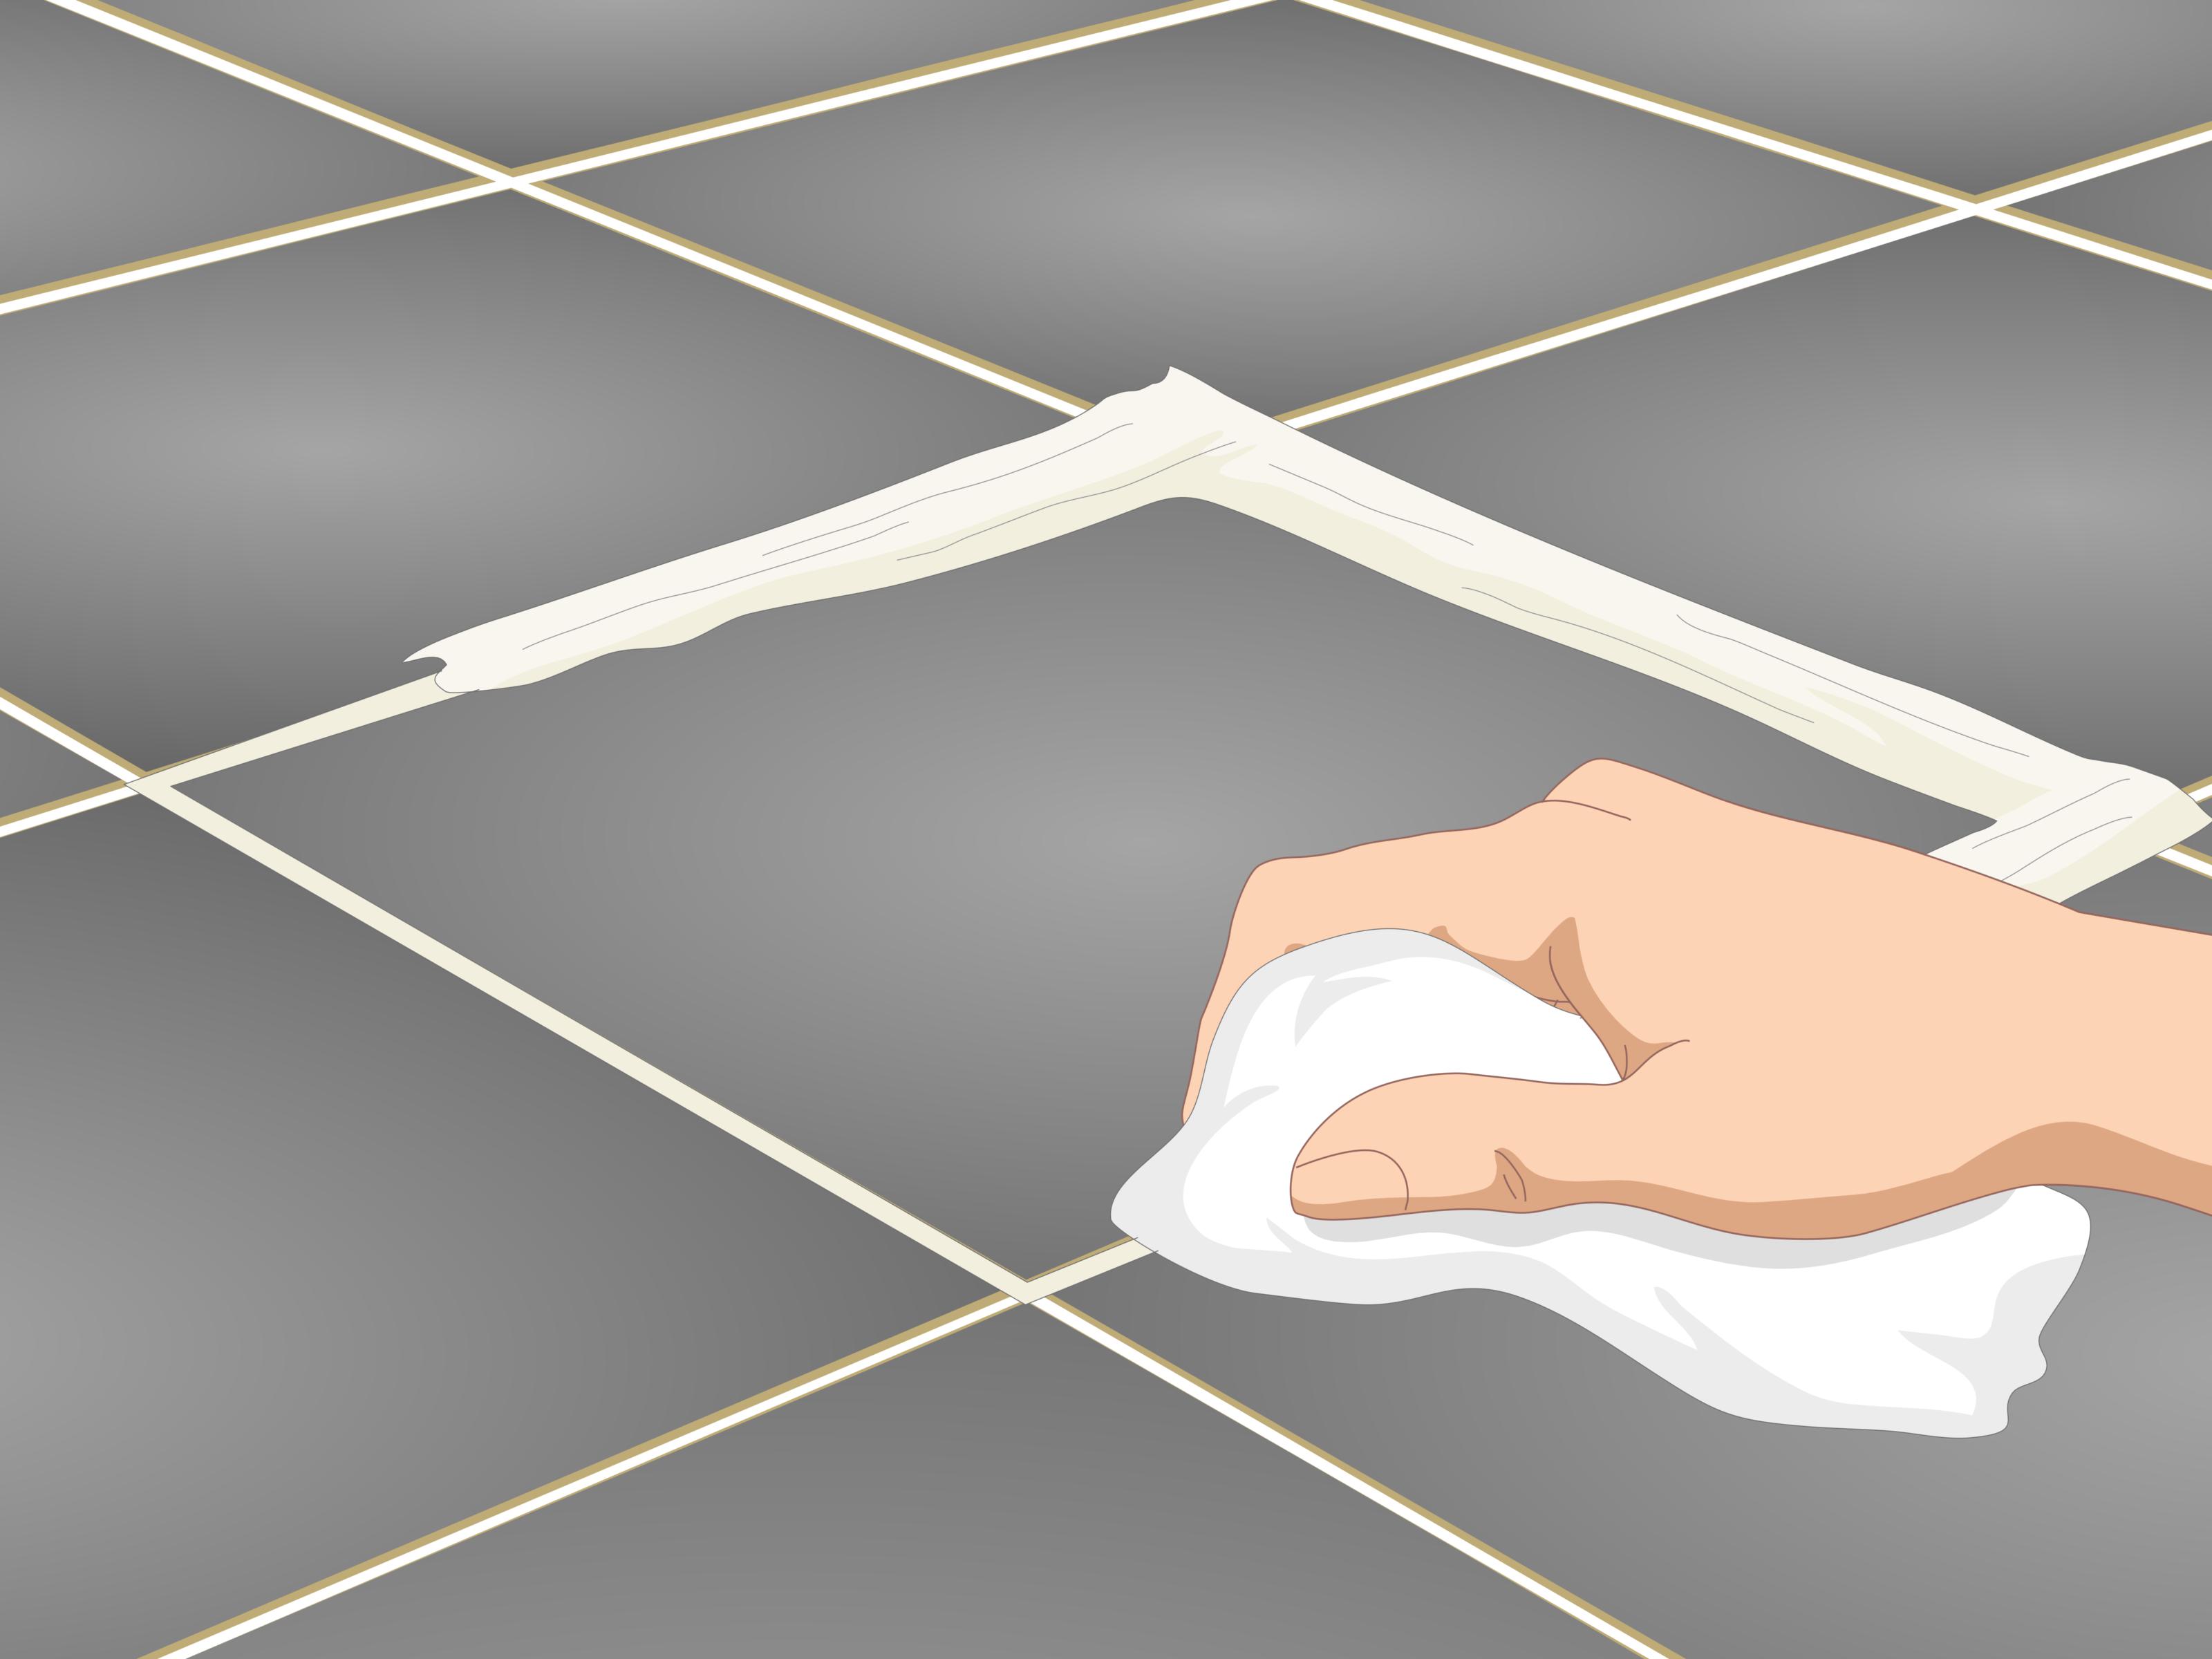
A cracked floor tile has a special talent: it can make an otherwise beautiful room look like it lost an argument with a cast-iron skillet. The good news is that not every cracked tile needs to be ripped out and replaced. If the damage is minor and the tile is still firmly bonded to the floor, you can often make the crack far less visible and protect it from getting worse.
The trick is knowing whether you are dealing with a cosmetic problem or a deeper flooring issue. A tiny hairline crack in one tile is one thing. A crack that travels across several tiles like it is drawing a treasure map is another. In this guide, you will learn how to repair cracked floor tiles without replacing them, what tools and materials work best, what mistakes to avoid, and when to stop the DIY heroics and call in a pro.
Can You Really Repair a Cracked Floor Tile Without Replacing It?
Yes, sometimes. If the tile is still secure, the crack is shallow or limited to one tile, and there is no sign of movement underneath, a repair can be a smart and affordable fix. You are not magically turning a broken tile into a brand-new tile, but you can seal the crack, improve the appearance, reduce snagging or chipping, and buy yourself a lot more time.
This kind of repair works best for:
- Hairline cracks in ceramic or porcelain tile
- Small chips on the edge or surface
- Minor glaze damage
- Cosmetic cracks in low- to moderate-traffic areas
It is usually not the right fix when the tile feels loose, sounds hollow, rocks underfoot, or the cracking extends through grout joints and into neighboring tiles. That usually means the issue is below the tile, not just on top of it.
How to Tell Whether the Crack Is Cosmetic or Structural
Before you reach for epoxy, spend five minutes playing detective. That short inspection can save you from doing a neat-looking repair that fails a week later.
Signs the tile may be repairable
- The crack is confined to one tile
- The tile does not move when you press on it
- The surrounding grout is intact or only lightly damaged
- The floor feels solid with no soft spots
- The crack appears to be caused by impact, not movement
Signs you may have a bigger problem
- The crack runs across several tiles in a line
- Grout is cracked on multiple sides of the tile
- The tile sounds hollow when tapped
- The tile edge has lifted or the floor feels uneven
- There are signs of moisture, swelling, or subfloor movement
If you notice those second-list symptoms, a surface repair may only be temporary. In plain English: the tile is not the drama, it is the messenger.
Best Materials for Repairing Cracked Floor Tiles
The right repair product depends on the type of damage and the tile finish. For most ceramic and porcelain floor tile repairs, a two-part epoxy or a tile repair filler is the go-to choice because it bonds well, can be layered, and can usually be sanded and color-matched after curing.
Useful materials to have on hand
- Tile repair epoxy or porcelain/ceramic repair compound
- Color-matching pigments, touch-up paint, or glaze repair paint
- Painter’s tape
- Rubbing alcohol or a non-residue cleaner
- Fine-grit sandpaper, usually 220 to 400 grit
- Plastic putty knife or small applicator
- Soft cloths or paper towels
- Grout repair product, if the grout is also damaged
- Clear sealer, if your grout or tile surface needs extra protection
Skip random household fillers unless the product is clearly meant for ceramic, porcelain, stone, or tile repair. A mystery tube from the back of the junk drawer is not a flooring strategy.
How to Repair Cracked Floor Tiles without Replacing Them
Step 1: Clean the tile thoroughly
Start by removing dirt, grease, wax, and dust from the tile. Even the best epoxy will struggle if it is trying to bond over grime. Sweep or vacuum the area first, then clean the tile with a non-oily cleaner or rubbing alcohol. Let it dry completely.
If the crack is packed with dirt, use a soft brush, toothpick, or compressed air to clean it out gently. You want the repair material to get into the crack, not sit on top of a dust sandwich.
Step 2: Check for movement
Press on the tile from different angles. Tap it lightly. Walk over it. If it shifts, flexes, or sounds notably hollow compared with nearby tiles, stop here. That usually means the tile has lost bond or the substrate is moving. A surface repair may disguise the problem briefly, but it will not solve it.
Step 3: Smooth sharp edges
If the crack has raised or sharp edges, lightly sand the damaged area with fine-grit sandpaper. The goal is not to grind down the whole tile. You just want to remove little ridges, loose glaze, or burrs so the filler can lie flat and the repaired tile will not catch socks, mop fibers, or bare feet.
Step 4: Tape around the crack
Apply painter’s tape around the damaged area, especially if the tile has a glossy finish. This helps keep the repair neat and protects the surrounding surface from stray epoxy. Neatness counts here because dried epoxy in the wrong spot has the personality of a stubborn toddler.
Step 5: Mix and apply the repair filler
Prepare the epoxy or tile repair compound according to the label instructions. Use a small applicator or plastic putty knife to press the material into the crack. For hairline cracks, work slowly so the product fills the void rather than bridging over it.
Do not pile on a giant blob in one shot. Thin layers usually perform better and look better. If the crack is deeper than it appears, let the first layer settle or cure as directed, then add a second layer.
Step 6: Level the surface
Once the filler begins to set, smooth it so it sits as flush with the tile surface as possible. Some repair kits allow shaping during the working time; others need to cure first and then be sanded. Follow the product instructions closely because this is where a nearly invisible repair becomes either impressive or “well, that is certainly repaired.”
Step 7: Sand and blend
After full cure, lightly sand the repaired spot until it blends with the surrounding tile. Wipe away dust and inspect the result in both daylight and artificial light. If the filler shrank slightly, apply another thin coat and repeat.
Step 8: Color match the repair
For many homeowners, appearance matters just as much as strength. Use pigments, enamel touch-up, or a tile touch-up coating to match the tile color as closely as possible. This step is especially important for glossy porcelain and light-colored ceramic tile, where a repair can stand out if left uncoated.
Test your color on a hidden surface or disposable material first. A beige that looked perfect in the tube can turn into “mystery oatmeal” under kitchen lighting.
Step 9: Repair any damaged grout
If grout around the tile is cracked or missing, remove the loose sections carefully and apply fresh grout or an appropriate grout repair product. Do this only after you know the tile itself is stable. Regrouting a moving tile is like putting frosting on a loose stair tread: decorative, but not confidence-inspiring.
Step 10: Let everything cure fully
Respect cure times. Not touch-dry time. Not “it looks fine” time. Full cure. Avoid foot traffic, wet mopping, and heavy furniture until the product has completely hardened. Rushing this last step is one of the fastest ways to turn a decent repair into a sticky regret.
How to Repair Different Types of Tile Damage
Hairline crack in porcelain tile
A clear or color-matched epoxy is usually the best option. Because porcelain often has a dense, smooth finish, keep the repair thin and focus on blending. A touch-up coating can help restore the look of the glaze.
Small chip on a ceramic tile edge
Use a repair filler that can be shaped and sanded. Build up the missing edge gradually, then refine the shape with sandpaper once cured. Finish with matching paint or glaze repair.
Cracked grout next to an otherwise sound tile
Remove the loose grout, clean the joint, and apply new grout. If the crack keeps returning, the problem may be movement in the floor or an area that should have a flexible joint instead of rigid grout.
Natural stone tile with a small surface void or chip
Use a stone-compatible filler or a repair kit designed for natural stone. Stone repairs often look best when tinted carefully and polished lightly after cure.
Common Mistakes to Avoid
- Repairing a loose tile as if it were a surface crack. If the tile moves, the repair will likely fail.
- Skipping cleaning. Dust, soap film, and oil can ruin adhesion.
- Using too much filler at once. Thick blobs are harder to cure evenly and harder to disguise.
- Ignoring surrounding grout damage. The tile may look better, but water and dirt can still work into the joints.
- Expecting a perfect factory finish. A good repair can look excellent, but on glossy tile you may still see it up close.
- Using the wrong product in the wrong place. A filler for a wall fixture is not always suitable for a floor in a high-traffic hallway.
When You Should Replace the Tile Instead
Let us be honest: some tiles are beyond the “tasteful repair” stage. Replacement is usually the better move if:
- The tile is broken into multiple pieces
- The crack spreads through several tiles
- The tile is loose, hollow, or rocking
- The floor has recurring grout cracks in the same area
- There is underlying water damage, subfloor flex, or slab cracking
In those situations, repairing the surface may hide the symptom while the real issue keeps working underneath. That is how little floor problems grow into big budget meetings.
How to Prevent Floor Tile Cracks from Coming Back
Once you repair a cracked floor tile, it makes sense to keep the rest of the floor from joining the rebellion.
Protect the floor from impacts
Use felt pads under heavy furniture, especially chairs and movable tables. Be careful with dropped tools, pans, or appliance parts. Tile is durable, but it is not thrilled about direct hits from dense metal objects.
Address movement issues early
If you notice cracked grout, slight tile lift, or soft spots in the floor, investigate before more tiles crack. On future tile projects, proper underlayment, crack-isolation materials, and movement accommodation matter more than many homeowners realize.
Keep grout and joints in good condition
Repaired grout should stay sealed and intact. Areas where tile meets a wall, tub, threshold, or another material may need a flexible sealant rather than rigid grout, depending on the installation.
Use gentle cleaning methods
Harsh scrubbing will not usually crack a floor tile, but it can wear finishes and make repaired spots more obvious. Use cleaners that are suitable for your tile type and avoid turning routine maintenance into an audition for demolition work.
Specific Examples of Successful Tile Repair
Kitchen porcelain tile with a dropped-pan crack: A single hairline crack caused by impact was cleaned, filled with clear epoxy, leveled, and color-touched. The crack remained faintly visible up close, but from standing height it largely disappeared.
Bathroom ceramic tile with chipped corner: A repair compound rebuilt the chipped area in thin layers. After sanding and painting to match, the fix held well because the tile itself was solid and the bathroom floor had no movement issues.
Entryway tile with repeatedly cracking grout: The homeowner first tried a simple grout touch-up, but the crack returned. Inspection revealed floor movement near the threshold. In that case, cosmetic repair alone was not enough because the problem was beneath the tile.
Real-World Experiences: What Homeowners Usually Learn the Hard Way
One of the most common experiences people have with cracked floor tile repair is realizing that the first crack rarely looks as serious as it feels. A homeowner spots a thin line in the kitchen, thinks, “That does not seem too bad,” and then spends the next 20 minutes staring at it from six different angles like it is a national emergency. That reaction is normal. Floor tile cracks are visually loud, even when they are structurally minor.
Many people also discover that cleaning is half the battle. A repair that looked simple on paper can get surprisingly fussy in real life because the crack is filled with dust, mop residue, cooking grease, or old floor polish. The homeowners who get the best results are usually the ones who slow down, clean the tile thoroughly, and let it dry completely before touching the repair product. The ones who rush often end up redoing the repair because the filler did not bond well or dried cloudy over trapped dirt.
Another common experience is underestimating how important color matching is. Structurally, a repair can be perfectly sound, but if the color is off by even a little, your eye goes straight to it every single time you walk into the room. People often say the repair became much less noticeable only after they adjusted the tint, added a touch-up coat, or lightly sanded and blended the finish. In other words, the final 10 percent of the job can account for 90 percent of the visual success.
Homeowners also learn quickly that not all cracks are created equal. Some repairs go beautifully because the tile was firmly bonded and the damage came from a one-time impact, like a dropped can or heavy tool. Others fail because the crack was actually a warning sign of movement below the tile. That is why so many people report the same frustrating pattern: they fill the crack, admire the result, and then notice the grout splitting again a few weeks later. The repair itself was not bad; it was just solving the wrong problem.
There is also the emotional side of the repair. People feel relieved when they realize they do not have to replace an entire tile floor over one damaged spot. A good cosmetic repair can save money, avoid the hassle of finding a matching tile years later, and keep a room looking tidy without turning the weekend into a renovation project. That alone makes this kind of DIY fix appealing.
Still, the most valuable lesson people tend to share is this: success comes from honest diagnosis, not optimism. If the tile is solid, a repair can work extremely well. If the tile is loose or the floor is moving, no amount of epoxy wizardry will turn that into a permanent fix. The smartest DIYers are not the ones who repair everything. They are the ones who know when a crack is just a crack and when it is a clue.
Final Thoughts
Learning how to repair cracked floor tiles without replacing them can save time, money, and a lot of avoidable demolition. For small cosmetic cracks, chips, and glaze damage, a careful repair with the right epoxy or tile filler can make the flaw far less noticeable and help protect the tile from further wear. The key is preparation, patience, and choosing the right product for the tile type and traffic level.
But the most important part of the job happens before the repair even starts: figuring out whether the crack is cosmetic or whether the floor is telling you something bigger. If the tile is loose, the grout keeps cracking, or the damage runs across multiple tiles, treat that as a system issue rather than a beauty issue. A polished patch is great. A polished patch over a moving floor is just a prettier problem.