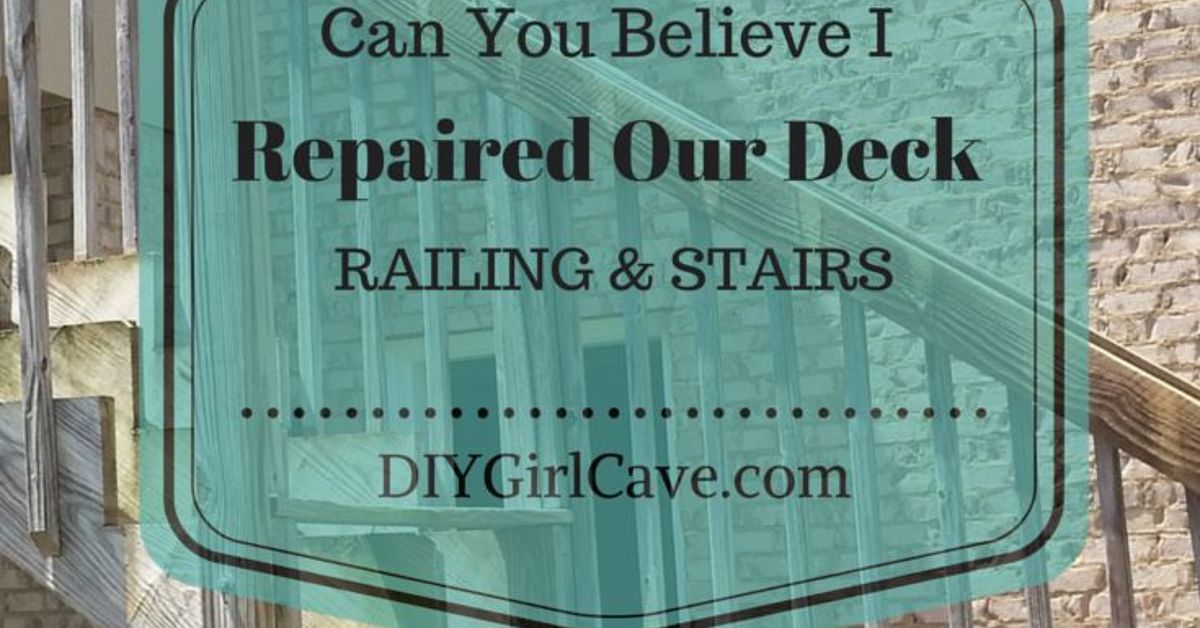
A deck is supposed to be the place where burgers sizzle, iced tea sweats, and nobody thinks about structural load paths. Unfortunately, time, weather, loose fasteners, rot, and one too many people leaning dramatically against the railing can turn a friendly outdoor hangout into a wobble festival. If your deck railing wiggles, your stair treads feel spongy, or your balusters rattle like a haunted xylophone, it is time to repair your deck railing and stairs before the next backyard gathering becomes a slapstick safety video.
The good news: many deck railing and stair repairs are manageable for a careful homeowner with basic tools, exterior-rated fasteners, and a healthy respect for gravity. The less-good news: railings and stairs are safety components, not decorative suggestions. A loose guard post, rotten stair stringer, or poorly attached handrail can fail suddenly. This guide walks through how to inspect, diagnose, repair, and maintain deck railings and stairs using practical, code-aware methods.
Why Deck Railing and Stair Repair Matters
Decks live a tough life. They are exposed to rain, sun, freeze-thaw cycles, foot traffic, spilled lemonade, wet leaves, and occasionally a Labrador who believes stairs are a launch ramp. Over time, wood can shrink, metal hardware can corrode, fasteners can loosen, and water can sneak into end grain or screw holes. Stairs and railings often show problems first because they experience movement, hand pressure, vibration, and concentrated weight.
A deck surface may look fine from the patio chair, but railings and stairs need a closer look. Before you fix anything, remember the basic rule: cosmetic damage can be patched, but structural damage must be corrected. If a post is rotten at the base, a stringer is split, or the framing under the railing is soft, do not simply add more screws and hope for the best. Hope is not a fastener.
Before You Start: Safety, Tools, and Code Checks
Know the basic safety standards
Local codes vary, but many U.S. residential decks follow common IRC-based guidelines. Guards are commonly required when a walking surface is more than 30 inches above grade. Residential deck guards are often required to be at least 36 inches high, while stair handrails are commonly installed between 34 and 38 inches above the stair nosing. Baluster openings typically must be small enough that a 4-inch sphere cannot pass through, with slightly different rules for stair openings. These numbers matter because a “close enough” railing can become a failed inspection or, worse, a real hazard.
Before repairing or replacing a railing section, call your local building department or check its deck handout. Some areas require permits for structural repairs, replacement stairs, or guard post modifications. If your deck is high, attached to a house, visibly sagging, or built with questionable old framing, bring in a qualified contractor or structural professional.
Gather the right tools
For a typical deck railing and stair repair, you may need a drill/driver, impact driver, socket set, pry bar, hammer, circular saw, reciprocating saw, speed square, level, tape measure, clamps, exterior-rated structural screws or bolts, joist hangers or approved connectors, pressure-treated lumber, wood preservative, exterior caulk, safety glasses, gloves, hearing protection, and a dust mask. If you are cutting or grinding metal railing, add a face shield and use caution around sparks.
Step 1: Inspect the Deck Railing Like a Detective
Start with a slow walk around the deck. Push gently but firmly on each railing section. A solid railing should not sway like a jazz musician. Look for loose top rails, cracked posts, rusted brackets, missing screws, split wood, water stains, and soft areas where posts meet the deck frame. Check balusters individually. If one spins, rattles, or pulls loose, the fastener or connector may have failed.
Pay special attention to railing posts. A common problem is not the rail itself but the post-to-frame connection. Many older decks have posts fastened only to the rim joist with nails or small screws. That may have felt strong when installed, but repeated pressure can loosen the connection. Modern repairs usually rely on through-bolts, structural screws, blocking, and approved connectors to resist outward force.
Step 2: Diagnose the Cause of a Loose Deck Railing
A loose deck railing usually comes from one of four problems. First, the fasteners may be loose or corroded. Second, the post may be attached to weak framing. Third, the rail-to-post brackets may be worn, undersized, or rusted. Fourth, the wood itself may be rotten, split, or warped.
If the post moves but the deck frame looks solid, you may be able to tighten bolts and add blocking. If the post is solid but the rail section moves, replace the brackets or fasteners connecting the rails to the posts. If the top rail is cracked, cupped, or rotten, replace the rail. If the post is soft enough to accept a screwdriver tip, do not negotiate with it. Replace it.
Step 3: Tighten, Reinforce, or Replace Railing Posts
When tightening is enough
If the railing post is structurally sound and the hardware is simply loose, tighten the bolts or screws using a socket wrench or impact driver. Replace rusted or stripped fasteners with exterior-rated hardware of the same or better size. Use hot-dipped galvanized or stainless steel fasteners when appropriate, especially in wet or coastal areas. Avoid mixing incompatible metals, which can accelerate corrosion.
When blocking is needed
If the post still moves, inspect the framing below. Add pressure-treated blocking between joists and behind the rim joist to stiffen the connection. Blocking helps prevent the rim joist from flexing when someone pushes against the rail. Use structural screws or approved connectors rather than random drywall screws from the junk drawer. Drywall screws belong indoors, where they can think about what they have done.
When the post must be replaced
Replace a post if it is rotten, deeply cracked, badly notched, or no longer securely connected. Remove the rail section attached to the post, support any nearby components, and carefully cut or unbolt the old post. Install a new pressure-treated post or a compatible post system according to local code and manufacturer instructions. If the deck uses surface-mounted metal posts, inspect the base plate, bolts, and underlying blocking before reattaching the rail.
Step 4: Repair or Replace Top Rails, Bottom Rails, and Balusters
For wood railings, remove damaged sections from the top down. Mark the existing rail position before disassembly so the new pieces line up correctly. Cut replacement rails from exterior-rated lumber, prime or seal cut ends, and fasten them with approved brackets or exterior structural screws. The top rail should be level, smooth, and securely attached to each post.
Balusters should be evenly spaced and firmly connected at top and bottom. Replace cracked or missing balusters immediately. If balusters rattle in connectors, remove the loose piece, clean the connector, and reinstall it according to the railing system’s instructions. For some metal or composite systems, a small amount of manufacturer-approved adhesive or replacement clips may solve the problem. Do not improvise with materials that trap water or void the system warranty.
Step 5: Inspect the Deck Stairs From Top to Bottom
Deck stairs take a beating. Every step creates vibration, and water often collects on treads, at stringer notches, and near the bottom landing. Begin by checking the stair treads. Look for cupping, cracks, loose boards, popped fasteners, and slippery algae. Step on each tread near the left, center, and right sides. A tread should feel firm, not springy.
Next, inspect the stringers, which are the sawtooth-shaped structural supports under the stairs. Look for splits, rot at notches, sagging, loose hanger connections, and poor bearing at the bottom. Check the stair landing as well. Stairs need a stable base. If the bottom of the stairs rests directly on soil, the stringers may wick moisture and rot faster.
Step 6: Repair Loose or Damaged Stair Treads
If a stair tread is loose but not rotten, remove old fasteners and reinstall the board with corrosion-resistant deck screws. Predrill near board ends to reduce splitting. If the tread is cracked, rotten, or badly warped, replace it with matching pressure-treated lumber or a compatible decking product. Keep tread overhangs consistent so the stairs feel natural underfoot.
When replacing composite stair treads, follow the manufacturer’s spacing and fastening instructions. Composite boards can expand and contract differently than wood, and many require specific fasteners. If you ignore the instructions, the stairs may squeak, buckle, or develop gaps large enough to annoy both your inspector and your flip-flops.
Step 7: Repair Stair Stringers and Connections
Stringer repair depends on severity. A small split near the edge may be reinforced with approved structural screws and blocking, but a rotten or deeply cracked stringer should usually be replaced. Never rely on a sistered scrap board attached to rotten wood as a permanent structural repair. If the original material cannot hold fasteners, it cannot safely share the load.
At the top of the stairs, stringers should be securely attached to the deck framing with proper hangers, ledger support, or approved connectors. At the bottom, stringers should bear on a solid landing, such as a concrete pad or properly built landing structure. Keep wood elevated or protected from standing water whenever possible.
Step 8: Fix Stair Railings and Handrails
Stair railings are trickier than flat deck railings because they must follow the stair angle. Start by checking the top and bottom stair posts. These posts often loosen because stair users pull on them while climbing. Tighten fasteners, add blocking where possible, and replace rotten posts.
If the stair handrail is loose, inspect the brackets and attachment points. Replace missing screws with longer exterior-rated screws only when they can bite into solid framing. A longer screw into rotten wood is just a longer disappointment. The handrail should be continuous, graspable, and comfortable to hold. A wide flat board may work as a guard cap, but it may not function as a code-compliant handrail if it cannot be gripped securely.
Step 9: Deal With Rot the Smart Way
Wood rot is not always dramatic. Sometimes it looks like dark staining, slight softness, or paint that bubbles near a joint. Probe suspicious areas with an awl or screwdriver. Solid wood resists. Rotten wood feels crumbly, spongy, or hollow.
Small non-structural areas may be patched with exterior wood filler or epoxy after the rot is fully removed and the wood is dry. Structural areas are different. Rotten posts, stringers, rail supports, and framing should be replaced, not cosmetically patched. After cutting new lumber, brush wood preservative onto cut ends and holes. Most pressure-treated lumber is protected on the outside, but fresh cuts expose untreated interior fibers.
Step 10: Finish and Protect the Repair
After the repair is complete, sand rough edges, remove sawdust, and apply exterior stain, sealer, or paint as appropriate. Stain often shows the wood grain and is easier to refresh, while paint offers a more solid color but can hide early warning signs if water gets underneath. Whatever finish you choose, coat railings, posts, balusters, stair treads, and cut ends thoroughly.
Keep water moving away from the deck. Clear leaves from stair corners, avoid piling planters against posts, and trim plants that keep railing components damp. Moisture is patient. It will wait behind a flowerpot for years like a tiny villain with a watering can.
Common Mistakes to Avoid
Using the wrong fasteners
Interior screws, drywall screws, and random leftover hardware are not suitable for deck railing and stair repairs. Use exterior-rated screws, bolts, washers, and connectors designed for treated lumber and outdoor exposure.
Replacing only the pretty parts
A new top rail will not fix a rotten post. Fresh stair treads will not fix a failing stringer. Always repair the structural cause before installing visible finish pieces.
Ignoring code spacing
Baluster spacing, railing height, handrail height, and stair geometry are not design trivia. They help prevent falls and entrapment. Measure carefully and check local requirements.
Forgetting drainage
Many railing and stair failures begin with trapped water. Seal cut ends, avoid dirt-to-wood contact, and keep debris off the stairs.
When to Call a Professional
Call a professional if the deck is high, the framing is sagging, the ledger board is questionable, multiple posts are rotten, stair stringers are failing, or you are unsure how the load is carried. Also call for help if the repair involves major structural changes, concrete footings, or guard post connections that must meet engineered requirements. DIY confidence is admirable; DIY gravity testing is not.
Maintenance Schedule for Safer Deck Railings and Stairs
Inspect your deck at least once a year, ideally in spring before heavy use. Tighten loose fasteners, clean algae from stairs, replace missing balusters, and touch up exposed wood. After major storms, check for shifted stairs, damaged posts, or fallen branches. Every two to three years, clean and refinish wood surfaces as needed, depending on climate and sun exposure.
A simple maintenance habit can save major repair costs. The fastest deck repair is the one you never need because you caught the problem while it was still a loose screw instead of a rotten stair system.
Real-World Experience: What Deck Railing and Stair Repairs Teach You
Anyone who has repaired a deck railing and stairs learns quickly that the deck is always more honest than it first appears. From a distance, a railing may look perfectly respectable. Up close, one post wiggles, two balusters are loose, the stair handrail is hanging on by heroic optimism, and the bottom tread has the personality of a wet sponge. The first lesson is simple: inspect before you shop. Buying a few boards before you know the real problem is how garages become museums of almost-useful lumber.
One common experience is discovering that the visible wobble is only a symptom. A homeowner may think the top rail needs new screws, but the actual issue is weak blocking behind the rim joist. Once the post is pushed, the rim flexes, the rail moves, and everyone blames the railing. Adding proper blocking and replacing tired fasteners can transform the rail from “please do not lean here” to “yes, this is a grown-up structure.” That moment is deeply satisfying.
Another practical lesson is that water usually wins unless you plan against it. Stair treads rot fastest where leaves sit. Posts soften where water enters through old screw holes. Stringers suffer where they touch damp concrete or soil. During repairs, it pays to seal cut ends, leave small drainage gaps where appropriate, and keep the bottom of wood components away from standing moisture. A deck does not need luxury spa treatment, but it does need to dry out.
Matching old lumber can also be surprisingly tricky. Older pressure-treated boards may be thicker, drier, darker, or slightly warped compared with new material. A new board may sit proud until it weathers. That is normal, but careful measuring helps. Bring exact dimensions to the lumberyard, not just a confident memory. “About stair-sized” is not a measurement.
Experience also teaches patience. Removing old fasteners can take longer than installing new parts. Rusted screws strip. Nails hide under paint. A rail section that should come off in five minutes suddenly behaves like it signed a lifetime lease. Keep a pry bar, oscillating tool, drill bits, and screw extractor handy. Work slowly so you do not damage framing that is still good.
Finally, railing and stair repair gives you a new respect for small details. A level top rail feels better. Even baluster spacing looks cleaner. A graspable handrail makes stairs safer for kids, guests, and anyone carrying a tray of burgers with too much confidence. The best repair is not just strong; it feels solid every time someone uses it. That is the quiet reward of doing the job right.
Conclusion
Repairing your deck railing and stairs is part carpentry, part safety inspection, and part negotiation with weather-beaten wood. Start with a careful inspection, identify the real cause of movement or damage, use exterior-rated materials, follow local code, and replace structural parts when needed. Tightening a few screws may solve a minor wobble, but rotten posts, weak stringers, and failing connections require real repair.
A safe deck does not have to be fancy. It needs solid posts, secure rails, firm treads, stable stringers, proper handrails, and protection from moisture. Handle those essentials, and your deck can return to its true purpose: grilling, relaxing, and giving everyone a place to say, “We should eat outside more often.”