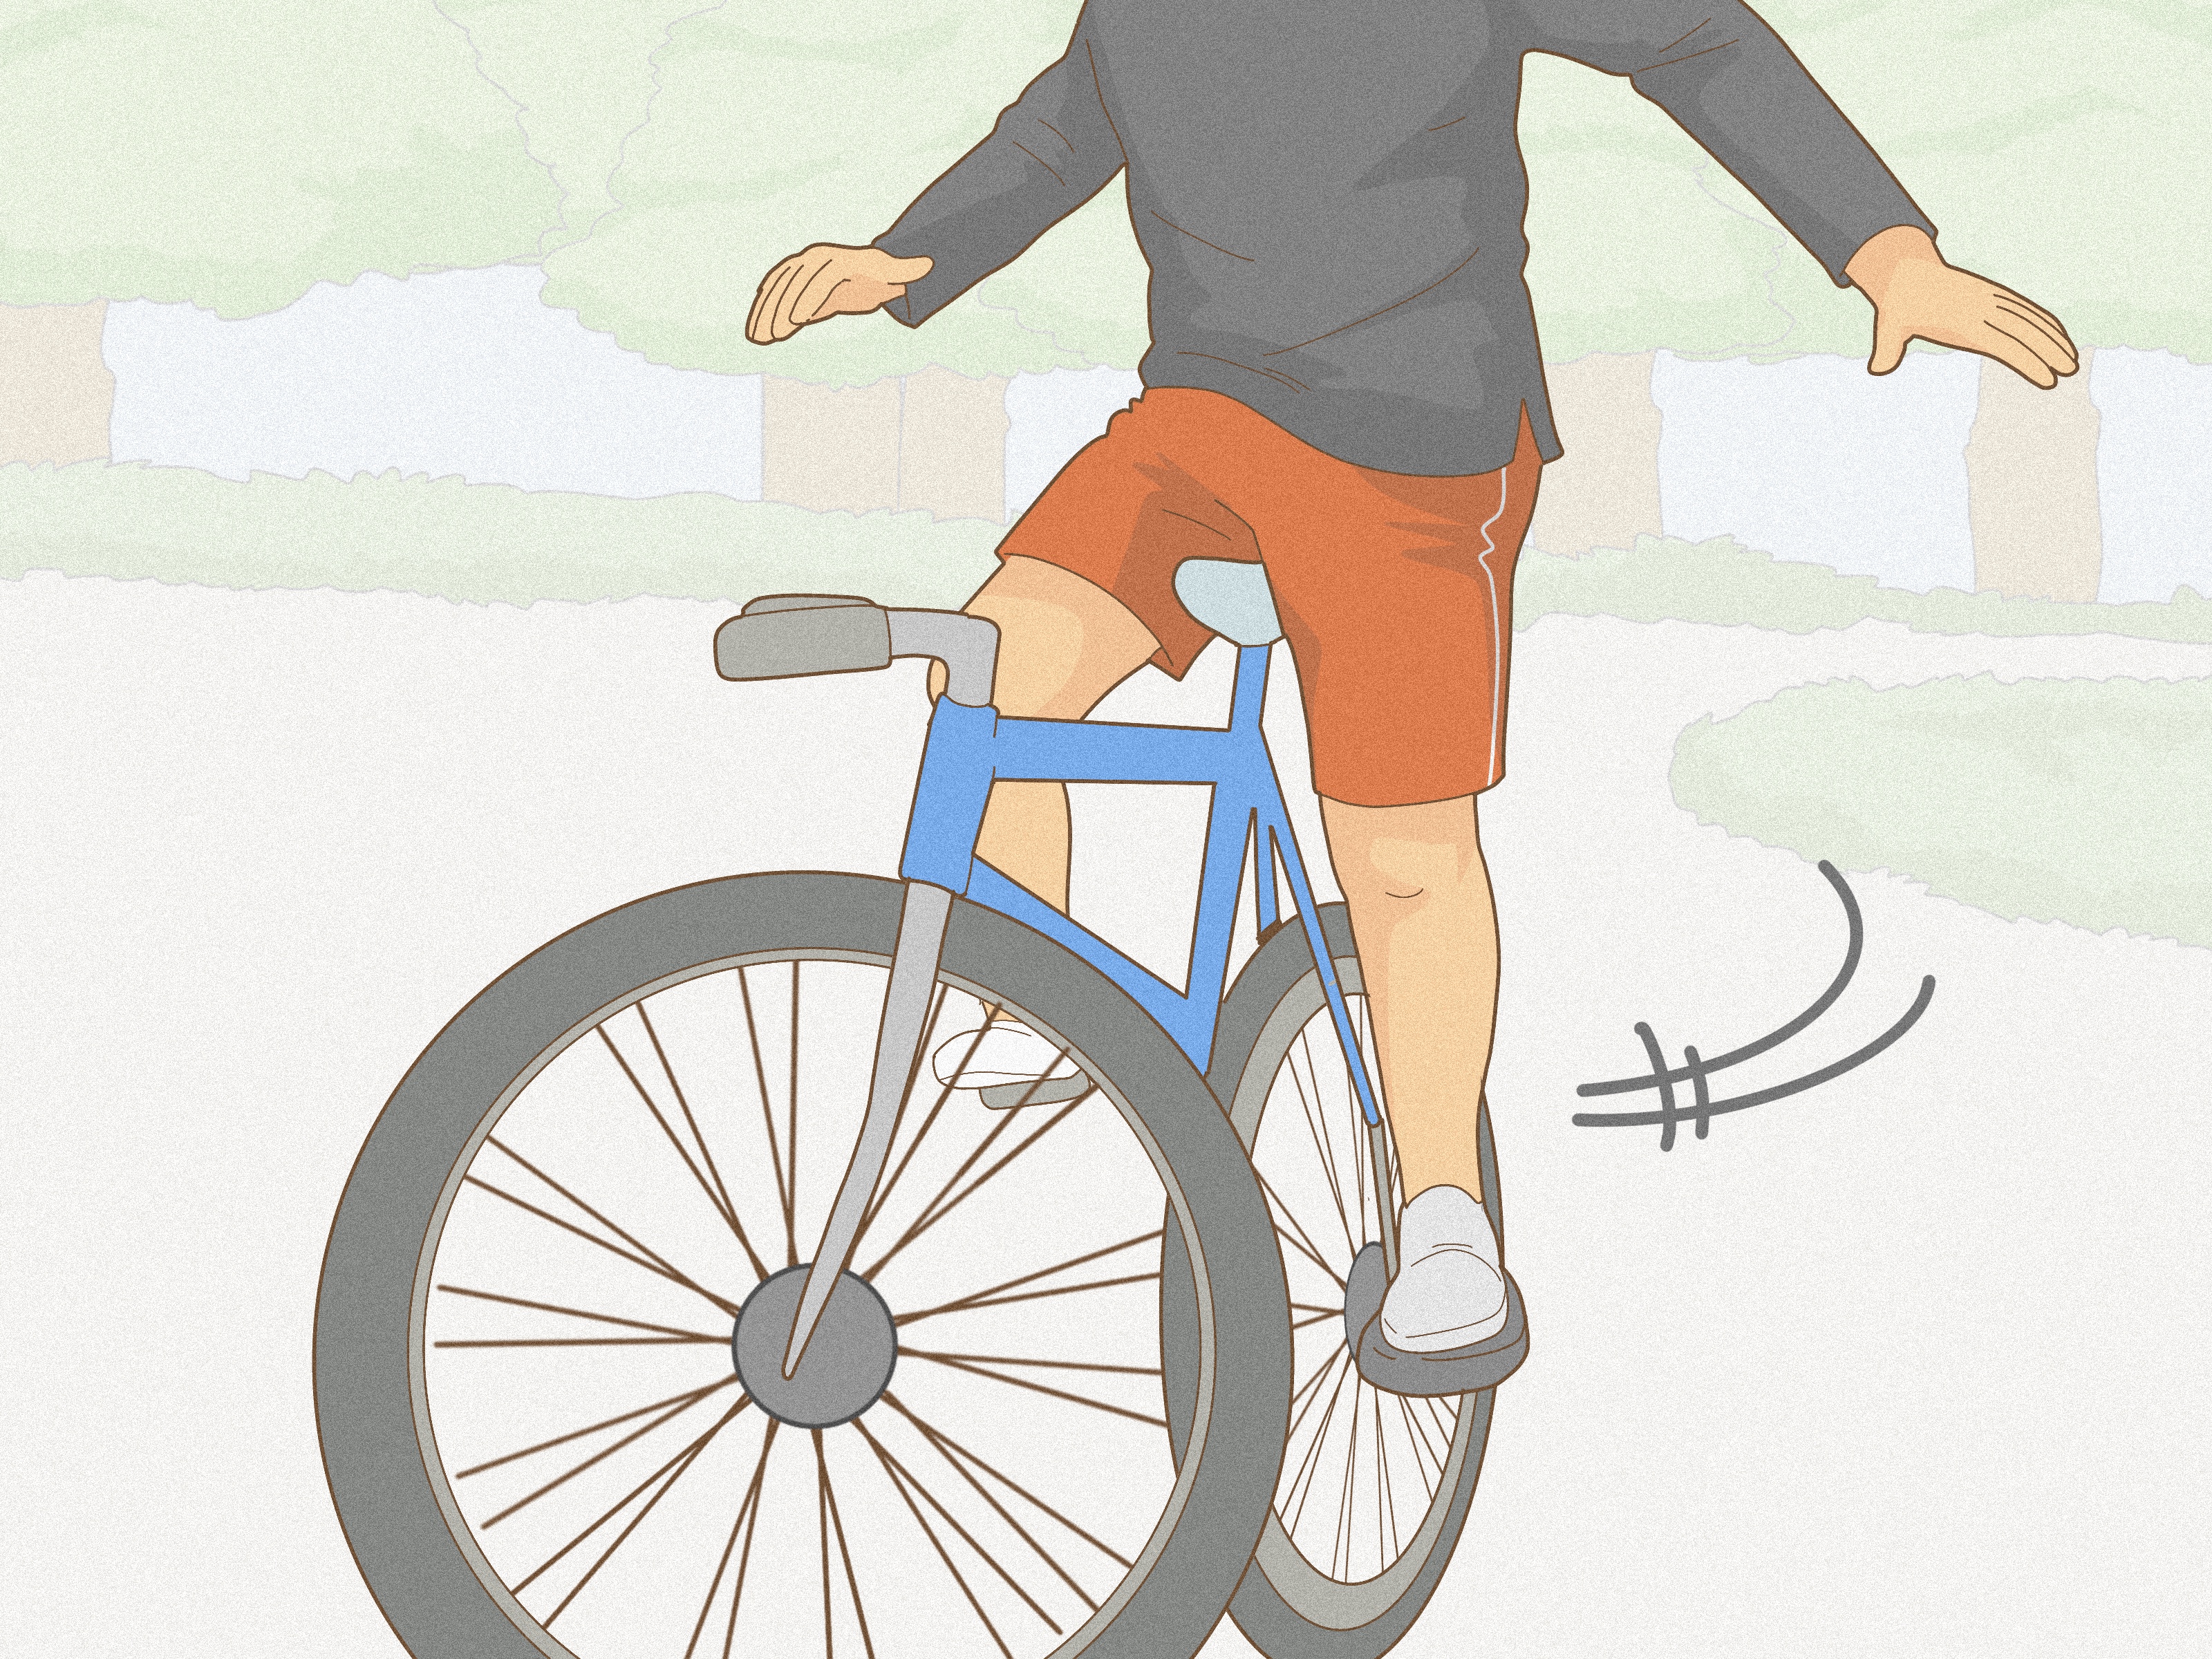
Note: Riding no handed is an advanced bike-handling skill, not a party trick for traffic, downhill roads, crowded trails, or “watch this!” moments. Some local laws may require riders to keep at least one hand on the handlebars, and even where it is allowed, crashes can happen quickly. This guide is written for safety education and web publishing: practice only in a legal, empty, flat, traffic-free area with proper protective gear and supervision if needed.
Learning how to ride no handed on a bike looks effortless when experienced cyclists do it. They sit upright, roll smoothly, maybe zip a jacket, signal clearly, or stretch their shoulders for three seconds before returning both hands to the bars like responsible adults. Meanwhile, beginners often discover that the bike has suddenly developed the emotional stability of a shopping cart with one bad wheel.
The truth is simple: no-handed riding is not about bravery. It is about balance, speed control, bike fit, body position, and judgment. The best riders are not the ones who can go the longest without touching the handlebars. They are the ones who know when not to try it. If you want to understand the skill, the safest place to start is with control, not showing off.
This article breaks the topic into seven safety-first steps. You will learn what makes a bike stable, how to prepare your equipment, where practice should and should not happen, and how to build the bike-handling foundation that makes advanced control possible. Think of this as the calm coach on your shoulder saying, “Cool, but maybe not beside a moving SUV.”
Step 1: Understand What “No Handed” Really Means
Riding no handed means the rider briefly controls the bicycle without gripping the handlebars. The bike continues moving forward because of momentum, wheel rotation, frame geometry, and tiny balance corrections from the rider’s hips and torso. In plain English: the bike wants to keep rolling straight, but only if you stop arguing with it.
That does not mean the bike is magically safe. A pothole, loose gravel, crosswind, low speed wobble, bad bike fit, sudden pedestrian, or overconfident rider can turn “smooth and stylish” into “hello, pavement.” This is why no-handed riding should never be treated as a beginner cycling skill or a road-traffic habit.
Why cyclists learn it
Some experienced riders practice no-handed balance because it helps them improve posture, core control, and confidence. Others use brief hands-free moments to adjust clothing or relieve tension during long rides. However, responsible cyclists keep both hands close to the handlebars and return to normal riding immediately when the environment changes.
When you should not try it
Do not attempt no-handed riding in traffic, on sidewalks, near pedestrians, on wet roads, on steep hills, while using a phone, while wearing headphones that block awareness, on an unfamiliar bike, or on an e-bike. Also avoid it when you are tired, distracted, nervous, or trying to impress someone. Impress people with good judgment. It ages better.
Step 2: Check Your Helmet, Bike, and Fit First
Before any advanced bike-handling practice, your gear needs to be boringly reliable. Boring is good. Boring means the brakes work, the tires are inflated, and your helmet is not sitting on the back of your head like a tiny plastic cowboy hat.
Start with a properly fitted bicycle helmet that meets U.S. safety standards. The helmet should sit level on your head, cover your forehead, and stay snug when the straps are buckled. If it rocks forward, backward, or side to side, adjust it before riding. A helmet cannot make risky riding safe, but it can reduce the chance of serious head injury in a crash.
Use the basic bike check
Before riding, inspect the essentials:
- Air: Tires should be inflated to the recommended pressure printed on the tire sidewall.
- Brakes: Both brakes should engage smoothly and stop the bike without rubbing constantly.
- Chain: The chain should move freely, not grind, skip, or look like it has been marinated in garage dust since 2009.
- Handlebars: Bars should be straight and tight, with no wobble.
- Saddle height: Your seat should allow comfortable pedaling without forcing your hips to rock dramatically.
A bike that is too small, too large, poorly maintained, or twitchy can make no-handed balance much harder. Road bikes, hybrids, cruisers, and mountain bikes all handle differently. A stable, properly fitted bike is easier to control than a mystery machine borrowed from someone’s shed.
Step 3: Choose the Right Practice Area
The safest practice environment is flat, smooth, empty, wide, dry, and closed to traffic. A quiet parking lot, empty paved court, or supervised bike-skills area is far better than a neighborhood street. You want room to roll straight without dodging cars, dogs, strollers, potholes, sprinklers, or one heroic squirrel with no respect for physics.
Do not practice on public roads. Even if you are confident, drivers and pedestrians cannot predict a rider who suddenly removes both hands from the bars. Good cycling safety depends on predictable movement. Riding straight, signaling clearly, and obeying traffic rules matter more than any trick.
Look for these conditions
- A flat surface with no steep slope
- No cars, pedestrians, animals, or obstacles
- Dry pavement with no sand, oil, gravel, or leaves
- Plenty of space to slow down gradually
- Good daylight and visibility
If you are younger, new to cycling, or unsure of your bike control, practice only with a qualified adult, cycling coach, or instructor nearby. The goal is not to test courage. The goal is to build safe control step by step.
Step 4: Master Normal Bike Control Before Anything Else
No-handed riding starts with excellent two-handed riding. If you cannot ride in a straight line, scan over your shoulder, signal turns, brake smoothly, and avoid hazards while holding the bars, you are not ready for advanced balance practice.
Work first on the skills that responsible cyclists use every day. Ride straight without drifting. Practice smooth starts and stops. Learn to look ahead instead of staring at your front tire. Use hand signals for turns and slowing. Keep your movements predictable so other riders, drivers, and pedestrians know what you are doing.
Practice scanning and signaling
One key foundation skill is scanning: briefly looking over your shoulder while maintaining a straight path. Another is signaling: using one arm to communicate turns or stops while the other hand controls the bike. These skills help you become comfortable with balance changes without giving up control of the handlebars completely.
A good test is simple: can you ride straight while signaling a turn, then return your hand to the bar without wobbling? Can you slow down gradually instead of grabbing the brakes like they personally insulted you? Can you stay relaxed when another cyclist passes? If not, keep practicing normal control first.
Step 5: Use Posture and Smooth Pedaling to Build Stability
Bike stability improves when your body is relaxed, centered, and calm. Tension travels into the handlebars and makes the front wheel twitch. Smooth pedaling keeps the bike moving evenly. Jerky pedaling, sudden leaning, and panic corrections make balance harder.
Sit tall but not stiff. Keep your shoulders loose. Look far ahead, not straight down. Your bike tends to go where your eyes and body point, so staring at a crack in the pavement is basically sending your front wheel a formal invitation.
Why speed matters
A bicycle is usually easier to balance when it is rolling at a moderate, controlled speed than when it is barely moving. Too slow, and the bike wobbles. Too fast, and mistakes have bigger consequences. The safest approach is to stay within a comfortable, controlled pace in an empty area, with both hands ready to return to the bars instantly.
Do not coast downhill to “make it easier.” Downhill speed reduces your margin for error. Do not practice in wind. Do not practice while carrying a backpack that shifts from side to side. Small things matter when balance is the whole assignment.
Step 6: Keep Your Hands Close and Know When to Stop
If a rider is advanced enough to practice brief hands-free balance in a safe setting, the hands should stay close to the handlebars, ready to return immediately. The moment the bike wobbles, the surface changes, another person enters the area, or confidence turns into tension, the practice ends. No debate. No dramatic comeback attempt. Just hands back, slow down, reset.
The most important part of learning any advanced cycling skill is knowing your stop signs. Not road stop signs, although those matter too. Personal stop signs. If your shoulders tighten, your breathing changes, or your brain starts narrating, “This may have been a poor decision,” listen to that voice. It is the tiny safety manager who lives in your skull.
Never combine no-handed riding with distractions
Do not use a phone, eat, drink, film yourself, adjust music, or carry objects while riding no handed. Even experienced riders can crash when they stack distractions on top of balance challenges. One risky choice is already enough. You do not need to create a combo meal.
Step 7: Build Skill Slowly and Respect Your Limits
Progress should be slow, controlled, and humble. Some riders feel comfortable quickly; others never enjoy no-handed riding at all. That is fine. Cycling is not a video game where you must unlock every achievement. A rider who brakes well, signals clearly, avoids hazards, and returns home safely is already winning.
If you want to improve bike handling, consider practicing safer skills that directly help real-world cycling: emergency braking, smooth cornering, shoulder scanning, one-hand signaling, obstacle avoidance, cadence control, and riding predictably in a straight line. These skills make you a better cyclist everywhere, not just in an empty parking lot.
What success should look like
Success is not “I rode no handed for a whole block.” Success is understanding your bike, choosing a safe environment, wearing the right gear, staying legal, and stopping before conditions become risky. The best cyclists have a quiet confidence. They do not need applause from strangers or dramatic footage for social media. They just ride well.
Common Mistakes to Avoid
Many riders struggle because they rush the process. They try to remove control before they have built control. They practice in the wrong place, on the wrong bike, at the wrong speed, or with the wrong goal. The goal should never be “look cool.” The goal should be “understand balance while staying safe.” Looking cool is optional and often ruined by bandages.
Practicing in traffic
This is the biggest mistake. Public roads require attention, communication, and fast reactions. Keep both hands available for braking and steering. Traffic is not a training ground for tricks.
Looking down
Looking at the front wheel makes balance harder. Look ahead toward where you want to go. Your body follows your vision more than most beginners realize.
Using a poorly maintained bike
Loose headsets, underinflated tires, weak brakes, or a slipping chain can turn a small wobble into a big problem. A safe bike is the starting line.
Practicing too long
Fatigue affects coordination. Short, focused practice is better than long sessions where concentration fades. When your body gets tired, your judgment often gets ambitious. That is a terrible trade.
Safety Rules That Matter More Than the Trick
No-handed riding should never replace basic bicycle safety. Wear a helmet. Check your bike. Obey traffic laws. Use lights when visibility is low. Ride predictably. Signal turns and stops. Avoid distractions. Keep your hands on the bars anywhere public, crowded, fast, or unpredictable.
Also remember that rules vary by location. Some states, cities, parks, schools, or trails may have specific restrictions about safe bicycle operation. When in doubt, follow the stricter rule and keep at least one hand on the handlebars. The pavement will not give you bonus points for technical arguments.
Real-World Experience: What Riders Learn the Hard Way
Ask experienced cyclists about no-handed riding, and many will tell you the same thing: the skill feels less like a trick and more like a mirror. It reflects everything else about your riding. If your bike fit is off, you notice. If your pedaling is choppy, you notice. If your shoulders are tense, you notice. If your confidence is actually impatience wearing sunglasses, you definitely notice.
One common experience is discovering that balance improves when the rider stops trying so hard. Beginners often grip the bars tightly, lock their elbows, and steer every tiny wobble like the bike is a runaway shopping cart. As they improve, they learn that a bicycle responds better to calm inputs. Smooth pedaling, relaxed breathing, and looking ahead can make the ride feel steadier even before any advanced practice begins.
Another lesson is that bike type changes everything. A relaxed city bike or cruiser may feel stable because of its geometry and upright position. A twitchy road bike may respond quickly to tiny movements. A mountain bike with wide tires may feel planted on some surfaces but less smooth on pavement if the tires are soft or knobby. An e-bike adds weight and speed, which can make mistakes more serious. Riders who switch bikes often realize that “I can do it on my bike” does not mean “I can do it on every bike.”
Surface quality also becomes a teacher. A clean parking lot feels forgiving. A road with cracks, gravel, wet leaves, or uneven patches feels very different. Many riders learn that the safest decision is not to practice just because there is space. The surface matters. The weather matters. Visibility matters. Your mood matters. A calm, empty area on a dry day is not the same as a windy evening beside traffic.
There is also the social pressure factor. A lot of bad cycling decisions begin with someone watching. Riders may try to go longer than they should, remove their hands in a place that is not appropriate, or keep going after the bike starts to wobble. The better habit is to treat stopping as a skill. Putting your hands back on the bars early is not failure. It is control. In fact, it is probably the most mature part of the whole process.
Long-distance cyclists sometimes mention that hands-free balance can reveal posture problems. If the rider leans too far forward, depends heavily on the bars, or has a saddle position that causes discomfort, riding upright may feel unstable. That does not mean the rider is “bad.” It may mean the bike needs adjustment, the rider needs more core strength, or the skill is not necessary for that person’s cycling goals.
The biggest experience-based lesson is this: no-handed riding is never required to be a good cyclist. You can commute, train, tour, race, cruise, or ride for fitness without doing it. The everyday skills are more important. Brake smoothly. Signal clearly. Watch for hazards. Ride predictably. Be visible. Maintain your bike. Choose safe routes. Those habits will protect you far more often than a balance trick will impress anyone.
So if you approach no-handed riding at all, approach it with patience and perspective. Keep it legal, brief, controlled, and away from traffic. Treat every practice attempt as optional. The goal is not to prove that you can let go. The goal is to become the kind of rider who knows exactly when not to.
Conclusion
Learning how to ride no handed on a bike is really learning how balance, posture, bike fit, speed, and judgment work together. The glamorous version is someone rolling smoothly with relaxed shoulders. The responsible version starts much earlier: helmet on, bike checked, empty practice space chosen, normal control skills mastered, and both hands ready to return to the bars at any moment.
No-handed riding should never be used in traffic, around pedestrians, on rough surfaces, downhill, or as a distracted-riding habit. It may also be restricted by local rules, so always check before attempting it. If you decide to practice, do it slowly, safely, and with respect for your limits. And remember: the coolest cyclist is not the one who rides the longest without hands. It is the one who gets home in one piece, preferably without explaining to a doctor that “it looked easy on the internet.”