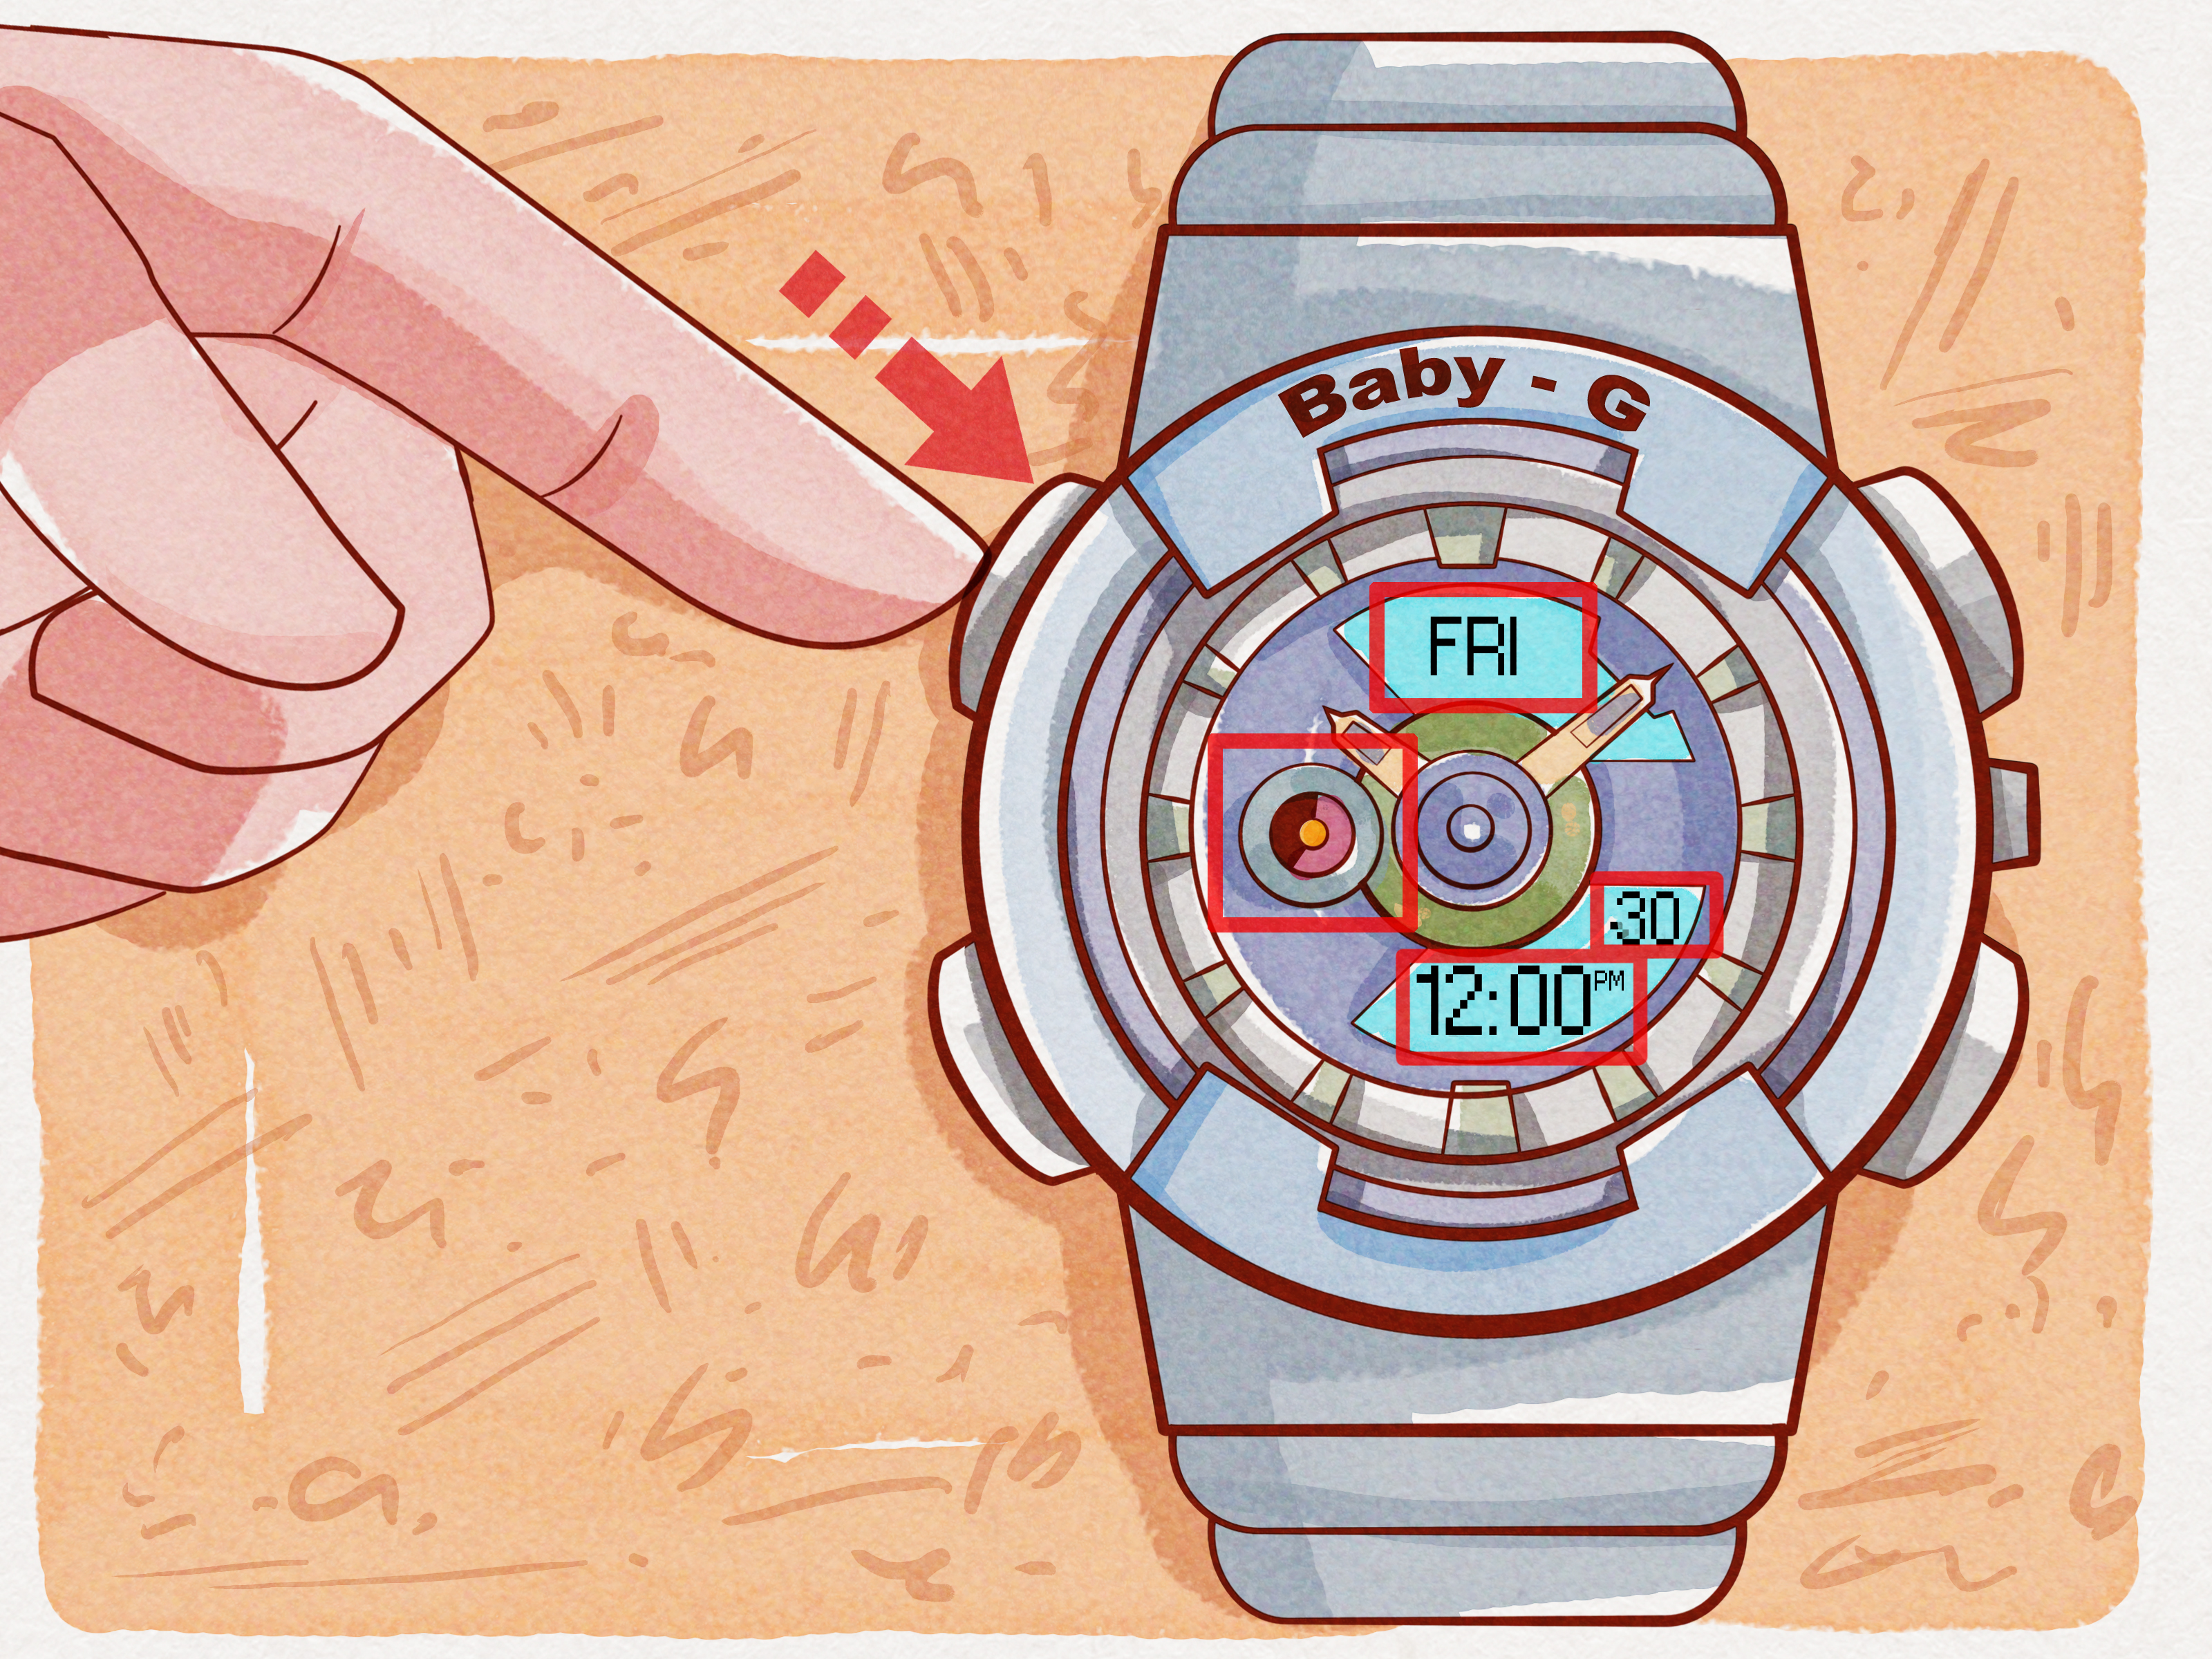
Setting the time on a Baby-G watch sounds simple until the tiny digital numbers start blinking like they know something you do not. One button says Adjust, another says Mode, the watch may have both digital and analog displays, and suddenly your stylish little wrist tank feels like it has joined NASA Mission Control.
The good news: most Casio Baby-G watches follow the same basic time-setting logic. You enter Timekeeping Mode, hold the Adjust button until something flashes, move through each setting with Mode, change values with the forward/reverse buttons, and press Adjust again to save. The exact display may vary by Baby-G model, but the process below works as a practical, beginner-friendly guide for many digital and digital-analog Baby-G watches.
This guide explains how to set the time on a Baby-G watch in 10 clear steps, including Home City, DST, 12-hour or 24-hour format, date settings, and what to do when the analog hands do not match the digital time.
Before You Start: Know the Baby-G Buttons
Most Baby-G watches have four main buttons. On many models, the top-left button is A / Adjust, the bottom-left button is C / Mode, the top-right button is often B / Light or Reverse, and the bottom-right button is often D / Search, Start, or Forward. Your model may label them slightly differently, but the layout is usually similar.
Think of the buttons like this: Adjust opens and closes settings, Mode moves from one setting to the next, and the right-side buttons increase or decrease numbers. Once that clicks, the watch becomes much less mysterious. It is not trying to defeat you. It is just very committed to button discipline.
How to Set the Time on a Baby-G Watch: 10 Steps
Step 1: Put the Watch in Timekeeping Mode
Start from the main screen that shows the current time, day, or date. This is called Timekeeping Mode. If your Baby-G is showing the alarm, stopwatch, countdown timer, or world time screen, press the Mode button repeatedly until you return to the regular time display.
On many models, each press of Mode cycles through the watch features. Do not rush. If you pass the time screen, keep pressing Mode and it will come around again. Baby-G menus are circular, which is comforting if you are lost and mildly annoying if you are impatient.
Step 2: Hold the Adjust Button Until the Display Flashes
Press and hold the Adjust button. On many Baby-G watches, you need to hold it for about one to three seconds. You may see the seconds flash, the city code appear, or an “ADJ” or “SET” indicator show on the screen. This means you have entered the time-setting screen.
If nothing happens, make sure you are in Timekeeping Mode rather than Alarm or Stopwatch Mode. Also try holding the button a little longer. A quick tap usually changes the display; a long press usually opens settings.
Step 3: Set Your Home City or Time Zone
Some Baby-G models ask you to select a Home City before setting the exact time. This city code tells the watch which time zone you normally use. For example, New York may appear as NYC, Los Angeles as LAX, Chicago as CHI, and Tokyo as TYO. Use the right-side buttons to scroll through the city codes until you find the one closest to your location.
Choosing the correct Home City matters because world time, alarms, and automatic time calculations may depend on it. If your Baby-G is off by several hours, the Home City is one of the first things to check. A watch set to Tokyo while you are in Texas is not broken; it is simply living its best international life.
Step 4: Check the DST or Summer Time Setting
Next, look for the DST setting. DST stands for Daylight Saving Time. On many Baby-G watches, DST can be set to ON or OFF. If DST is ON, the watch usually advances the time by one hour. If your watch is exactly one hour fast or slow, this setting is the likely culprit.
In many areas of the United States, Daylight Saving Time is used for part of the year, but not every location observes it. Arizona, Hawaii, and some territories do not follow the same DST pattern as most states. When in doubt, match the setting to your local time rather than guessing based on the season.
Step 5: Use Mode to Move to the Hour Setting
Press the Mode button to move through the available settings. The order varies by model, but you may see seconds, DST, city code, hour, minutes, year, month, day, 12/24-hour format, button tone, or illumination duration.
When the hour digits flash, use the right-side buttons to change the hour. Pay attention to AM and PM if you are using 12-hour time. If your watch has a “P” indicator, that usually means PM. If there is no PM indicator and the watch uses 24-hour time, 18:00 means 6:00 PM.
Step 6: Set the Minutes Carefully
Press Mode again until the minutes flash. Use the forward or reverse buttons to set the correct minute. On some models, holding the button down scrolls quickly. This is useful, but it can also send you zooming past the correct number like a shopping cart with one bad wheel.
If you overshoot, use the reverse button if your model has one. If not, keep scrolling forward until the correct minute returns. Baby-G watches are patient. You may not be, but the watch is.
Step 7: Reset the Seconds
When the seconds are flashing, pressing the adjustment button for that value usually resets seconds to 00. On many Casio watches, if the seconds count is between 30 and 59 when you reset it, the watch adds one minute. If it is between 00 and 29, it simply resets to zero without adding a minute.
A simple trick is to wait until your phone or computer clock reaches the next minute, then reset the seconds to 00. This helps your Baby-G match another accurate clock more closely.
Step 8: Set the Year, Month, and Day
Continue pressing Mode to set the year, month, and day. Correct date settings are important because they affect the day of the week, calendar display, alarms, and sometimes world time features.
Baby-G watches typically calculate the day of the week automatically after you enter the correct date. If the weekday is wrong, do not try to force the weekday first. Check the year, month, and day. A watch showing Wednesday when it should be Friday is often just living in the wrong year.
Step 9: Choose 12-Hour or 24-Hour Format
Many Baby-G watches let you choose between 12-hour time and 24-hour time. The 12-hour format uses AM and PM, while the 24-hour format runs from 00:00 to 23:59. Neither is better; choose what your brain likes before coffee.
If you travel, work in healthcare, use military time, or schedule international calls, 24-hour time can reduce confusion. If you simply want the watch to read like a familiar wall clock, 12-hour time is perfectly fine.
Step 10: Press Adjust to Save and Exit
After all settings look correct, press Adjust again to save and return to the main time screen. On many Baby-G models, the watch will also exit automatically after a few minutes of no button activity, but it is better to press Adjust yourself so you know the settings are saved.
Once you exit, compare the Baby-G time with your phone, computer, or another reliable clock. Check the hour, minute, AM/PM setting, date, and DST status. Congratulations: your watch now knows what time it is, and you have successfully negotiated with four tiny buttons.
What If Your Baby-G Has Analog Hands?
Many Baby-G watches combine a digital display with analog hands. In many models, once you correctly set the digital time, the analog hands should move automatically to match. This may take a moment, especially if the hands need to travel a long distance.
If the digital time is correct but the analog hands are wrong, your watch may need hand alignment or hand home position adjustment. This can happen after a strong impact, magnetism, battery replacement, or accidental setting changes. The process varies more by model than standard digital time setting, so it is best to look up your exact Baby-G module number.
How to Find Your Baby-G Module Number
Turn the watch over and look at the case back. You should see a small four-digit number inside a rectangle. That is the module number. It is the key to finding the exact instruction manual for your Baby-G watch.
This matters because two Baby-G watches may look similar but use different modules. One model may begin settings by flashing the seconds. Another may show the Home City first. A third may have Bluetooth or radio-controlled timekeeping. The module number prevents guesswork and saves you from pressing buttons like you are entering a secret video game cheat code.
Common Baby-G Time-Setting Problems and Fixes
The Watch Is One Hour Wrong
Check the DST setting first. If DST is ON when your location is using standard time, the watch may be one hour fast. If DST is OFF during Daylight Saving Time in a region that observes it, the watch may be one hour slow.
The Watch Is Several Hours Wrong
Check the Home City or time zone. If the wrong city code is selected, the watch may display a perfectly accurate time for a place where you are not currently standing.
The Digital Time Is Correct but the Hands Are Wrong
You likely need hand alignment. Search for your model’s hand home position adjustment instructions using the module number on the back of the watch.
The Buttons Do Not Seem to Work
Make sure you are not in the wrong mode. Press Mode until you return to the normal time display. If the watch is very old, the battery may be weak. If a button feels stuck, do not force it; dirt, moisture, or impact damage may be involved.
Tips for Setting a Baby-G Watch Without Losing Your Patience
Set the watch in good lighting so you can see which numbers are flashing. Keep your phone nearby as a reference clock. Press buttons slowly and deliberately. If you get lost, press Adjust to exit, return to Timekeeping Mode, and start again.
It also helps to write down the button names for your model: A, B, C, and D. Once you know which button opens settings, which button moves to the next field, and which buttons change values, the process becomes much easier.
Real-Life Experience: What Setting a Baby-G Watch Teaches You
Anyone who has ever tried to set a digital watch five minutes before leaving the house knows the feeling: one eye on the clock, one finger on the wrong button, and one tiny screen flashing like it is judging your life choices. Baby-G watches are tough, stylish, and famously reliable, but they do expect you to learn their rhythm.
The most common experience is accidentally entering the wrong mode. You want to change the time, but suddenly you are setting an alarm for 6:30, starting a stopwatch, or staring at a world time city you have never visited. This is normal. The Mode button cycles through features, so the solution is usually to keep pressing it until the regular time display returns. Once you understand that the menu loops, the panic disappears.
Another common moment is confusing the hour setting with the Home City setting. If the watch is off by eight or ten hours, people often try to fix only the hour. That works temporarily, but it can make world time and DST confusing later. Setting the correct Home City first is cleaner. It gives the watch the right foundation, like putting the correct address into a GPS before blaming it for bad directions.
For digital-analog Baby-G models, the biggest surprise is that the hands may not instantly match the digital time. Sometimes they move slowly after saving the digital setting. Sometimes they need hand alignment. This can feel alarming, but it does not always mean the watch is damaged. Many Baby-G watches are designed so the digital time controls the analog display, and alignment mode simply teaches the hands where “home” is again.
Travelers often appreciate the Baby-G more after learning the Home City and World Time features. Instead of manually calculating time zones in your head, you can set your home city, view another city, and avoid the classic “Did I call at 3 PM or 3 AM?” problem. That alone is worth a few minutes of button practice.
Parents and students also tend to like Baby-G watches because they are durable and low-maintenance. Once the time, date, and alarms are set correctly, the watch can handle school, sports, errands, rain, backpacks, and the occasional dramatic drop onto the floor. It is a small device, but it earns its place quickly.
The best practical advice is to set your Baby-G when you are calm, not when you are late. Sit down, use a reliable clock, and move through each flashing setting one at a time. After you do it once, the process becomes much less intimidating. After you do it twice, you may even become the unofficial Baby-G technician for your friends and family. Congratulations in advance on your promotion.
Conclusion
Learning how to set the time on a Baby-G watch is mostly about understanding the button pattern. Use Timekeeping Mode, hold Adjust, move through settings with Mode, change values with the right-side buttons, and press Adjust again to save. For most models, that simple sequence handles the hour, minutes, seconds, date, Home City, DST, and time format.
If your Baby-G has analog hands, remember that the digital time usually comes first. When the hands do not match, look for hand alignment instructions using the module number on the case back. With a little patience, your Baby-G will be accurate, useful, and ready for everyday wear.
Note: Baby-G models vary by module, so always check the module number on the back of your watch for exact instructions if your display or button sequence looks different.