You install a shiny new solid-state drive, start the computer, open File Explorerand discover absolutely nothing. No new drive, no helpful message, not even a polite digital shrug. Before declaring the SSD dead or threatening the computer with a screwdriver, take a breath. An SSD not showing up in Windows 10 or Windows 11 is often caused by an uninitialized disk, a missing drive letter, an incompatible M.2 slot, a loose connection, or a storage-controller setting.
The fastest way to solve the mystery is to determine exactly where the SSD disappears. Does the BIOS detect it? Does it appear in Device Manager? Is it visible in Disk Management but absent from File Explorer? Each answer points to a different layer of the problem.
This guide covers internal SATA SSDs, M.2 SATA drives, NVMe SSDs, portable SSDs, secondary storage drives, and disks that disappear during Windows Setup. It also explains which actions can erase data, because “fixed the drive, deleted the vacation photos” is not a successful afternoon.
First: Protect Any Existing Data
If the SSD is brand new and empty, initializing and formatting it is normally part of the setup process. If it previously contained files, however, do not initialize, format, delete partitions, run DiskPart’s clean command, or create a new volume until you understand the problem.
Those actions may overwrite file-system information and complicate recovery. A drive that suddenly appears as “Unknown,” “RAW,” “Not Initialized,” or “Unallocated” may have a damaged partition table rather than an empty disk. When the files matter, prioritize a backup, a read-only diagnostic, or professional data recovery.
Where Is the SSD Missing?
Use the following quick diagnosis before changing settings:
| What You See | Most Likely Cause | Best Starting Point |
|---|---|---|
| SSD is absent from BIOS or UEFI | Connection, slot compatibility, power, disabled port, or failed hardware | Check installation, cables, slot specifications, and BIOS settings |
| SSD appears in BIOS but not Device Manager | Storage-controller driver, RAID/VMD configuration, or Windows detection problem | Update chipset and storage drivers, then rescan |
| SSD appears in Device Manager but not Disk Management | Storage Spaces ownership, controller issue, or unusual disk configuration | Check Storage Spaces and controller software |
| SSD appears in Disk Management but not File Explorer | Missing drive letter, unallocated space, unsupported file system, or offline disk | Assign a letter, bring it online, or create a volume if it is empty |
| SSD is missing only during Windows installation | Intel RST/VMD driver, RAID mode, or installer/controller mismatch | Load the manufacturer’s storage driver |
Fix 1: Restart Windows and Reconnect the SSD
Begin with the glamorous technical tradition of turning things off and back on. Shut down the PC completely rather than performing only a warm restart. Disconnect the power cable from a desktop, or turn off the laptop before opening it.
For a 2.5-Inch SATA SSD
Confirm that both the SATA data cable and SATA power connector are firmly attached. Try a different SATA cable, another power connector, and another motherboard SATA port. SATA cables can look connected while sitting just loose enough to ruin your evening.
Check the motherboard manual as well. On some boards, installing an M.2 drive disables one or more SATA ports because the connectors share bandwidth. Moving the 2.5-inch SSD to an enabled port may solve the problem immediately. Drive manufacturers also recommend testing another cable, slot, or computer when an internal SSD is not detected.
For an M.2 SSD
Remove and reseat the drive. Insert it fully into the socket at an angle, lower it gently, and secure it with the correct screw or tool-free latch. Do not overtighten the screw or bend the circuit board into a tiny green skateboard ramp.
Verify that the slot supports the SSD’s interface. M.2 describes a physical form factor, not one universal connection standard. An M.2 drive may use SATA or PCIe/NVMe, while a motherboard slot may support one, the other, or both. Also confirm the supported drive length, such as 2230, 2242, 2260, or 2280. ASUS and MSI both advise checking motherboard compatibility when an M.2 SSD is not recognized.
For an External SSD
Connect the drive directly to the computer instead of through an unpowered hub, monitor, keyboard, or bargain-bin docking station. Try another USB port and a known-good data cable. Some USB-C cables provide charging but lack the data wiring required for storage devices.
If you placed a bare M.2 SSD inside an enclosure, verify that the enclosure supports its interface. An NVMe-only enclosure will not usually recognize an M.2 SATA drive, and a SATA-only enclosure cannot communicate with an NVMe drive. Western Digital and Seagate troubleshooting guidance also recommends changing the cable, bypassing hubs, checking available USB power, and testing the drive on a second computer.
Fix 2: Check Whether BIOS or UEFI Detects the SSD
Restart the computer and enter its BIOS or UEFI setup. The correct key varies, but common choices include Delete, F2, F10, or Esc. Look under sections such as Storage, NVMe Configuration, SATA Configuration, System Information, or Boot Devices.
If the SSD is absent there, Windows cannot normally fix the issue because the operating system has not been given a drive to manage. Recheck the physical connection, try another compatible slot, inspect the motherboard’s shared-port rules, and test the SSD in another computer or enclosure.
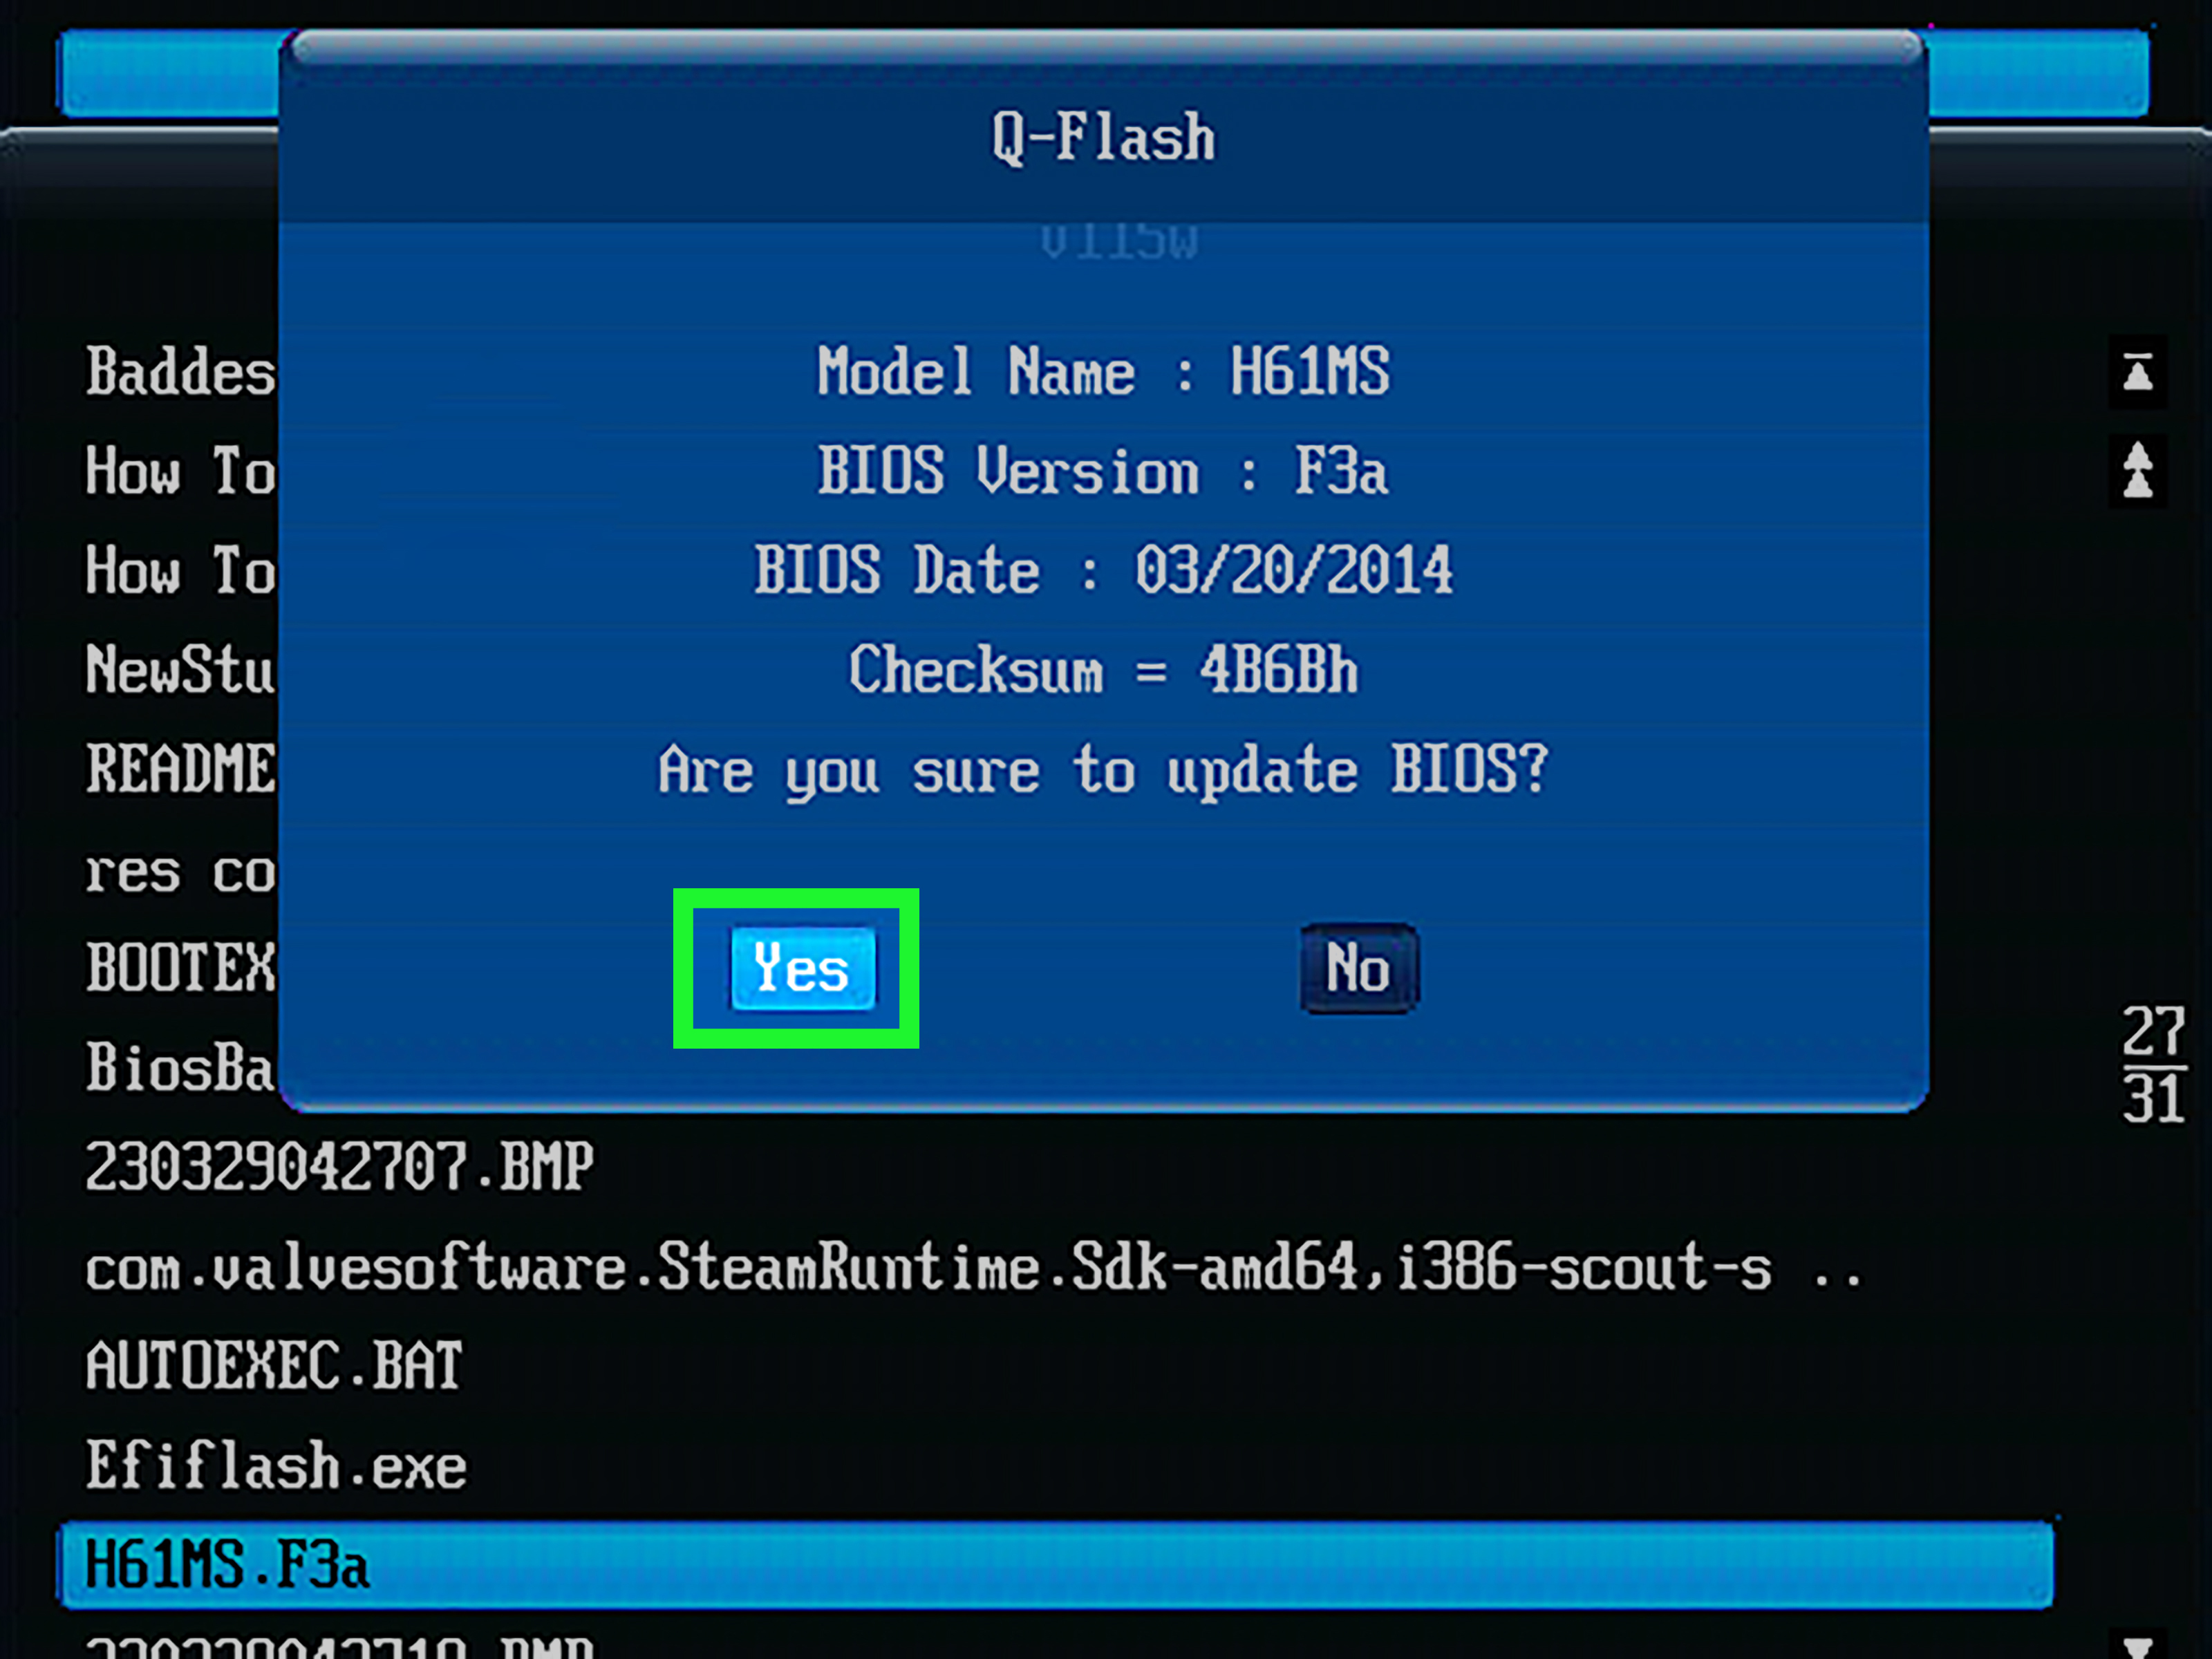
You should also check whether the relevant SATA or M.2 port is enabled. Installing the latest stable BIOS may improve storage compatibility, particularly on older motherboards paired with newer NVMe drives. Use only the update intended for your exact computer or motherboard model and follow the manufacturer’s instructions carefully. Kingston, MSI, ASUS, Lenovo, and Dell all identify firmware or BIOS updates as potential solutions for SSD detection problems.
Fix 3: Look for the SSD in Disk Management
Windows Disk Management is the most important stop when an SSD does not appear in File Explorer. Right-click the Start button and choose Disk Management, or press Windows + R, enter diskmgmt.msc, and press Enter.
Disk Management works similarly in Windows 10 and Windows 11. It can initialize disks, create and format volumes, bring disks online, and assign drive letters.
If the SSD Is “Unknown” and “Not Initialized”
For a genuinely new, empty SSD, right-click the disk label and select Initialize Disk. Choose a partition style:
- GPT: Recommended for modern Windows 10 and Windows 11 computers using UEFI.
- MBR: Mainly useful for older legacy systems or specific compatibility requirements.
After initialization, right-click the unallocated area, choose New Simple Volume, assign a drive letter, and format it. NTFS is the usual choice for a Windows internal drive. ExFAT may be more convenient for a portable SSD shared among several operating systems.
Important: Do not initialize the disk if it previously stored valuable files. “Not Initialized” can also indicate partition-table damage.
If the SSD Shows as Unallocated
A brand-new disk normally arrives without a partition, so unallocated space is expected. Right-click the unallocated section, choose New Simple Volume, follow the wizard, assign a drive letter, and perform a quick format.
If the SSD was previously used and unexpectedly became unallocated, stop. Creating a new volume may overwrite information needed by recovery software.
If the Partition Has No Drive Letter
Right-click the existing partition, choose Change Drive Letter and Paths, select Add or Change, and choose an unused letter. The SSD should then appear in File Explorer. A perfectly healthy partition without a drive letter is like an apartment without a street address: it exists, but Windows Explorer does not know how to deliver you there.
If the Disk Is Offline
Right-click the disk label and select Online. Windows sometimes places a disk offline because of a signature collision, particularly after cloning a drive. Avoid bringing both the original and an exact clone online until you confirm which disk contains the current data.
Fix 4: Refresh Detection with DiskPart
If Disk Management does not refresh after installing the SSD, Windows can rescan storage devices through DiskPart.
- Open Terminal or Command Prompt as an administrator.
- Enter the following commands one at a time:
The rescan command asks Windows to locate newly added disks. list disk then displays the disks recognized by DiskPart. Carefully compare capacities before selecting or changing anything; disk numbers are not friendship bracelets and may change between computers or boots.
Avoid copying random command sequences that include clean. That command removes partition information from the selected disk and can turn a manageable detection issue into a data-recovery project.
Fix 5: Check Device Manager and Storage Drivers
Right-click Start and select Device Manager. Expand Disk drives, Storage controllers, and IDE ATA/ATAPI controllers. Look for the SSD model, an unknown storage device, or a yellow warning symbol.
If the SSD is listed, right-click it and open Properties. The Device Status box may identify a driver or hardware error. You can then choose Update driver, check Windows Update for optional driver updates, or install the latest chipset and storage-controller package supplied by the PC or motherboard manufacturer. Microsoft recommends Windows Update or Device Manager for supported driver updates.
If the issue began immediately after a driver update, the Driver tab may offer Roll Back Driver. You can also uninstall the affected device and restart Windows, allowing the operating system to redetect it. Do not randomly uninstall RAID, VMD, or storage-controller drivers from a working boot system without knowing how the system is configured.
Fix 6: Check Windows Storage Spaces
An SSD can appear in BIOS and Device Manager yet remain missing from Disk Management because Windows Storage Spaces has added it to a storage pool.
Search for Storage Spaces from the Start menu and inspect existing pools and physical drives. If the missing SSD belongs to a pool, do not remove it casually. Removing a drive incorrectly can damage the virtual volume or its data.
When the pool is healthy and has enough free capacity, use the official Prepare for removal process before removing the physical disk. Dell specifically documents Storage Spaces ownership as a reason a newly installed SSD may appear in BIOS and Device Manager but not in Disk Management.
Fix 7: Solve an SSD Missing During Windows Installation
A common variation occurs when BIOS recognizes the NVMe SSD, but the “Where do you want to install Windows?” screen shows no drives. This is frequently related to Intel Rapid Storage Technology, Intel Volume Management Device, RAID mode, or another OEM storage controller.
Load the Correct Storage-Controller Driver
On another computer, visit the support page for your exact laptop, desktop, or motherboard model. Download the appropriate Intel RST, VMD, RAID, or storage-controller driver and extract it to a USB drive.
At the Windows drive-selection screen, select Load driver, browse to the extracted driver folder, and load the matching controller driver. The SSD should then appear. Intel, Dell, and ASUS all document this procedure for Windows 10 and Windows 11 installations where VMD or RST manages the storage device.
Should You Disable RAID or VMD?
Some systems allow you to disable VMD or change the storage mode from RAID to AHCI. This may expose the drive directly to the Windows installer, but it is not a universal one-click fix.
Changing controller mode on a computer with an existing Windows installation can make that installation unbootable. It may also break a RAID array or conflict with the manufacturer’s recovery tools. Loading the correct OEM storage driver is generally the safer first choice. Change RAID, VMD, or AHCI settings only after checking the device manufacturer’s instructions and backing up important data.
Fix 8: Update SSD Firmware and System Software
Once Windows detects the drive reliably, install the SSD manufacturer’s official management utility when one is available. These tools can report firmware versions, drive health, temperature, and diagnostic information. Examples include Samsung Magician, Kingston SSD Manager, and Western Digital’s supported storage utilities.
Before updating firmware, back up the data and connect a laptop to AC power. Use the latest official utility rather than a third-party download mirror. Kingston recommends connecting the target SSD directly through the appropriate SATA or NVMe interface for firmware work instead of relying on a USB enclosure.
Fix 9: Check the File System Without Formatting
If the SSD has a drive letter but Windows reports file-system errors, you can begin with a read-only check from an elevated Terminal:
Replace E: with the SSD’s actual drive letter. Without repair parameters, CHKDSK reports the volume’s status. The /f option attempts to fix logical errors, while more intensive options can take longer and place additional stress on a failing drive. Copy important files first whenever the drive remains readable. Microsoft documents CHKDSK as a tool for checking file-system and metadata errors, not as a cure for an SSD that is physically disappearing from BIOS.
If the volume appears as RAW, repeatedly disconnects, reports a capacity of zero, freezes the computer, or produces read errors, stop experimenting and assess whether data recovery is more important than returning the device to service.
When the SSD May Have Failed
Software fixes become less promising when the SSD is absent from several computers, disappears intermittently from BIOS, reports serious diagnostic errors, overheats unusually, or repeatedly reconnects under light use.
Test it with another compatible cable, port, enclosure, or computer. If the behavior follows the SSD, check its warranty status. Do not open the SSD casing, repeatedly power-cycle a drive containing irreplaceable data, or run destructive benchmarks. Consumer SSD data recovery often requires specialized equipment and is not guaranteed.
Real-World Troubleshooting Experiences: What Usually Solves It
In practical troubleshooting, the most important lesson is that “not showing up” describes several completely different problems. A new SSD missing from File Explorer may be working perfectly. It simply has no partition or drive letter. This is the easiest case: Disk Management reveals the unallocated disk, a new simple volume is created, and the drive appears before the coffee cools.
Another common experience involves M.2 upgrades. The SSD fits physically, the screw lines up, and everything looks correctbut the motherboard supports only M.2 SATA in that slot while the new drive is NVMe, or vice versa. Because the connectors look similar, people may spend hours reinstalling drivers for hardware that cannot communicate through that slot. Reading the storage table in the motherboard or laptop manual often solves the mystery faster than any Windows command.
Shared motherboard lanes create a similarly sneaky situation. A user adds an NVMe SSD and suddenly an older SATA drive disappears. Nothing failed; the motherboard automatically disabled a particular SATA port when the M.2 slot became active. Moving the SATA cable to another enabled connector brings the missing drive back. This is a classic example of the computer behaving exactly as designed while offering almost no clue about what it has done.
Windows installation problems have their own pattern. The SSD is visible in BIOS, but Windows Setup insists that no storage exists. People often assume the installer is broken or the SSD is defective. On many recent Intel-based systems, the drive sits behind an RST or VMD controller. Loading the laptop manufacturer’s storage driver makes it appear immediately. Disabling VMD may also work on certain models, but loading the correct driver avoids changing a configuration the manufacturer intended to use.
External SSD cases frequently come down to cables and enclosures. A USB-C cable can charge a phone successfully yet fail to carry storage data. A cheap enclosure may advertise “M.2 support” without clearly stating whether it accepts SATA, NVMe, or both. Testing the SSD with a known-compatible enclosure or connecting it directly to the motherboard separates a bad drive from a bad adapter.
There is also a valuable diagnostic pattern in the detection layers. If BIOS cannot see the SSD, concentrate on hardware, compatibility, and firmware. If BIOS sees it but Windows does not, investigate controller drivers and storage settings. If Disk Management sees it but File Explorer does not, focus on partitions, file systems, disk status, and drive letters. Working downward through these layers prevents random troubleshooting and reduces the risk of damaging data.
Finally, the safest technicians resist the urge to format first and ask questions later. When a previously used SSD suddenly becomes unallocated or uninitialized, creating a new volume may make the drive usable but reduce the chance of recovering old files. The correct solution depends not only on whether the SSD can be repaired, but also on whether the data matters. Hardware can be replaced. The only copy of a family archive cannot.
Conclusion
When an SSD is not showing up in Windows 10 or Windows 11, begin by identifying the last place it is visible. Check BIOS or UEFI, Device Manager, Disk Management, Storage Spaces, and Windows Setup in that order. New drives often need initialization, a partition, and a drive letter. Missing installation drives may require an Intel RST or VMD driver. SSDs absent from BIOS require attention to cables, power, slot compatibility, shared ports, and firmware.
A methodical diagnosis is faster and safer than trying every command found in a forum thread. Most importantly, never initialize, format, clean, or repartition a previously used SSD until you have decided whether its existing files need to be recovered.
SEO Data
Note: This guide synthesizes current troubleshooting guidance from Microsoft, Intel, Dell, ASUS, MSI, HP, Lenovo, Samsung, Kingston, Western Digital, and Seagate. Menu names and BIOS options vary by computer model. Back up important files before changing partitions, storage-controller modes, firmware, or disk status.