Installing a medicine cabinet is one of those bathroom upgrades that looks small on paper but feels surprisingly luxurious in real life. One minute your toothbrush, moisturizer, razor, floss, backup toothpaste, and mystery sample packets are staging a hostile takeover on the sink. The next minute, everything has a proper home behind a clean mirror. It is storage, grooming station, and “finally, I can see my countertop again” therapy all in one.
The good news: there is more than one way to install a medicine cabinet. The best method depends on your wall, your cabinet style, your DIY comfort level, and whether your bathroom is hiding plumbing, wiring, or other surprises behind the drywall. The three main approaches are surface-mount installation, recessed installation, and semi-recessed or replacement installation. Each has its own personality. Surface-mount is the friendly beginner. Recessed is the sleek perfectionist. Semi-recessed is the problem-solver that says, “Fine, wall, we’ll compromise.”
This guide walks you through the tools, planning steps, installation methods, safety checks, and practical lessons that make the project smoother. Whether you are refreshing a powder room, replacing an outdated mirrored box, or adding storage to a small bathroom, here is how to install a medicine cabinet without turning your wall into modern art.
Before You Start: Choose the Right Medicine Cabinet
Before you grab a drill, choose the cabinet type that fits your bathroom and your patience level. A medicine cabinet may be mirrored, framed, frameless, lighted, metal, wood, plastic-bodied, single-door, double-door, or designed for left- or right-hand swing. Some models can be installed either on the wall or inside the wall, while others are built for only one method.
Surface-Mount Medicine Cabinets
A surface-mount cabinet attaches directly to the bathroom wall. It does not require cutting a large opening, so it is usually the easiest option for renters, beginners, and anyone who does not want to meet the mysterious creatures living inside old drywall. Surface-mount cabinets often project several inches from the wall, which gives them more visible depth but also more storage space.
Recessed Medicine Cabinets
A recessed medicine cabinet sits inside the wall cavity, leaving only the mirror and trim visible from the front. This creates a clean, built-in look and saves space over a narrow sink. However, it requires cutting into the wall and making sure the cavity is free of pipes, wires, blocking, ductwork, or structural obstacles.
Semi-Recessed or Replacement Cabinets
A semi-recessed cabinet is partly inserted into the wall and partly exposed. This option is useful when the wall cavity is too shallow for a fully recessed model or when you are replacing an old cabinet and the existing opening does not perfectly match the new one. Replacement installation can also be the easiest route if your bathroom already has a framed opening in good condition.
Tools and Materials You May Need
Your exact tool list depends on the cabinet and installation method, but most projects require a tape measure, pencil, level, stud finder, drill, screwdriver, wall anchors or toggle bolts, mounting screws, safety glasses, and painter’s tape. For recessed work, you may also need a drywall saw, utility knife, shims, wood blocking, 2×4 framing pieces, a reciprocating saw, and a flashlight for inspecting the wall cavity.
Do not skip the level. A crooked medicine cabinet is one of those tiny home details you will notice every morning, usually while brushing your teeth and silently judging your past self.
Safety First: Check the Wall Before Cutting
The most important rule of medicine cabinet installation is simple: do not cut blindly into a wall. Bathrooms often contain electrical wiring, water supply lines, drain pipes, vent pipes, blocking, insulation, and framing surprises. Before cutting a large opening, mark the proposed cabinet area, locate the studs, and make a small inspection hole inside the outline. Use a flashlight to look for obstructions.
If you find plumbing, electrical wiring, a vent stack, or anything structural, pause the project. Surface-mount installation may be the better choice. If the cabinet is lighted or includes an outlet, follow the manufacturer’s instructions and local electrical codes. When wiring is involved, hiring a licensed electrician is often the smartest move.
Way 1: Install a Surface-Mount Medicine Cabinet
Surface-mount installation is the most approachable method because the cabinet hangs on the wall rather than inside it. It is ideal for bathrooms where you do not want to cut drywall, where plumbing blocks the wall cavity, or where you simply want a faster upgrade. This method works especially well for powder rooms, apartments, small bathrooms, and quick remodels.
Step 1: Pick the Height and Location
Stand at the sink and decide where the mirror should sit. Most medicine cabinets are centered above the vanity or sink, but comfort matters. The mirror should work for the people who use the bathroom most often. Leave enough clearance above the faucet, below the light fixture, and beside walls or towel bars so the door can open fully.
Use painter’s tape to mark the cabinet outline on the wall. Step back and check how it looks with the vanity, lighting, backsplash, and nearby fixtures. This ten-second visual check can prevent a cabinet that technically fits but looks like it wandered into the wrong bathroom.
Step 2: Locate the Studs
Use a stud finder to locate wall studs behind the installation area. Mark the stud centers lightly with pencil. Whenever possible, drive mounting screws into studs. A medicine cabinet may seem light when empty, but once you add bottles, jars, grooming tools, and the entire “just in case” pharmacy of modern life, the weight adds up quickly.
Step 3: Mark Mounting Holes
Hold the cabinet or mounting bracket against the wall at the chosen height. Use a level to make sure it is straight, then mark the mounting holes. Some cabinets use a hanging rail or mounting bar; others are screwed through the back panel. Follow the cabinet’s specific instructions because hardware design varies by brand and model.
Step 4: Drill Pilot Holes and Add Anchors if Needed
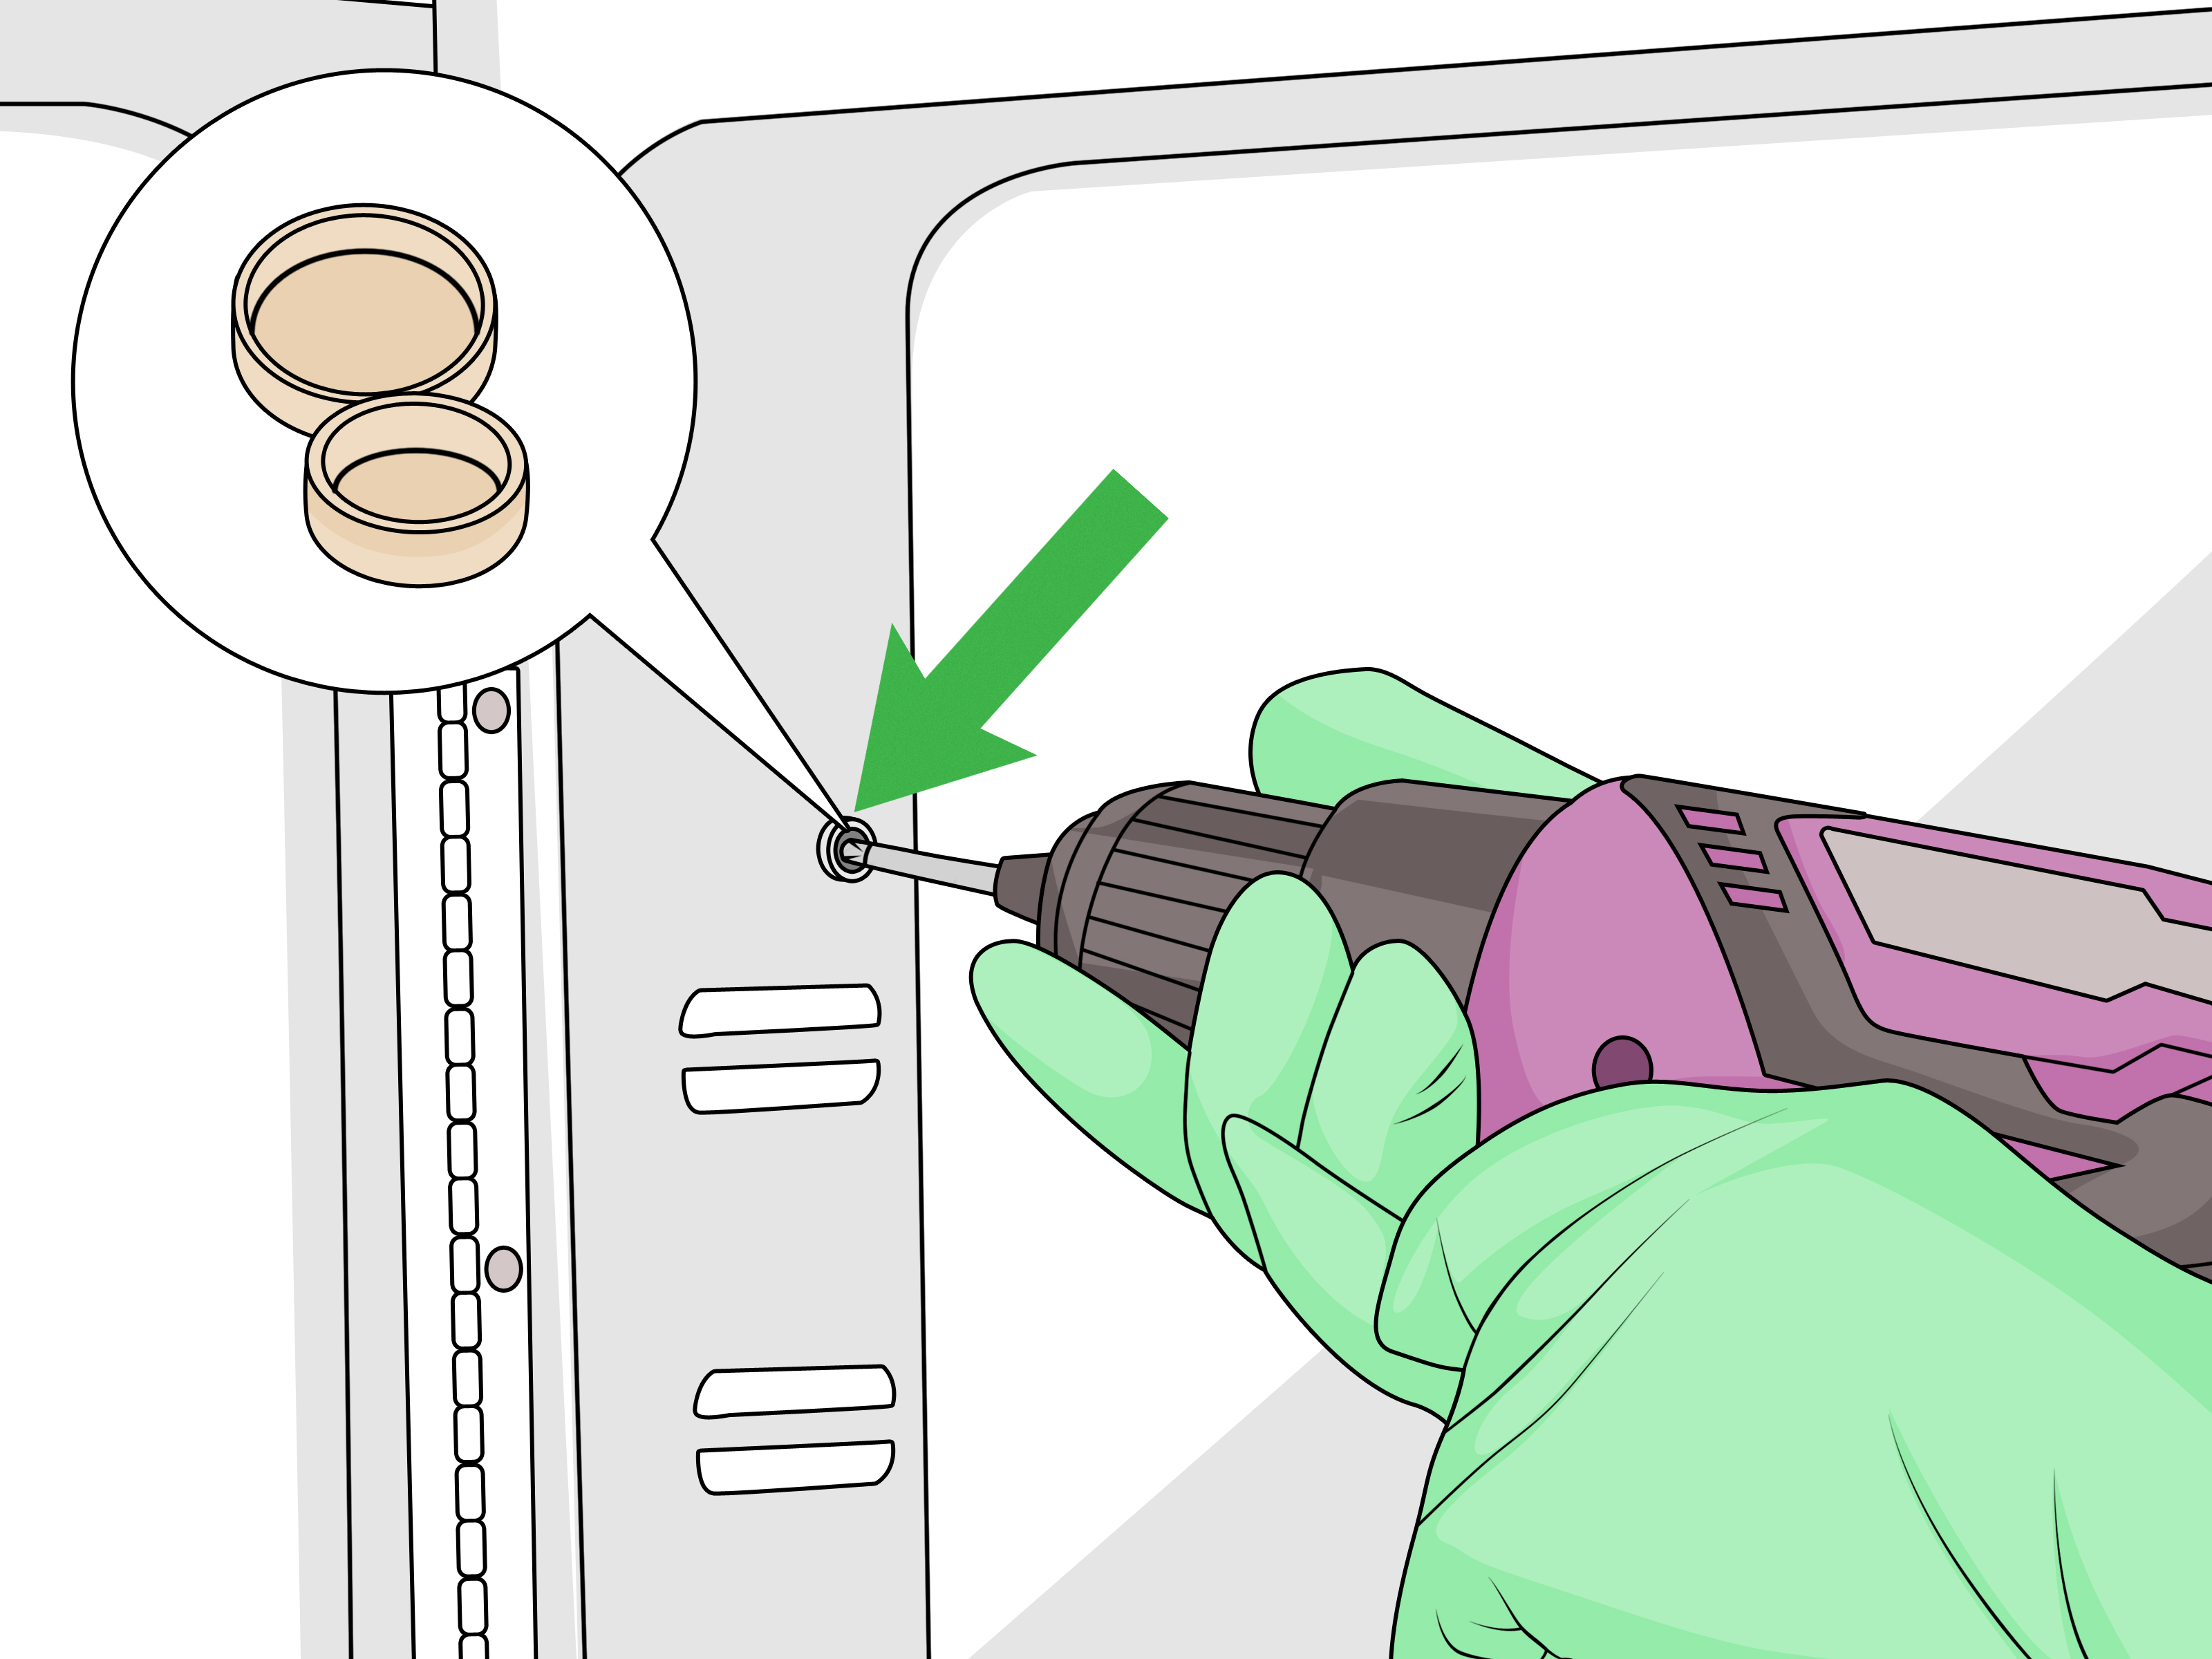
Drill pilot holes where marked. If a hole lines up with a stud, use a screw suitable for wood framing. If a hole lands only in drywall, use a heavy-duty wall anchor or toggle bolt rated for the cabinet’s loaded weight. Drywall alone is not a storage system. It is basically compressed chalk with ambition.
Step 5: Hang and Secure the Cabinet
Lift the cabinet into position. If it is large or mirrored, ask another person to help. Secure the cabinet through the mounting points, checking level as you tighten. Do not overtighten screws, especially on mirrored or aluminum cabinets. Once the cabinet is secure, install shelves, caps, side mirrors, or trim pieces according to the instructions.
Best For
Surface-mount installation is best for beginners, renters with permission, quick bathroom refreshes, walls with hidden obstructions, and anyone who wants useful storage without opening the wall. The main tradeoff is that the cabinet projects outward, so measure carefully in tight bathrooms.
Way 2: Install a Recessed Medicine Cabinet
A recessed medicine cabinet creates the most polished look. It sits inside the wall, so the mirror appears flatter and cleaner. This is a great choice for narrow bathrooms where every inch matters. It is also a favorite in remodels because it gives the room a custom feel without requiring custom cabinetry.
Step 1: Confirm Wall Depth and Cabinet Size
Most recessed cabinets need enough wall depth to fit the cabinet body. Many bathroom walls are framed with 2×4 studs, but actual conditions vary. Measure the cabinet’s rough opening requirements, including width, height, and depth. Do not assume that “almost fits” is good enough. Walls do not stretch, no matter how politely you ask.
Step 2: Mark the Opening
Use the manufacturer’s template or the cabinet body dimensions to mark the cutout. Center it above the sink and use a level to draw straight lines. Some installers add a small amount of clearance around the opening so the cabinet slides in without a wrestling match. Keep the opening neat; the cabinet flange or trim should cover the cut edge.
Step 3: Inspect the Wall Cavity
Cut a small inspection hole inside the marked area before making the full cut. Look for wires, pipes, vents, or blocking. If you discover a minor obstruction that can be safely rerouted, consider calling a professional. If the wall contains major plumbing or structural framing, switch to surface-mount or semi-recessed installation.
Step 4: Cut the Drywall
Score the outline with a utility knife to reduce tearing, then cut carefully with a drywall saw. Work slowly. It is easier to enlarge a small opening than to repair an opening that looks like it was attacked by a raccoon with a multitool.
Step 5: Frame the Opening
A recessed cabinet should be secured to solid framing. Depending on stud placement, you may need to add horizontal blocking at the top and bottom of the opening or install framing pieces between studs. The goal is a square, sturdy rectangle that supports the cabinet body. Use shims if necessary so the cabinet sits plumb and level.
Step 6: Insert and Fasten the Cabinet
Remove the cabinet door if the instructions recommend it. This makes the cabinet lighter and reduces stress on the hinges during installation. Slide the cabinet body into the opening, check that it is centered, level, and plumb, then secure it through the side holes into the framing. Reinstall the door, adjust hinges if needed, and add shelves.
Best For
Recessed installation is best for homeowners who want a sleek built-in look, bathrooms with limited walking space, and remodels where drywall work is already part of the plan. It is less ideal if the wall is full of plumbing, wiring, or vent pipes.
Way 3: Install a Semi-Recessed or Replacement Medicine Cabinet
The third method is the practical middle ground. Semi-recessed and replacement installations are perfect when a fully recessed cabinet is not possible but a surface-mount cabinet feels too bulky. This method can also save time when you are removing an old medicine cabinet and using the existing wall opening.
Step 1: Remove the Old Cabinet Carefully
If replacing an existing cabinet, open the door and look for screws along the sides, top, bottom, or back. Support the cabinet while removing fasteners. Older cabinets may be painted or caulked to the wall, so score around the edges with a utility knife before pulling. Do not yank. Drywall has a dramatic personality and may come with it.
Step 2: Measure the Existing Opening
Measure the width, height, and depth of the opening. Compare those measurements with the new cabinet’s rough opening requirements. If the new cabinet is slightly smaller, trim or filler pieces may cover the difference. If it is larger, you may need to cut drywall and adjust framing. If it is much deeper than the wall cavity, a semi-recessed installation may be better.
Step 3: Repair and Reinforce the Opening
Check the condition of the surrounding drywall and framing. Tighten loose blocking, replace damaged wood, and patch crumbling edges. Add shims where needed so the cabinet sits square. This hidden prep work is not glamorous, but it is what keeps the mirror door from swinging open like it has a personal grudge.
Step 4: Test-Fit the Cabinet
Place the cabinet body into the opening before fastening it. Confirm that the door swing works, the mirror clears the faucet and lighting, and the cabinet flange covers the wall edges. For semi-recessed cabinets, check that the exposed sides look intentional. Some models require side kits or trim panels for a finished appearance.
Step 5: Fasten, Trim, and Finish
Secure the cabinet according to the manufacturer’s instructions. Use screws into framing whenever possible. Add trim, side panels, shelves, bumpers, caps, and door hardware. A thin bead of paintable caulk around the trim can create a clean transition, but avoid sealing areas that the manufacturer says should remain accessible or ventilated.
Best For
Semi-recessed or replacement installation is best for older bathrooms, shallow wall cavities, imperfect openings, and upgrades where you want a built-in look without major construction. It is also helpful when you are working around existing framing that would be difficult to move.
How to Choose the Best Installation Method
Choose surface-mount installation if you want the easiest project, have a wall full of obstructions, or prefer not to cut drywall. Choose recessed installation if you want a clean, space-saving look and your wall cavity is clear. Choose semi-recessed or replacement installation if you are adapting to an existing opening, shallow framing, or a cabinet that needs a hybrid approach.
Also consider the door swing. A left-hinged cabinet may be perfect in one bathroom and deeply annoying in another. Make sure the door does not hit a side wall, light fixture, towel ring, faucet, or your forehead. If two people share the vanity, a wider or double-door cabinet may make mornings less theatrical.
Common Mistakes to Avoid
Skipping the Stud Finder
Medicine cabinets need solid support. Even with anchors, studs or framing provide the strongest hold. Always locate framing before committing to a mounting plan.
Forgetting Door Clearance
Measure the swing before drilling. A beautiful cabinet that cannot open fully is just a shiny wall decoration with commitment issues.
Cutting Before Inspecting
Never assume the wall cavity is empty. Make a small inspection opening first. Pipes and wires love to hide exactly where your perfect cabinet was supposed to go.
Mounting Too High or Too Low
The mirror should be comfortable for daily use. Consider everyone in the household, not just the tallest person with the strongest opinions.
Ignoring Manufacturer Instructions
Medicine cabinets vary. Some require a mounting rail, some need side kits, some allow reversible doors, and some have specific fastener requirements. Read the instructions before installing, not after something wobbles.
Maintenance After Installation
Once your medicine cabinet is installed, clean the mirror with a soft cloth and mild glass cleaner. Spray cleaner onto the cloth rather than directly onto mirror edges, especially on frameless mirrors, to reduce the risk of moisture getting behind the reflective coating. Check screws and hinges after a few weeks of use, especially if the cabinet is heavy or frequently opened.
Inside the cabinet, use small bins or shelf organizers to keep items from tipping over. Store daily essentials at eye level and rarely used items higher up. Despite the name, the bathroom medicine cabinet is not always the best place for every medication because bathrooms can be humid. Check product labels and store temperature-sensitive items where recommended.
Real-World Experience: What Actually Makes the Project Easier
The biggest lesson from installing medicine cabinets is that measuring once is optimism, measuring twice is wisdom, and measuring three times is what keeps you from learning drywall repair at midnight. Before you drill or cut, place painter’s tape on the wall to represent the cabinet size. Live with it visually for a few minutes. Open the faucet, stand in front of the sink, pretend to open the mirror door, and check whether the cabinet feels natural. This small rehearsal often reveals problems that measurements alone miss.
Another practical tip is to remove the cabinet door when possible. Mirrored doors add weight and make the cabinet awkward to hold. Taking the door off can turn a two-person wrestling match into a controlled installation. Keep the screws and hinge parts in a small cup or plastic bag so they do not disappear into the same universe as missing socks and tiny Allen wrenches.
For surface-mount cabinets, do not rely on the included hardware without thinking. Some included anchors are fine for light-duty use, but bathroom walls vary. If your cabinet is large, deep, or heavy, choose fasteners that match your wall type and the cabinet’s loaded weight. Studs are best. Toggle bolts can be useful when studs are not perfectly positioned, but the cabinet still needs stable support. If the wall feels soft, damaged, damp, or crumbly, repair it before mounting anything.
For recessed cabinets, patience is everything. The rough opening should be straight, but it does not need to be a museum-quality rectangle if the flange covers the edge. What matters most is that the cabinet body is supported, level, plumb, and not twisted. A cabinet installed slightly out of square can cause the door gap to look uneven or the mirror to swing strangely. Shims are your quiet little heroes here.
Lighting also matters more than people expect. If you replace a large flat mirror with a smaller medicine cabinet, the bathroom may suddenly feel darker or visually narrower. Before choosing a cabinet, think about the vanity light above it. Will the light still be centered? Will the cabinet door hit the fixture? Will the mirror reflect light well? A slightly wider mirrored cabinet can make a small bathroom feel brighter, while a dark framed cabinet can add style but may visually shrink the wall.
One underrated experience tip: empty the vanity and protect the sink before working. Lay a towel over the basin and countertop. Tools, screws, and cabinet corners have a magical ability to find porcelain. The towel also catches tiny parts before they roll into the drain. It is not fancy, but it saves frustration.
Finally, know when to switch methods. If you planned a recessed cabinet but discover a pipe in the wall, that is not failure. That is information. A good surface-mount cabinet can still look stylish, especially with clean lines, side mirrors, or a frame that matches your fixtures. The goal is not to prove your bravery to the drywall. The goal is a safe, sturdy, good-looking cabinet that makes your bathroom easier to use every day.
Conclusion
Learning how to install a medicine cabinet starts with choosing the right method for your wall and your skill level. Surface-mount cabinets are fast, flexible, and beginner-friendly. Recessed cabinets offer the cleanest built-in look but require careful wall inspection and framing. Semi-recessed or replacement cabinets solve the awkward middle cases, especially in older bathrooms where the existing opening does not match modern cabinet sizes.
Whichever route you choose, the winning formula is the same: measure carefully, check for obstructions, anchor the cabinet securely, keep it level, and follow the manufacturer’s instructions. Do that, and your bathroom gets more storage, a cleaner sink area, and a mirror that quietly says, “Yes, this household has its life together.” Even if the drawer full of travel-size shampoo bottles says otherwise.