Installing a car seat base can make even calm, organized adults mutter things they would never say at a baby shower. One minute you feel confident. The next, you are crouched in the back seat, staring at a tiny bubble level like it just insulted your parenting. The good news is that learning how to level a car seat base is absolutely doable, and it does not require a degree in engineering, interpretive dance, or brute-force wrestling with your upholstery.
If you are working with an infant car seat or a rear-facing seat that relies on the correct recline, the angle matters. A base that sits too upright can let a newborn’s head tip forward more than it should. A base that leans too far back can create a sloppy fit or make installation harder than it needs to be. The sweet spot is the angle your car seat manufacturer recommends for your child’s age, size, and stage.
This guide breaks the process into three practical methods. You will learn how to use the seat’s built-in recline features, how to improve the setup by changing the installation approach, and when an approved rolled towel or pool noodle may help. Along the way, we will keep things realistic, because “simple installation” is often code for “you may sweat a little.”
Why the Car Seat Base Angle Matters
A properly leveled car seat base is about more than aesthetics. This is not the automotive version of straightening a picture frame in your hallway. Rear-facing seats are designed to hold babies at a safe recline so the airway stays open and the head does not flop forward. That is why most infant seats and many rear-facing convertible seats include a recline indicator, a level line, a bubble, or a color zone.
Before making adjustments, always start with the two manuals that somehow become invisible the second you need them most: the car seat manual and your vehicle owner’s manual. They tell you where the seat can go, whether to use lower anchors or the seat belt, how the recline indicator works, and whether your model allows extra help like a rolled towel.
Also, do your angle checks on level ground whenever possible. If your driveway slopes like a skateboard park, your car seat indicator may give you a reading that is less helpful than you think.
Way 1: Use the Base’s Built-In Recline Adjustment
The easiest and cleanest way to level a car seat base is to use the adjustment features that came with it. Many infant seat bases include a recline foot, adjustable base positions, or another built-in mechanism that changes the angle. This is the first place to look because it is the method the manufacturer intended, tested, and explained in the manual you promised yourself you would read cover to cover.
How to do it
Place the base in the back seat in the correct rear-facing position. Set it on the vehicle seat and locate the recline feature. Depending on the model, you may press a button, pull a lever, or flip out a small foot. Once the base is resting in the vehicle seat, look at the level indicator on the side or top of the seat. Adjust until the line is level or the bubble lands in the approved zone.
Then install the base using either the lower anchors or the seat belt, whichever method your manual allows for that seating position. Tighten the installation and check the level indicator again. Sometimes the angle changes once the base is fully secured, which is the car-seat version of the universe saying, “Nice try, do it again.”
Why this method works
Built-in recline systems are designed specifically for the seat. They are usually faster, neater, and less error-prone than improvising with add-ons. If your base has several positions, one may work beautifully in a sedan while another is better for a deeply sloped SUV seat cushion.
Common mistakes to avoid
Do not assume “close enough” is good enough. If your seat uses a bubble or level line, follow that indicator exactly. Do not eyeball it from the front seat while holding a coffee. Also, do not skip the recheck after tightening. A base can look perfect before installation and then shift slightly once the belt or anchors are snug.
Finally, do not confuse recline for comfort. The correct angle is not about giving your baby first-class seating. It is about safe positioning according to the product’s design.
Way 2: Change the Installation Setup Before You Add Anything
Sometimes the base is technically adjustable, but the vehicle seat shape is working against you. This is common in cars with sloped cushions, bucket-style contours, or firm seat bolsters. Before you reach for a towel or a pool noodle, try improving the fit by changing the setup itself.
Try a different seating position if allowed
Not every rear seat position is shaped the same. The center can be flatter in one vehicle and dramatically raised in another. An outboard spot may let the base settle more naturally. The safest place is the position where you can get the best secure installation while following both manuals. So if the middle seat gives you a weird angle and the passenger-side rear seat gives you a perfect one, the “better installation” often wins over the “looks ideal on paper” choice.
Switch installation methods if your manuals allow it
In some cars, the lower anchors pull the base into a slightly different angle than the seat belt does. In others, the seat belt gives a more stable, more level fit. If your car seat allows either method for that position, test both. Use only one method at a time unless the manufacturer specifically says otherwise. This is not a “more straps, more safety” situation.
Apply pressure in the right place
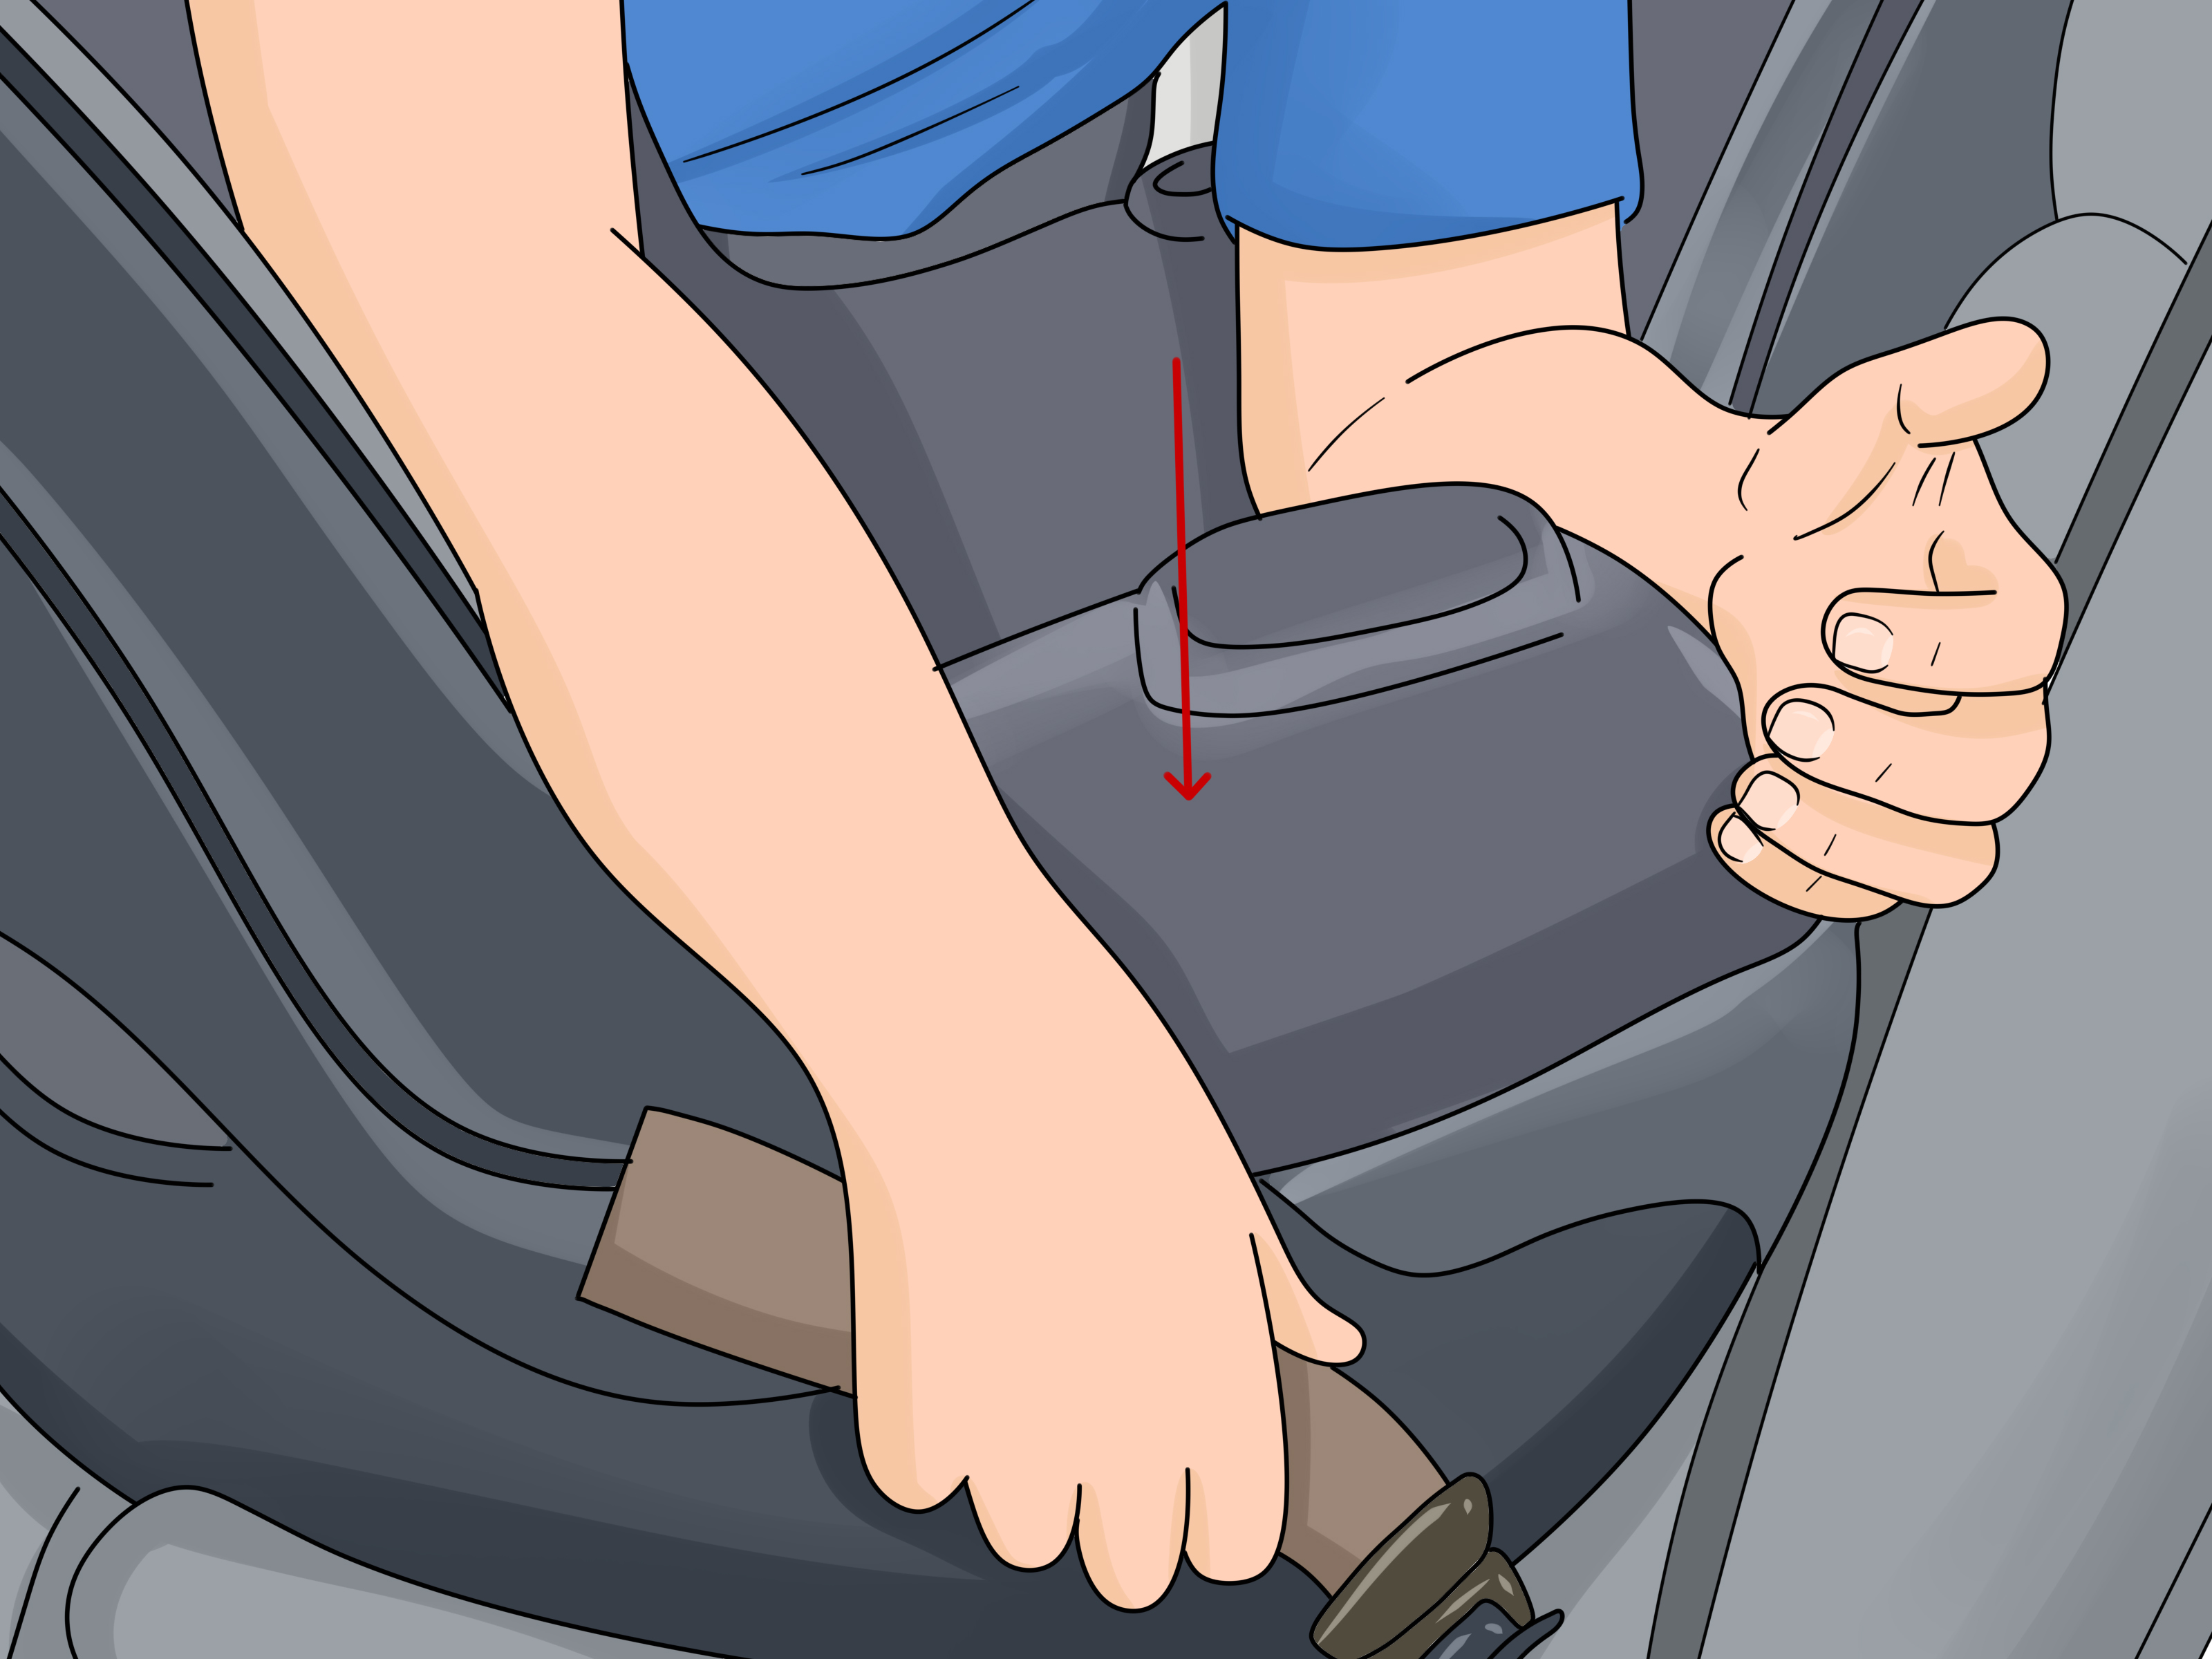
Where you press during installation can change the final angle. When tightening, press where the manual recommends. For some rear-facing bases, that means pushing down where the baby’s feet would go. For others, it may mean compressing the base near the belt path while tightening. A little change in pressure can make the bubble level go from “absolutely not” to “beautifully within range.”
Why this method is smart
This approach solves the problem without adding any extra material. It also helps you learn how your seat and your vehicle interact. That matters because the installation that works flawlessly in your car might behave differently in a grandparent’s crossover or a rideshare vehicle.
What to watch for
Always check for tightness at the belt path after you finish. The seat should not move more than about an inch side to side or front to back at the belt path. If you finally achieve the perfect angle but the base slides around like it is auditioning for an action movie, the installation still needs work.
Way 3: Use an Approved Rolled Towel or Pool Noodle When the Manufacturer Allows It
This is the method people hear about from friends, parenting forums, and that one relative who has very strong opinions about everything. Yes, a tightly rolled towel or a cut section of pool noodle can sometimes help level a rear-facing car seat base. No, it is not a universal trick for every seat. It is only appropriate if your car seat manufacturer allows it and explains how to use it.
When this method makes sense
If your rear seat has a steep slope and the built-in recline feature still does not get the indicator into the correct zone, an approved support at the vehicle seat crease may help. Some manufacturers explicitly permit this for rear-facing installation. Others do not. Some allow it for certain models but not others. That is why the manual matters more than internet folklore.
How to do it safely
If your manual says it is allowed, tightly roll a towel or use the specified size and placement of pool noodle section described by the manufacturer. Place it where directed, usually near the vehicle seat bight, which is the crack where the seat back and seat bottom meet. Then reinstall the base and check the indicator again.
The support should help achieve the correct angle, not create a weird homemade throne. Once the base is installed, recheck that it is tight at the belt path and that the recline indicator is in the approved range.
Important warnings
Do not use random accessories, extra pads, wedges, or aftermarket gadgets unless they came with the seat or are specifically approved by the manufacturer. This includes those products marketed like they were invented by a baby-safety wizard. If the seat maker did not approve it, skip it.
Also, do not assume towel-or-noodle guidance applies to forward-facing mode. Many manufacturers specifically warn against using them that way. Rear-facing rules and forward-facing rules are not interchangeable.
Quick Checklist for Leveling a Car Seat Base
Before installation
- Park on level ground.
- Read the car seat manual and vehicle manual.
- Confirm the correct rear-facing belt path or anchor path.
- Locate the level indicator and recline adjustment.
During installation
- Use the built-in recline feature first.
- Try the seating position or installation method that gives the best fit.
- Use a rolled towel or pool noodle only if the manufacturer allows it.
- Tighten the installation and check the angle again.
After installation
- Make sure the base moves less than one inch at the belt path.
- Double-check that the recline indicator is in range.
- Confirm the carrier clicks securely into the base, if applicable.
- Get a certified car seat check if you are unsure.
When to Ask for Help
There is no trophy for struggling alone in a parking lot while pretending you definitely know what you are doing. If you are unsure whether the base is level, secure, or correctly installed, get help from a certified Child Passenger Safety Technician. A hands-on check can save time, reduce stress, and catch mistakes that are hard to spot when you have been staring at the same bubble indicator for thirty minutes.
Professional help is especially useful if you have a small newborn, a preemie, a vehicle with unusually sloped seats, or a seat that seems impossible to level no matter what you try. In those cases, a technician can show you the best positioning, installation method, and model-specific adjustments for your setup.
Conclusion
Learning how to level a car seat base comes down to using the safest option in the right order. Start with the base’s built-in recline features. If the angle still looks wrong, improve the setup by changing the seat position, installation method, or tightening technique. Only then should you consider an approved rolled towel or pool noodle, and only if your manufacturer says it is allowed.
The goal is not a base that looks impressively flat to the naked eye. The goal is a base that matches the seat’s indicator, fits your vehicle correctly, and keeps your child positioned safely. Once you get it right, you will feel a strange and deeply satisfying sense of victory over plastic, straps, and gravity. Honestly, you will have earned it.
Real-Life Experiences and Lessons Learned From Leveling a Car Seat Base
The most common experience parents describe is surprise. They assume the base will just drop into the car, click into place, and magically line itself up like a premium appliance. Then they discover that one car’s back seat is flatter than another, one installation method changes the angle more than expected, and one tiny bubble can suddenly become the most powerful critic in the vehicle. That learning curve is normal.
One parent with a compact sedan may find that the base levels perfectly in the passenger-side rear seat using the seat belt, but looks too upright in the center with lower anchors. Another family with a larger SUV may discover the exact opposite. Grandparents often run into the same issue when they install the same infant seat in an older car with deeply sloped cushions. In real life, “works great in our car” does not always mean “works the same everywhere.”
Another common experience is overcorrecting. Caregivers see that the seat looks too upright, then they recline it too much trying to fix it. The result is a base that is technically secure but no longer in the recommended indicator range. This is why the level line or bubble matters so much. It keeps you from making adjustments based only on appearance. Human eyes are not terrible, but they are not precision tools either, especially when looking at a seat wedged into a dark back row.
Many parents also say the biggest breakthrough came when they stopped treating the installation like a strength contest and started treating it like a system. Instead of just pulling harder on the strap, they adjusted the recline foot first, shifted pressure to the correct part of the base, and tightened in a more controlled way. That often solved the issue without any extra tricks. In other words, technique beat muscle. Your shoulders will appreciate this.
Families with newborns and premature babies often become especially aware of angle and positioning. They tend to pay closer attention to head position and may feel more anxious about whether the seat is upright enough or too upright. That anxiety is understandable. In those situations, a technician visit or hospital guidance often gives parents the confidence that the seat is set correctly and that they are not just guessing their way through the most important cargo trip of their lives.
There is also the emotional side. A surprisingly large number of parents report that once the base is finally level and secure, they feel immediate relief. Not “mild satisfaction.” Real relief. The seat clicks in cleanly, the carrier feels stable, and they stop second-guessing every small movement. That peace of mind matters. It turns the car seat from a source of daily stress into a routine safety habit.
The biggest lesson from real-world experience is simple: take your time, trust the manual, and do not be embarrassed to ask for help. Leveling a car seat base is one of those tasks that looks simple from the outside but gets much easier once someone shows you the details. The first installation may take longer than expected. The second will be faster. By the third, you may even become the calm, wise person in the family explaining recline indicators at the curb. Use that power responsibly.