Note: This article is written for standard washable household fabrics and clothing. Always check the care label, wear gloves when handling cleaning products, and spot-test any fix in a hidden area first.
Bleach is great when you want your whites to look bright, your bathroom to look respectable, and your cutting board to stop looking like it has seen things. But when bleach lands where it should not, it becomes the chaos goblin of the laundry room. One tiny splash can turn your favorite shirt, towel, or pair of jeans into an accidental abstract art project.
Here is the tricky part: most “bleach stains” are not really stains in the usual sense. Bleach often removes or changes the dye in fabric. That means you are usually not lifting something out of the material. You are dealing with lost color. Translation: the best fix is often not “cleaning” the spot, but restoring, disguising, or redesigning it.
The good news is that a bleach mark does not always mean game over. Small spots can often be blended in. Medium discoloration can sometimes be re-dyed. Bigger damage can be covered creatively. And if you play your cards right, you might even end up with a piece that looks intentional instead of tragic.
What to Know Before You Try to Fix a Bleach Stain
Before jumping into rescue mode, take a minute to assess what happened. This step matters because the right solution depends on the fabric, color, and size of the damage.
1. Figure out whether the fabric lost color or just changed tone
If the area looks pale, orange, pinkish, yellow, or strangely lighter than the surrounding fabric, that usually means the bleach altered the dye. In that case, stain remover alone will not solve the problem. You need a color fix, not a scrubbing marathon.
2. Check the fabric type
Cotton, polyester blends, denim, and many everyday washable fabrics are usually the easiest to work with. Silk, wool, rayon blends, and delicate performance fabrics are less forgiving. If the item is expensive, sentimental, or dry-clean-only, it may be smarter to consult a professional cleaner than to go full DIY scientist at midnight.
3. Rinse if the bleach is still fresh
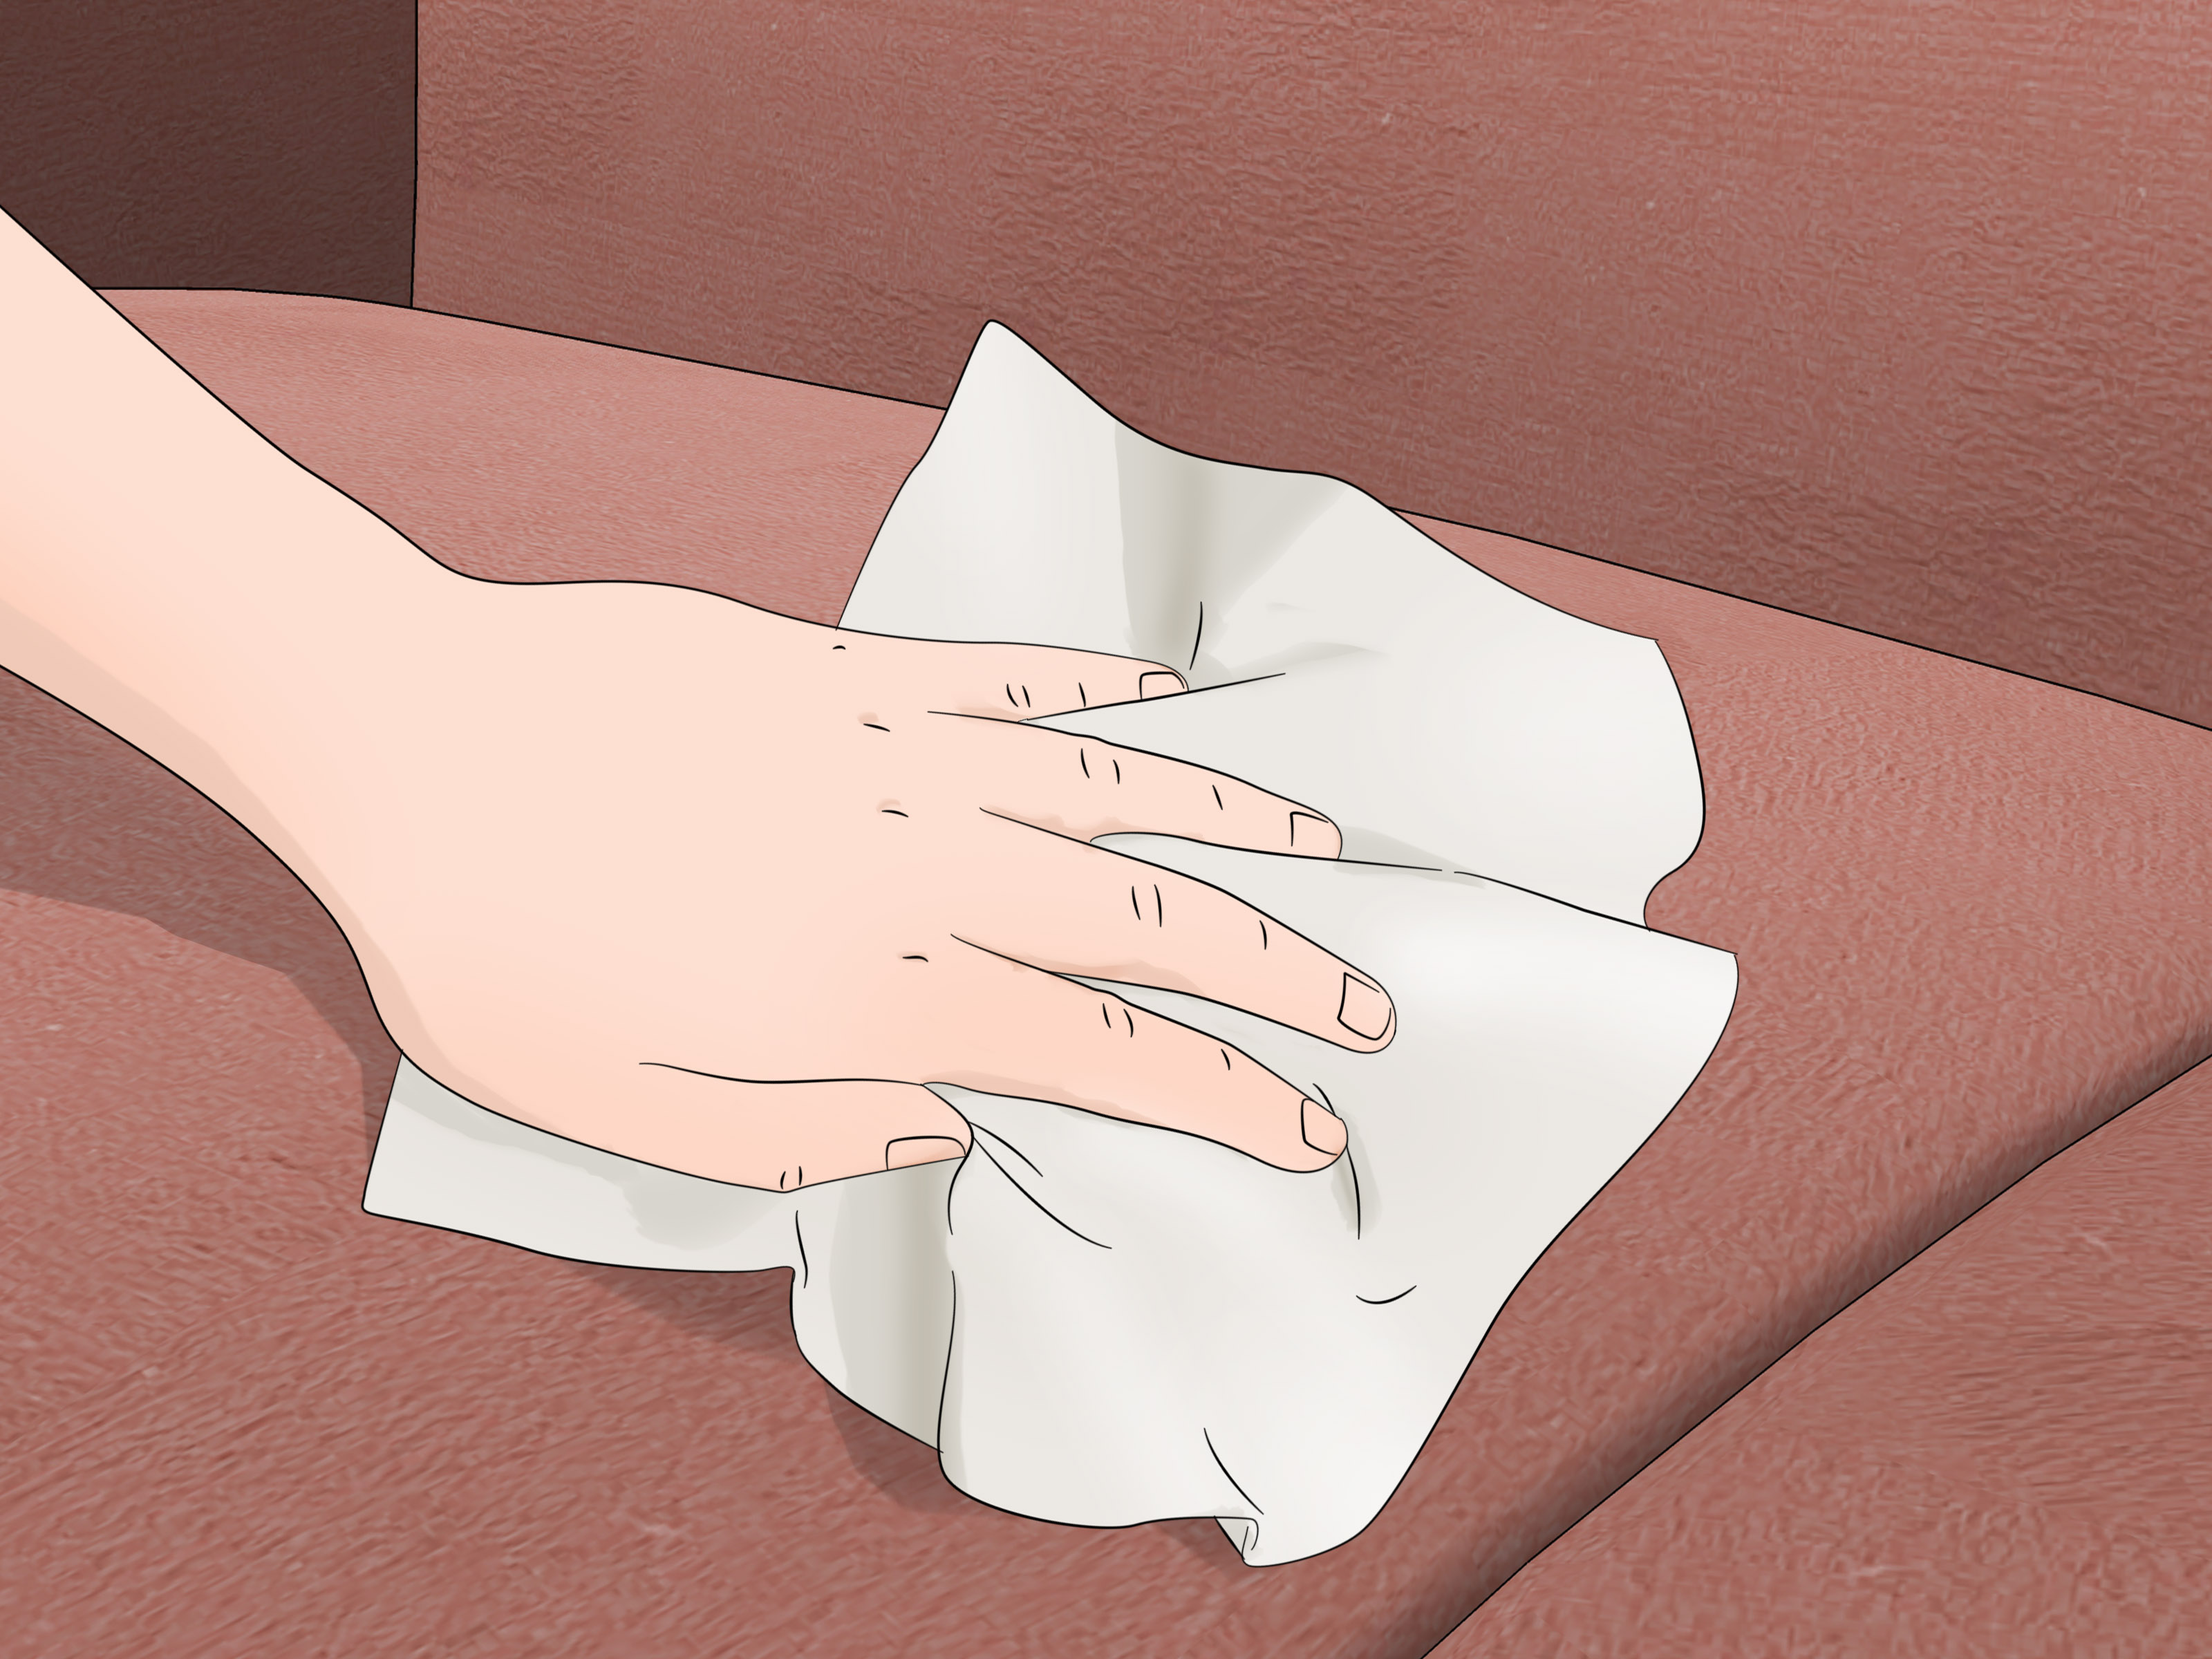
If the spill just happened, blot and rinse with cool water right away. This may not reverse the color loss that has already occurred, but it can stop more damage from spreading. Do not rub aggressively. That only roughs up the fabric and gives you two problems instead of one.
4. Never mix random cleaners with bleach
This is not the moment to combine vinegar, ammonia, or anything else in a dramatic cleaning cocktail. If there is still active bleach on the fabric or surface, rinse thoroughly first. Safety first, laundry second, panic third.
Way #1: Use a Fabric Marker or Laundry Pen for Small Bleach Spots
If the bleach stain is small, this is often the quickest and least annoying fix. A fabric marker, laundry marker, or color pen can restore the look of the area without requiring you to re-dye the whole item.
When this method works best
- Tiny bleach specks on shirts, pants, uniforms, and canvas items
- Dark or solid colors like black, navy, charcoal, or olive
- Areas that are not heavily textured
How to do it
- Wash and dry the item first so you are working on clean fabric.
- Choose a fabric marker that matches the original color as closely as possible.
- Test the marker on an inside hem or hidden seam.
- Dab lightly over the bleach spot instead of drawing a heavy block of color.
- Let it dry completely and compare it in natural light.
- Add a second light layer only if needed.
For black clothes, this can be surprisingly effective. In fact, black garments are usually the easiest to fake your way through because a good black fabric pen or even a carefully matched permanent marker can make a tiny bleach spot almost disappear.
Pros
- Fast and inexpensive
- Great for tiny spots
- No bucket, no dye bath, no existential crisis
Cons
- Harder to match complex colors exactly
- May fade after repeated washing
- Large spots can end up looking like an obvious cover-up
Pro tip: If the shirt is heathered or not a flat solid color, use very light strokes in different directions to mimic the original texture. Coloring one perfect square on a soft knit shirt is a great way to make the fix stand out like a billboard.
Way #2: Try the Rubbing Alcohol Transfer Method
This method is one of the more interesting bleach-stain tricks because it does not simply paint over the damage. Instead, it can help move some of the surrounding dye into the lighter area. Think of it as encouraging the color to scoot over and help its struggling neighbor.
When this method works best
- Small to medium bleach marks
- Dark fabrics and medium-tone colors
- Garments with extra hidden fabric, such as seam allowances or hems
How to do it
- Place a white towel or cloth behind the damaged area.
- Dampen a cotton swab or clean cloth with rubbing alcohol.
- Gently rub around the outside edge of the bleach mark.
- Use small circular motions to pull some of the surrounding dye toward the center.
- Blot, evaluate, and repeat slowly.
- Rinse with cool water and let it air-dry before deciding whether it worked.
You are not trying to scrub the life out of the fabric. You are coaxing color inward a little at a time. This method takes patience. It is not glamorous, but it can soften harsh edges and make a bleach spot much less obvious.
Pros
- Useful for blending instead of covering
- Can make the spot look more natural
- Good before trying a fabric marker
Cons
- Results vary by fabric and dye type
- Not ideal for delicate fabrics
- Too much rubbing can damage the surface
Best strategy: Use this method first to blur the bleach mark, then fine-tune the area with a matching fabric marker. That one-two combo often looks better than using either method alone.
Way #3: Re-Dye the Entire Garment
If the bleach stain is too big for a marker and too noticeable for blending, re-dyeing the whole garment is often your best shot. This is especially true for T-shirts, leggings, jeans, sweatshirts, pillow covers, and other washable fabrics with a single main color.
When this method works best
- Large bleach stains
- Multiple bleach spots
- Solid-color garments that still have good shape and fabric quality
How to do it
- Check the fabric content and buy a dye designed for that type of material.
- Wash the item first to remove detergent residue, oils, and dirt.
- Follow the dye package directions carefully for water temperature and soaking time.
- Dye the entire garment, not just the bleach mark.
- Rinse thoroughly and wash separately the first few times.
Trying to dye only the bleach spot usually creates a new problem: the patch looks darker or flatter than the surrounding fabric. Whole-garment dyeing gives you a much more even result. It also lets you change the color slightly if an exact match is unrealistic. For example, turning a faded black shirt into a refreshed black is often easier than restoring a complicated dark green.
Pros
- Best fix for large or multiple bleach stains
- Can make old clothes look new again
- Works well on cotton, linen, rayon, and some blends with the right dye
Cons
- More work than a marker fix
- Requires the right dye for the fabric
- Stitching and trims may not take dye the same way
Important: The thread, zipper, logo, and topstitching may stay the original color or dye differently. Sometimes that looks cool. Sometimes it looks like the garment lost an argument. Plan accordingly.
Way #4: Cover, Patch, Embroider, or Turn the Damage into a Design
Sometimes the best way to get rid of a bleach stain is not to hide it completely but to outsmart it. If the spot is awkward, large, or in a place where color matching will be obvious, creative camouflage can save the day.
Options that actually work
- Iron-on patches for jeans, jackets, and backpacks
- Embroidery over the spot on shirts, sweatshirts, or hats
- Appliqué shapes such as stars, flowers, hearts, or geometric designs
- Intentional bleach art or tie-dye effects that make the mark look planned
- Visible mending with decorative stitching
This approach works especially well on kids’ clothes, denim, casual cotton pieces, tote bags, and home textiles. A single weird bleach blotch looks like an accident. A cluster of intentionally placed embroidered daisies looks like a design decision. The fabric does not know the difference, and frankly, neither will most people.
Pros
- No need to color-match exactly
- Great for large or badly damaged areas
- Can make the item more unique than before
Cons
- Not ideal for formalwear or work uniforms
- Takes a little creativity
- Some patches and embellishments may peel or wear over time
Style bonus: Denim jackets, black jeans, and canvas totes are especially forgiving here. A bleach accident on a dress shirt is annoying. A bleach accident on a tote bag is one patch away from becoming “hand-customized.”
Can You Fix Bleach Stains on White Clothes?
Sometimes bleach leaves yellowish or dull-looking marks on white fabrics. In those cases, the issue may be uneven whitening, fabric damage, or residue from an earlier product reaction. You may be able to improve the appearance with a whitening soak, oxygen-based whitener, or careful rewashing designed for whites. But if the fibers are weakened or the bleach permanently changed the fabric, even white items may not fully recover.
This is why it helps to keep expectations realistic. “Fix” can mean a lot of things. Sometimes it means perfect restoration. Sometimes it means “good enough that nobody will notice unless they are inspecting your shirt from six inches away like a detective in a laundry crime show.”
Mistakes to Avoid When Treating Bleach Stains
- Do not keep adding more bleach. More bleach does not erase a bleach mark. It usually makes the area bigger or weaker.
- Do not skip spot testing. Rubbing alcohol, dye, and markers can all behave differently depending on the fabric.
- Do not use high heat too soon. Let the item air-dry after a fix attempt so you can see the true result.
- Do not expect one universal method to work on every fabric. Cotton is not silk. Denim is not rayon. Your laundry room should respect that.
- Do not mix bleach with other cleaning products. Rinse first, ventilate the area, and keep the chemistry boring.
How to Prevent Bleach Stains in the Future
Once you have nursed a favorite item back from a bleach disaster, you will probably want to avoid repeating the experience. Fair. Here are a few smart habits that help:
- Use bleach only when the care label allows it.
- Measure carefully instead of pouring with wild confidence.
- Add bleach to the dispenser, not directly onto clothes, unless the product instructions say otherwise.
- Wear old clothes when cleaning with bleach-based products.
- Keep bleach away from colored towels, bath mats, and hampers.
- Be cautious with skincare products like acne treatments that can bleach towels and pillowcases.
- Store bleach securely and handle it in a well-ventilated area.
Which Method Should You Choose?
If you want the fastest cheat sheet possible, here it is:
- Tiny spot on black clothing: use a black fabric marker.
- Small spot on dark or medium fabric: try rubbing alcohol to blend, then touch up with a marker.
- Big stain on a solid-color item: re-dye the whole garment.
- Awkward or ugly damage: cover it with a patch, embroidery, or intentional redesign.
That is the real secret to getting rid of bleach stains: stop chasing a miracle cleaner and start using the method that fits the type of damage. Bleach is a color thief. Your job is to restore the look, not argue with chemistry.
Experience-Based Tips: What Bleach Stain Fixes Feel Like in Real Life
If you have ever dealt with bleach stains before, you already know the emotional timeline. First comes confidence. You are cleaning the bathroom like a responsible adult. Then comes confusion. Why is your sleeve lighter? Then comes grief. That was your favorite shirt. Finally comes bargaining. Maybe if you wash it again, pray over it, and stare hard enough, the stain will leave. It will not. But that does not mean the item is doomed.
In real life, the easiest wins usually come from small spots. A black tee with one or two tiny bleach freckles is often salvageable in under ten minutes with a marker. The trick is restraint. People usually overdo the color, press too hard, or forget that wet ink looks darker than dry ink. A light hand works better. So does checking the shirt in daylight instead of under the aggressively flattering lighting of a laundry room bulb.
Medium-size bleach stains are where expectations need a reality check. This is the stage where many people try to scrub, soak, or wash the spot out over and over. That rarely helps because the color is already gone. What does help is shifting your mindset from removal to restoration. Once people accept that, they usually get better results. A little rubbing alcohol blending followed by a careful touch-up often turns a glaring stain into a “you only notice it if you know where to look” situation.
Large bleach marks are the ones that teach humility. If a towel, sweatshirt, or pair of jeans has a big pale splotch, the best outcome usually comes from doing something bold. Re-dye it. Patch it. Embroider over it. Turn it into a design. The people who get the best results are not always the neatest or most technical. They are the ones willing to stop fighting the damage and work with it. A ruined sweatshirt can become a lounge favorite. A stained tote can become a customized bag. A damaged pair of jeans can suddenly look intentionally distressed.
There is also the white-fabric experience, which is its own strange category. People often assume white items are easier because, well, white is white. Not always. A yellowish bleach mark on a white shirt can be frustrating because it looks like the fabric should be fixable, but sometimes the fibers have already been altered. In those cases, repeated harsh treatment usually makes the fabric weaker, not better. A gentler whitening approach and realistic expectations are far more useful than brute-force laundry optimism.
One of the most common experiences with bleach stains does not even come from laundry. It comes from cleaning. A person sprays a bleach cleaner in the bathroom, wipes a countertop, then leans against the sink with a dark shirt or favorite sweatpants. A few minutes later, surprise: abstract modern art. The lesson here is practical, not glamorous. Wear older clothes when cleaning with bleach. Your future self will appreciate this wildly unsexy fashion decision.
Another everyday experience is the “mystery bleach stain” on towels and pillowcases. Sometimes the culprit is not household bleach at all but acne treatments or other skincare products that discolor fabric. That is why so many people think their towels are falling apart for no reason. If the same pale spots keep showing up in the bathroom or on bedding, the problem may be the products touching the fabric, not the wash cycle itself.
The biggest takeaway from real-world bleach stain fixes is simple: speed helps, but strategy matters more. Do not waste energy trying six random hacks in a row. Identify the damage, choose the right category of fix, and work in stages. Most salvageable items do not need drama. They need a calm hand, a good color match, and a willingness to accept that “better” is sometimes the real victory.
Conclusion
Bleach stains are annoying, but they are not always a one-way ticket to the rag pile. If the damage is small, a fabric marker may solve it in minutes. If the stain is more obvious, rubbing alcohol can sometimes help blend the surrounding color. For big discoloration, dyeing the entire garment gives you the cleanest reset. And when all else fails, patches, embroidery, and creative redesign can turn a mistake into a style choice.
In other words, the best way to get rid of bleach stains is to stop treating them like ordinary stains. Once you understand that bleach usually removes color, the path forward becomes much clearer. Restore what you can, disguise what you cannot, and save yourself from throwing out a perfectly good item just because chemistry decided to be dramatic.