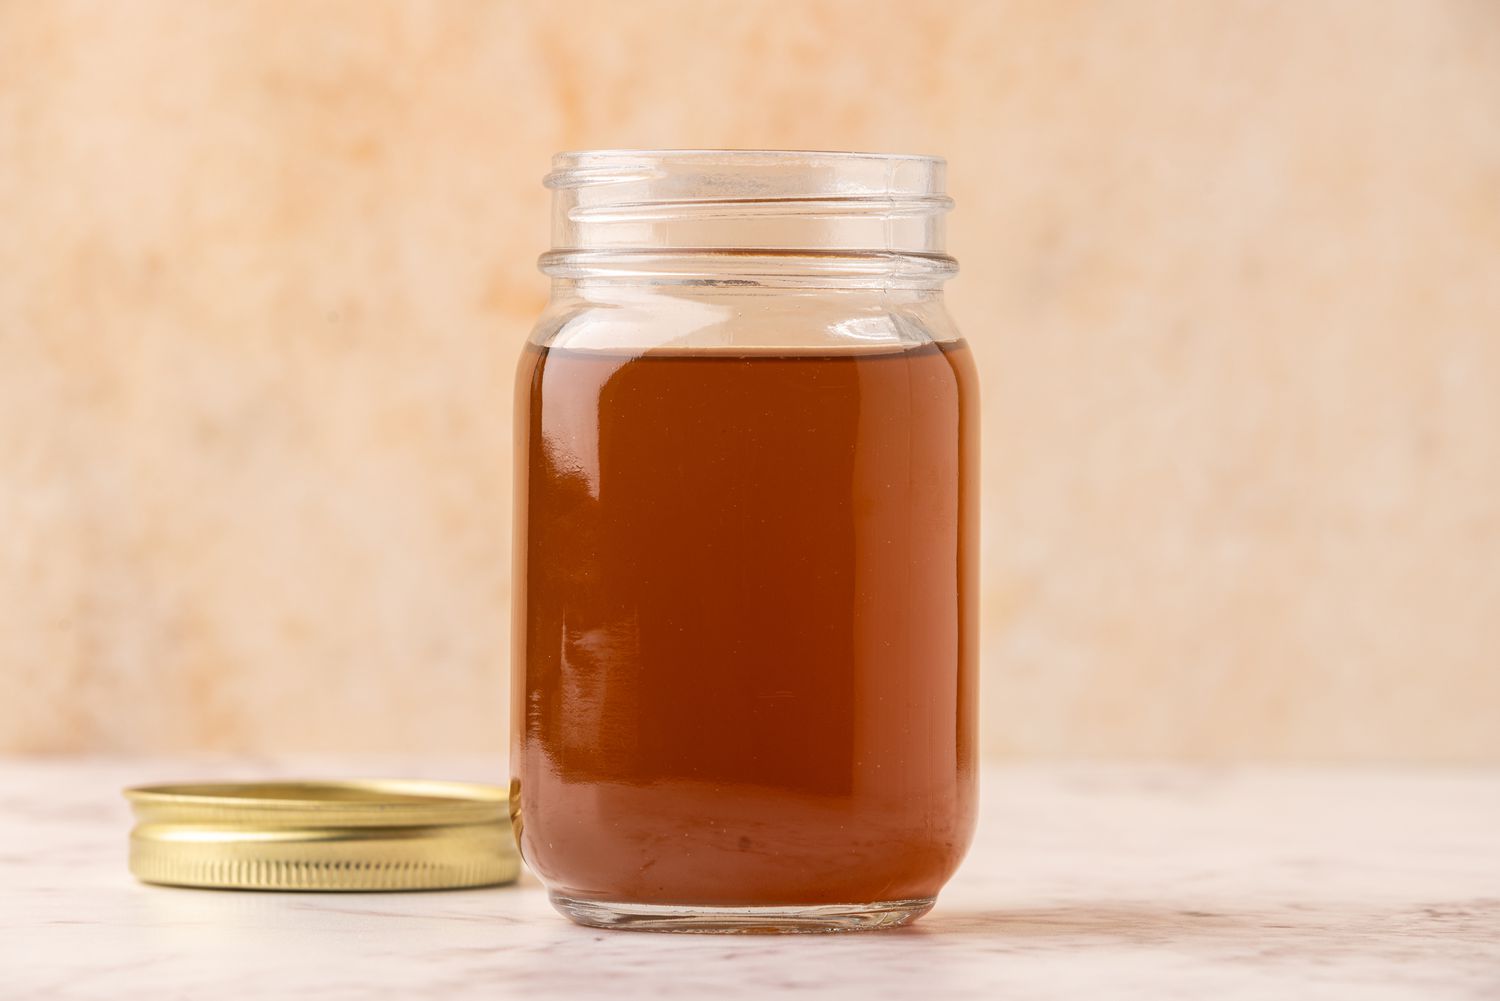
Vegetable broth is the culinary equivalent of a good backup plan: you don’t think about it until you really, really need it. And thenboomyou’re grateful you’ve got a pot of cozy, golden, homemade flavor ready to turn “meh” soups and grains into “wait…did you buy this from a fancy place?” magic.
This basic vegetable broth recipe is built for real life. It’s simple, flexible, naturally vegan, and designed to taste like vegetables (not like warm water with a motivational speech). It can be made from fresh vegetables, veggie odds and ends, or a freezer bag of scraps you’ve been saving like a thrifty kitchen wizard.
Vegetable Broth vs. Vegetable Stock (Do We Need to Fight About This?)
In many home kitchens, “vegetable broth” and “vegetable stock” are used interchangeably. Classic cooking definitions say stock is typically less seasoned and meant to be a base, while broth is usually a little more seasoned and sippable. For vegetables, the line is blurry because there are no bones involvedso consider this recipe a lightly seasoned, all-purpose vegetable stock/broth. You can keep it mild and season later, or make it more aromatic depending on what you’re cooking.
Why Homemade Vegetable Broth Is Worth It
- Better flavor: You control sweetness, salt, and aromatics.
- Less waste: Scraps become something useful instead of compost guilt.
- More flexible: Make it neutral for soups, or boost it for risotto, ramen, and sauces.
- Budget-friendly: A pot of broth costs less than a few cartonsand tastes like you tried.
Basic Vegetable Broth Ingredients
The secret to a great homemade vegetable broth isn’t a secret ingredient. It’s balance. The classic trio (onion, carrot, celery) gives you sweetness, savoriness, and that “this smells like dinner” aroma.
Core Ingredients (Recommended)
- 2 medium yellow onions, quartered (leave skins on for color if clean)
- 3 medium carrots, cut into big chunks
- 3 celery stalks (plus leaves), cut into chunks
- 1 head of garlic, cut in half crosswise (or 4–6 cloves, smashed)
- 1 small handful parsley stems (or a few sprigs of parsley)
- 2 bay leaves
- 1 teaspoon whole black peppercorns
- 10 cups cold water (you’ll end up with about 8 cups after simmering)
Optional Add-Ins (Use One or TwoDon’t Turn It Into a Vegetable Parade)
- 1 cup sliced mushrooms (adds savoriness)
- 1 tablespoon tomato paste (adds depth and color)
- 2–4 sprigs thyme (or 1/2 teaspoon dried)
- 1 small piece kombu (adds gentle umami; remove before long simmering)
- Salt: optional; many cooks leave broth unsalted so it’s easier to season later
Vegetables to Avoid (So Your Broth Doesn’t Taste Like Regret)
Some vegetables are delicious in their natural habitat but can overpower broth, turn it bitter, or make it oddly cloudy. Keep these out (or use only tiny amounts if you love living dangerously):
- Cruciferous veggies: broccoli, cauliflower, Brussels sprouts, cabbage (can taste bitter/sulfury)
- Starchy veggies: potatoes, corn (can make broth cloudy or oddly sweet)
- Strong color/flavor bullies: beets, lots of pepper scraps, very bitter greens
Step-by-Step: How to Make Basic Vegetable Broth
1) Prep the vegetables (5–10 minutes)
Rinse everything well. Chop vegetables into large chunks. This isn’t a saladrough cuts are perfect because they’re easier to strain and you’re extracting flavor, not aiming for bite-sized perfection.
2) Build flavor (optional, but tasty)
If you want a slightly deeper, more savory broth, heat a large stockpot over medium heat and add a small splash of oil. Cook the onions, carrots, and celery for 5–10 minutes, stirring often, until they soften and smell sweet. A little browning is okay; heavy browning can push things toward bitter.
3) Add aromatics and water
Add garlic, parsley stems, bay leaves, peppercorns, and any optional add-ins (like mushrooms or thyme). Pour in 10 cups cold water. Starting cold helps flavor gently infuse as the temperature rises.
4) Simmer gently (45–60 minutes for classic broth)
Bring the pot to a light boil, then immediately reduce heat to a bare simmer. You want small bubbles and a calm surfacenot a rolling boil that knocks flavors into a muddy mess. Simmer uncovered for 45–60 minutes, tasting around the 40-minute mark.
Prefer a lighter broth for delicate soups? You can stop closer to 30–40 minutes. Want more depth? Let it go up to 75 minutes, but don’t cook it for half the dayvegetables give up their best flavor relatively quickly.
5) Strain and cool
Turn off heat. Strain through a fine-mesh strainer into another pot or large bowl. Press lightly on the solids for a bit more liquid, but don’t mash them into oblivion (that can cloud the broth).
6) Season (now or later)
If you plan to use the broth right away, season with salt to taste. If you’re storing it, consider leaving it low-salt so it works in any recipe. You can always add salt later; you can’t take it out without starting a new life.
Flavor Upgrades (Still “Basic,” Just More Interesting)
Roasted Vegetable Broth (richer, sweeter, more “Sunday dinner”)
Roast onions, carrots, and celery at 425°F until lightly browned (about 25–35 minutes), then simmer as usual. Roasting adds caramelized flavorgreat for fall soups and gravies.
Umami Boost (for when boxed broth has betrayed you)
Add one of these:
- 1 cup mushrooms (or a small handful of dried mushrooms)
- 1 tablespoon tomato paste
- A small piece of kombu (remove before long simmering)
- 1–2 teaspoons white miso whisked in after straining (don’t boil miso)
Scrap Broth (zero-waste friendly)
Keep a gallon freezer bag for clean scraps: onion ends/skins, carrot peels, celery tops, herb stems, mushroom stems, leek greens. When it’s full, dump it in a pot, cover with water, and simmer. Scrap broth is usually lighter and more variable, but it’s perfect for beans, grains, and everyday cooking.
Troubleshooting: Fix Common Broth Problems
“My broth tastes too sweet.”
Too many carrots, too much onion, or a long simmer can push sweetness. Next batch: reduce carrots, add more celery, and include mushrooms or a little tomato paste for balance. In a pinch, a tiny splash of soy sauce (or a squeeze of lemon in the final dish) can help rebalance.
“It tastes bitter.”
Usually caused by cruciferous vegetables, too many greens, or aggressively browned vegetables. Keep brassicas out, avoid char, and keep the simmer gentle.
“It’s weak and watery.”
Use more vegetables, simmer a bit longer (without boiling hard), and consider adding mushrooms. You can also reduce the strained broth by simmering it a bit longer to concentrate flavor.
“It’s cloudy.”
Cloudy broth is still delicious. Cloudiness usually comes from boiling too hard or pressing solids aggressively. For clearer broth, keep a low simmer and strain gently.
How to Store Vegetable Broth Safely
Homemade broth is perishable. Cool it promptly and store it correctly to keep both flavor and food safety on your side. Food safety guidelines emphasize avoiding the temperature “danger zone” and refrigerating perishable foods promptly.
Cooling tips (fast and safe)
- Divide broth into shallow containers so it cools faster.
- Set the pot in an ice-water bath in the sink and stir occasionally.
- Don’t put a giant pot of hot broth straight in the fridgeit can warm the fridge and slow cooling.
Fridge and freezer storage
- Refrigerator: typically 3–5 days in an airtight container
- Freezer: several months (portion into 1–2 cup containers for convenience)
- Small portions: freeze in ice cube trays for quick “just a splash” cooking
How to Use Homemade Vegetable Broth
This broth is a universal flavor tool. Use it anywhere you’d use waterespecially when you want food to taste like you care (even if you’re tired and would like a nap).
- Soup and stew bases (minestrone, lentil soup, veggie chili)
- Cooking grains (rice, quinoa, farro) for extra flavor
- Risotto, polenta, and creamy grains
- Deglazing pans and making quick sauces
- Poaching vegetables or tofu gently
- Rehydrating dried mushrooms or beans (broth makes it better)
FAQ: Quick Answers for Better Broth
Do I have to peel the onions?
Nope. Clean onion skins can add color. If they’re dirty, rinse or skip them.
Should I add salt?
If you’re using the broth right away, season lightly. If you’re storing it, many cooks prefer leaving it unsalted so you can control salt in each dish later.
Can I make it in a slow cooker or pressure cooker?
Yes. Slow cooker: low for 6–8 hours (good for roasted-style depth). Pressure cooker: about 15–25 minutes at pressure, then natural release. Flavor will be slightly different, but still great.
Kitchen Experiences: What Making Vegetable Broth Feels Like in Real Life (Extra ~)
The first time most people make homemade vegetable broth, it usually starts with one of two emotions: optimism (“I’m going to be the kind of person who makes broth!”) or panic (“I have a drawer full of wilting celery and I refuse to let it win.”). Either way, the process tends to deliver the same surprise: broth-making is far more forgiving than baking, and far more satisfying than it has any right to be.
One common “aha” moment happens when you realize broth isn’t about perfectionit’s about patterns. After a batch or two, you start noticing how certain vegetables behave. Carrots and onions create sweetness fast; celery adds that savory backbone that keeps things tasting like dinner instead of juice. Garlic behaves like a friendly neighbor: welcome in small doses, but if you invite his entire extended family (and simmer for hours), he may rearrange your whole flavor profile.
Another very real experience: the freezer scrap bag. At first, it feels slightly odd to save onion ends and carrot peels. Then one day you open the freezer and see a bag labeled “BROTH BITS,” and you feel powerful. That bag becomes a quiet kitchen habitone that turns busy weeknights into better meals. It’s also a sneaky way to reduce waste without making a big lifestyle announcement. You’re not “going zero-waste.” You’re just…not throwing away perfectly broth-able things.
Many home cooks also learn the “too much of a good thing” lesson. You toss in broccoli stems because they seem harmless. You add a handful of cabbage because it’s lonely. Suddenly your broth tastes like a gym locker full of steamed vegetables. This is not a personal failure; it’s simply how certain vegetables release sulfur-y bitterness into water. The upside is that once you’ve made that mistake, you basically never make it again. Broth teaches quickly, and it doesn’t charge tuition.
Then there’s the “I thought simmering longer was always better” phase. Unlike bone stock, vegetable broth can hit a peak and then slide into muddier territory if it cooks too long. You’ll notice the difference: bright and fresh becomes flat and dull. The fix is easytaste at the 40-minute mark, then decide. Broth is one of the few cooking projects where tasting is not only allowed, it’s the whole strategy.
Finally, there’s the small joy of having broth on hand. A cup turns plain rice into something you’d happily eat alone. A splash rescues sautéed greens. A mug of warm broth with a squeeze of lemon feels like comfort you can drinkespecially when you’re under the weather or just tired of crunchy snacks pretending to be dinner. And when someone asks, “What makes your soup so good?” you get to shrug casually, as if you didn’t just unlock a flavor cheat code with onions, carrots, and patience.
That’s the real experience of a basic vegetable broth recipe: it starts as a practical project and quietly becomes one of the easiest ways to make your everyday cooking taste more intentionalwithout adding much effort at all.