If Adobe InDesign is your happy place, your fonts are basically your cast of characters. The elegant serif is the serious lead, the geometric sans is the cool best friend, and the weird decorative display font is the cousin who shows up late but somehow steals the scene. So when a font refuses to appear in InDesign, or a document opens with that dreaded missing-font warning, it can turn a calm layout session into a full-blown design soap opera.
The good news: adding fonts in Adobe InDesign on PC or Mac is not complicated once you understand how InDesign sees fonts. In most cases, you have three practical paths. You can activate fonts from Adobe Fonts through Creative Cloud, install local font files such as OpenType or TrueType on your computer, or place fonts in InDesign’s own Fonts folder for app-only use. Which method is best depends on whether you want the font available in all apps, only in Adobe apps, or only in InDesign.
This guide breaks down the cleanest way to add fonts in Adobe InDesign on Windows and macOS, explains why some fonts show up while others vanish like socks in a dryer, and walks through the most common font problems people hit in real projects. You will also get practical examples, troubleshooting tips, and real-world advice that can save you hours of unnecessary muttering at your screen.
How InDesign Actually Finds Fonts
Before jumping into steps, it helps to know what InDesign is looking for. InDesign can recognize fonts that come from your operating system, fonts activated through Adobe Fonts, and fonts that are placed in certain InDesign-specific folders. If the font is installed correctly and supported by the app, it usually appears in the font menu after InDesign refreshes its font list. If it is missing, duplicated, unsupported, deactivated, or conflicting with another version of the same family, that is when the drama begins.
Adobe Fonts
Adobe Fonts is the easiest option for many designers because it is built into the Creative Cloud ecosystem. You browse the font family, add or install the styles you want, and they become available in InDesign. This is ideal when you want a fast, legal, low-friction workflow without downloading separate font files from another seller.
Local Fonts Installed on Your Computer
These are font files such as .otf and .ttf that you install directly into Windows or macOS. Once installed properly, they usually become available in apps across your computer, including InDesign. This route is common for purchased typefaces, licensed brand fonts, or custom fonts from a team or client.
Fonts Available Only to InDesign
InDesign can also access fonts copied into its own application-level Fonts folder. That can be useful in special cases, but it is not usually the first recommendation for everyday users. It is better treated like a niche tool than a universal habit.
The Quickest Way to Add Fonts in Adobe InDesign
If you want the short version, here it is:
- Use Adobe Fonts if the font is available there and you want the simplest workflow.
- Use system installation if you have a font file from a trusted source and want it available across apps.
- Restart InDesign if the font does not appear immediately.
- If you still see a missing-font alert, use Type > Find/Replace Font to swap it out or confirm what is actually missing.
Now let’s do it properly on both platforms.
How to Add Fonts in Adobe InDesign on a PC
Method 1: Add Fonts Through Adobe Fonts
This is the easiest route if the typeface you want is part of the Adobe Fonts library.
- Open the Creative Cloud desktop app and make sure you are signed in.
- Browse Adobe Fonts and find the typeface family you want.
- Choose the style or family and add or install it.
- Open InDesign or relaunch it if it was already open.
- Check the font menu in the Character panel or Control bar.
This method is especially handy when you want clean licensing, fast syncing, and minimal manual file handling. It also saves you from creating a mysterious downloads folder full of files named things like Final-Font-RealFinal-v2.
Method 2: Install a Font File in Windows
If you already have a font file, Windows makes installation fairly painless.
- Download the font from a trusted source.
- Confirm the file is usually an .otf or .ttf.
- Right-click the font file and choose Install or Install for all users if appropriate.
- Another option is to open Settings > Personalization > Fonts and drag the font file into the install area.
- Relaunch InDesign and look for the font.
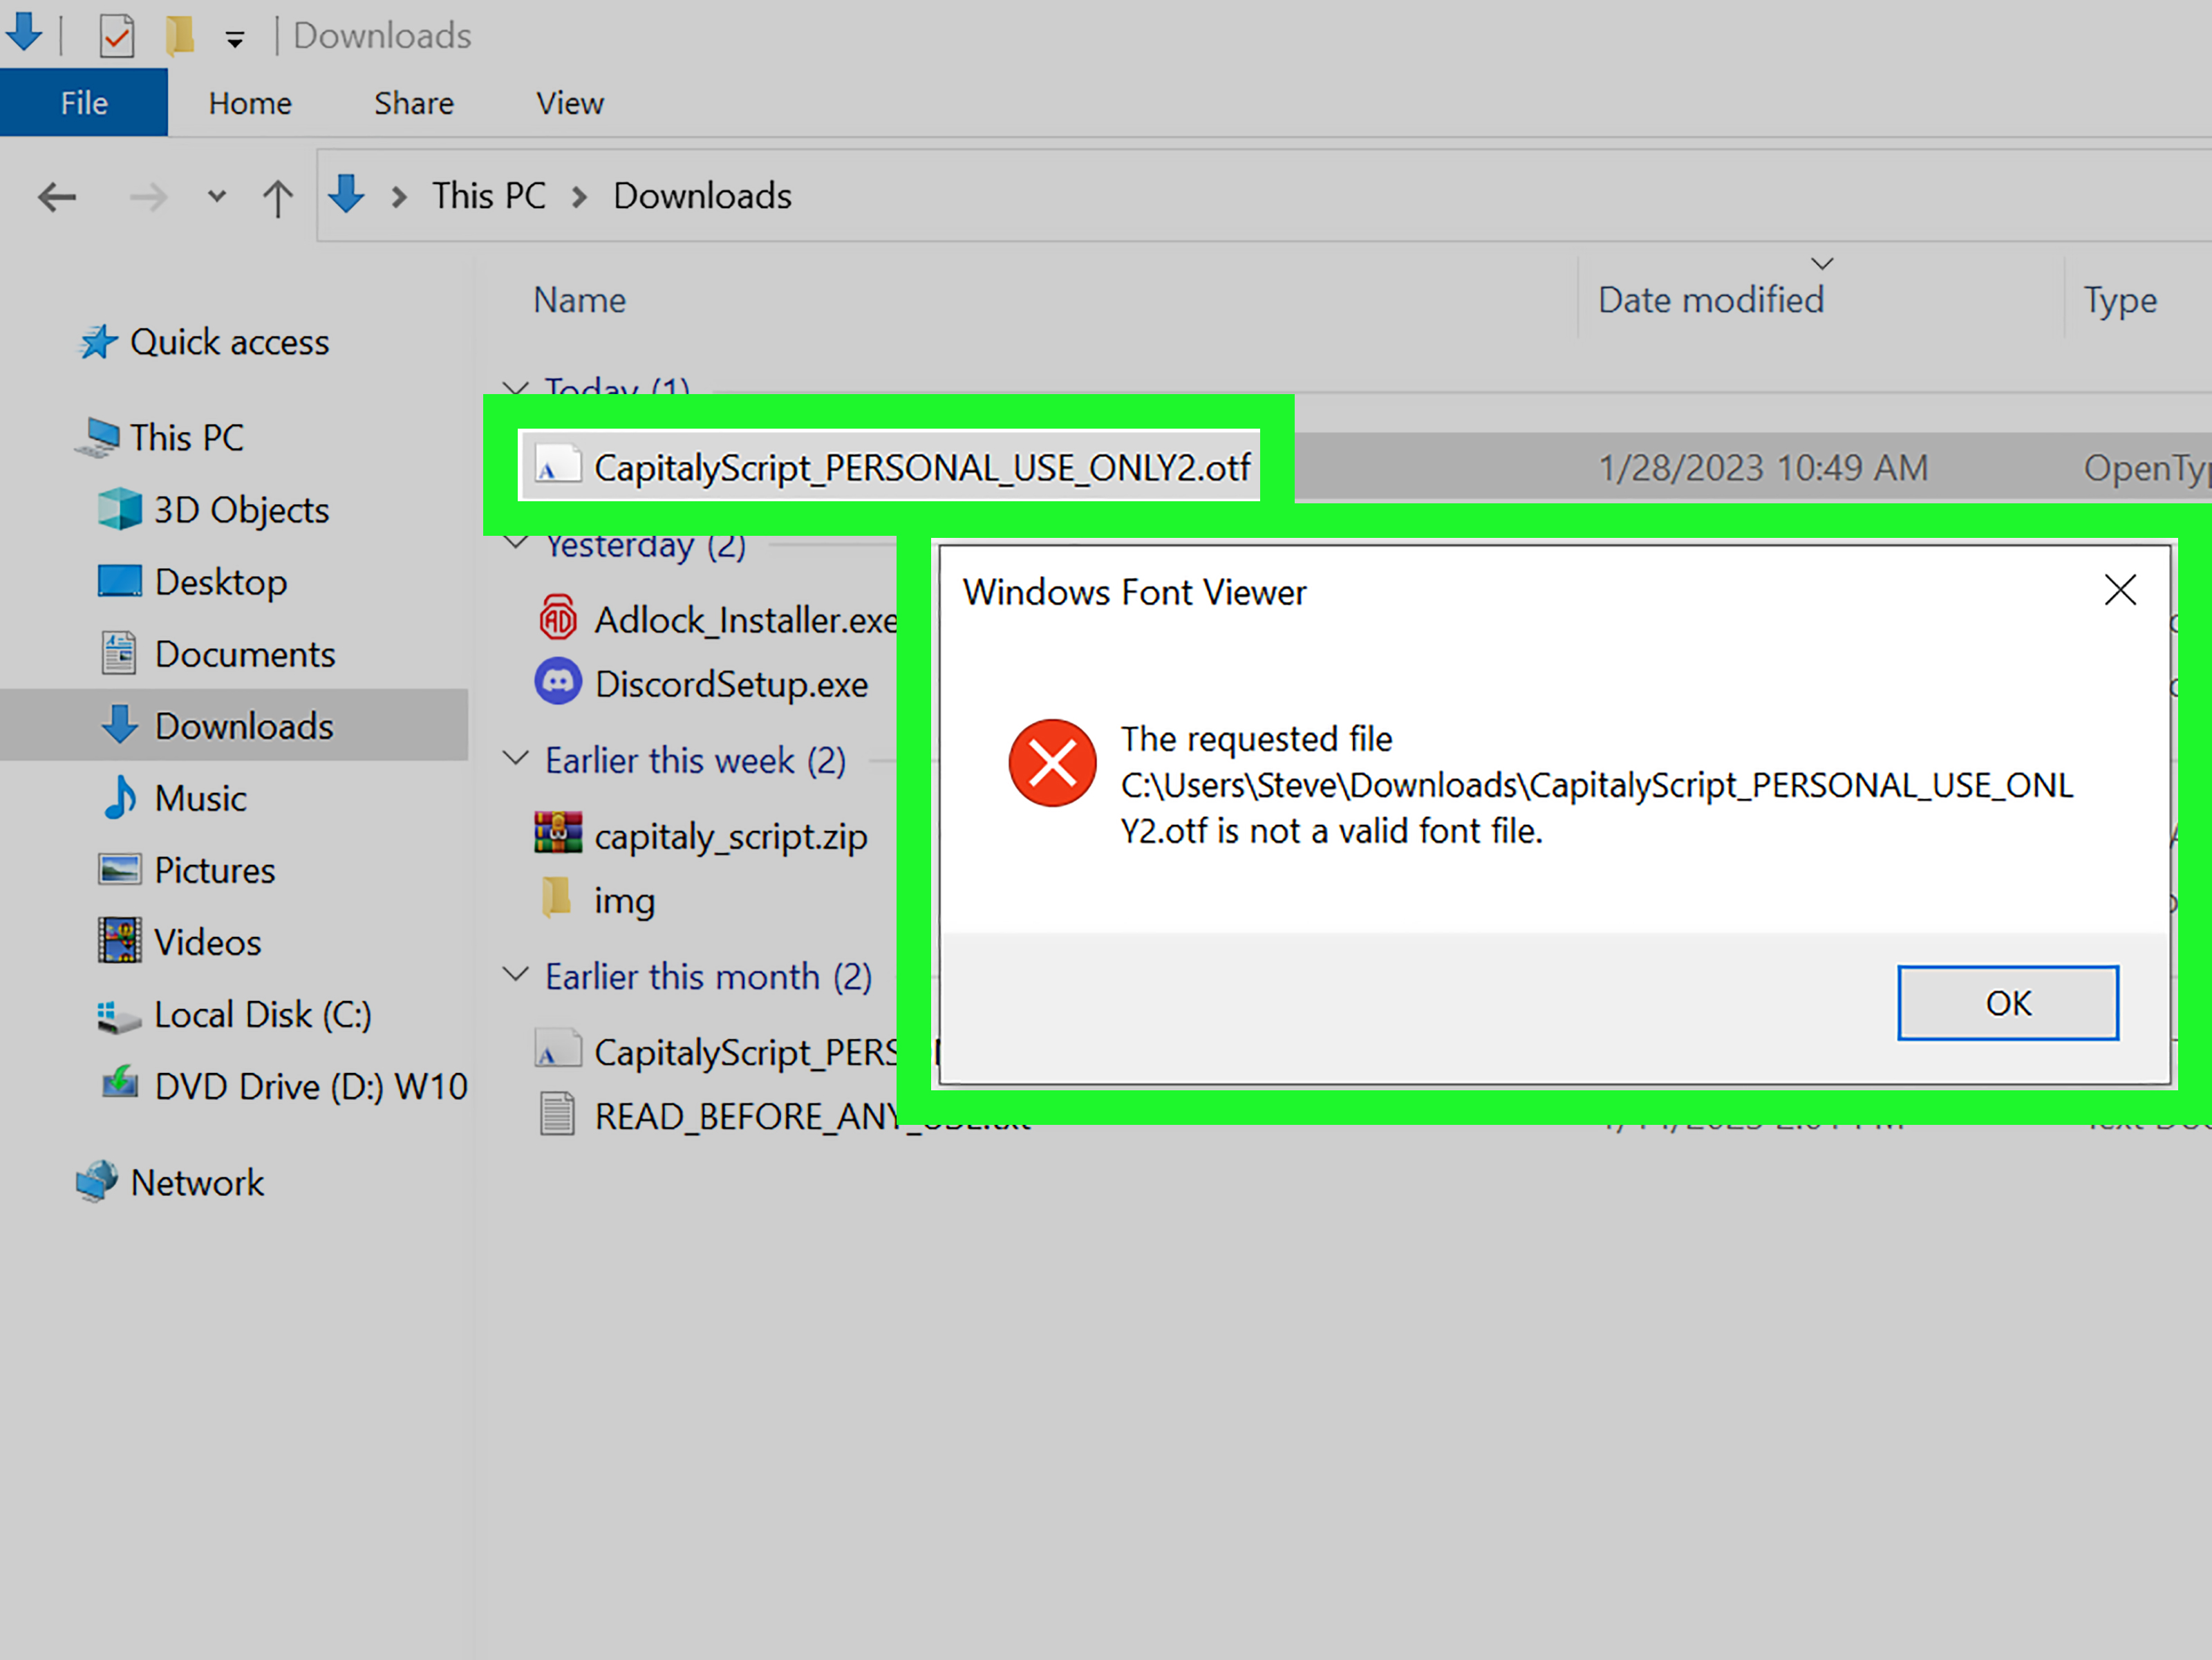
If the font still does not appear, close InDesign fully and reopen it. Some fonts do not show up in a currently running session until the application refreshes. Also make sure you did not install a ZIP file without extracting it first. InDesign is powerful, but it does not enjoy unopened compressed folders as much as people seem to hope.
Method 3: Use the InDesign Fonts Folder
Adobe notes that you can copy font files into the Fonts folder inside the InDesign application folder. Fonts placed there are available only to InDesign, not to every app on your PC. This is useful in some controlled workflows, but most users should prefer Adobe Fonts or a standard Windows installation because those methods are easier to manage and less confusing over time.
How to Add Fonts in Adobe InDesign on a Mac
Method 1: Add Fonts Through Adobe Fonts
The Adobe Fonts workflow on macOS is similar to Windows.
- Open the Creative Cloud desktop app.
- Find the font or font family you want.
- Add or install the style you need.
- Launch InDesign or restart it.
- Search for the font in your InDesign font menu.
This is the easiest method for designers working mostly inside Adobe apps. It is also a great choice if you want to avoid manually managing font files in Finder and Font Book.
Method 2: Install Fonts with Font Book
On a Mac, Font Book is the usual hub for managing local fonts.
- Locate your font file.
- Double-click it, or open Font Book and choose File > Add Fonts to Current User.
- Install the font.
- Use Font Book to preview the face and check for duplicates or validation issues if needed.
- Restart InDesign and confirm the font appears.
One nice thing about Font Book is that it gives you more visibility into what is happening behind the scenes. If a font is damaged, duplicated, or disabled, Font Book can help you spot the problem faster than guessing your way through it like a detective in a very stylish mystery novel.
Method 3: Install for the Current User or Manage by Library
macOS can separate fonts by scope. Some are installed only for the current user, while others can be made more broadly available depending on how your Mac is configured. For most solo users, adding fonts to the current user is perfectly fine. For shared workstations or managed environments, consistency matters more, so your team should agree on a standard setup.
Best Font Types to Use with InDesign
For modern InDesign workflows, the safest bet is usually OpenType or TrueType. OpenType is especially popular because it can include a wider character set, better cross-platform behavior, and advanced typographic features. If you are working with multilingual layouts, ligatures, fractions, stylistic sets, or extended glyph support, OpenType is often the smarter choice.
There is one important warning here: Adobe ended support for PostScript Type 1 fonts in its updated products after January 2023. That means these older fonts do not behave like reliable citizens in current InDesign workflows. If you open an old project and a Type 1 font seems to have disappeared into another dimension, it is not your imagination. The font format is simply no longer supported in the same way.
What to Do If the Font Does Not Show Up in InDesign
If you installed the font and InDesign still acts like it has never heard of it, work through these checks:
1. Restart InDesign
Yes, the oldest trick still works. Completely quit the app and reopen it. This often refreshes the font list.
2. Check That the Font Is Actually Installed
On Windows, confirm it appears in your Fonts settings. On Mac, confirm it appears in Font Book. If it is not there, it is not in InDesign either.
3. Confirm the File Format
Stick with reputable OpenType or TrueType files from trusted sources. A random font file from a suspicious website can bring more chaos than charm.
4. Look for Duplicate Fonts
Duplicate font families can confuse creative apps. If you have multiple versions of the same font installed from different places, disable or remove the extras and keep the cleanest licensed version.
5. Watch for Adobe Fonts Status Issues
Some Adobe Fonts workflows can behave differently depending on whether the font is simply added for Adobe apps or installed more broadly. If a font worked before and now disappears in another app or collaboration setup, reinstalling or reactivating it through Creative Cloud may help.
6. Replace Missing Fonts Manually
Go to Type > Find/Replace Font. This shows the fonts used in the document and lets you replace missing ones. It is one of the fastest ways to clean up a file, especially when a client sends you a layout built with a font you definitely do not own and could not legally install even if you wanted to.
How to Handle Missing Fonts in Shared InDesign Files
Shared projects are where font issues become extra spicy. You open a file from a coworker, and suddenly half the headings are pink or substituted. At that moment, your layout is less “professional editorial spread” and more “experimental typographic cry for help.”
Here are the most common scenarios:
- The font is local and not installed on your system. Install the licensed font file on your computer.
- The font came from Adobe Fonts. Activate it through Creative Cloud if it is available to your account.
- The original file used an unsupported old format. Replace it with a current alternative.
- The file contains fonts inside imported graphics. Find/Replace Font in InDesign will not solve fonts embedded in placed graphics the same way it solves InDesign text.
For teams, font consistency matters as much as paragraph styles. A shared font policy saves time, reduces substitution errors, and keeps layouts from shifting unexpectedly.
Packaging, Printing, and Collaboration Tips
Packaging an InDesign job is useful because it gathers document resources for output or handoff. But fonts can be tricky because licensing and activation rules still apply. In practical terms, do not assume every font behaves the same in a package. Local licensed fonts, Adobe Fonts, and older font formats can each behave differently in a team or print workflow.
If you are sending artwork to a printer, many professionals prefer exporting a high-quality PDF rather than relying on the recipient to recreate your font environment perfectly. That is not because InDesign packaging is bad. It is because reality is messy, deadlines are rude, and printers enjoy receiving files that do not require spiritual interpretation.
Best Practices for a Cleaner InDesign Font Workflow
- Use Adobe Fonts when possible for speed and simplicity.
- Install only properly licensed font files from trusted providers.
- Prefer OpenType when you have the choice.
- Keep your font library organized and remove duplicates.
- Avoid relying on unsupported legacy formats.
- Restart InDesign after major font changes.
- Use Find/Replace Font before panic, tears, or suspicious keyboard staring.
A Simple Example: Adding a Brand Font for a Client Brochure
Imagine a client sends you a brochure template and wants everything set in a custom brand font that is not already on your computer. On a PC, you download the licensed OpenType family, install it through Windows, reopen InDesign, and apply it to your paragraph styles. On a Mac, you use Font Book to install the same family, restart InDesign, and confirm the styles update correctly. If the client also uses Adobe Fonts for body copy, you activate those through Creative Cloud. Now both brand consistency and document stability improve, and nobody needs to ask why page three suddenly looks like it was typeset by a haunted toaster.
Final Thoughts
Learning how to add fonts in Adobe InDesign on PC or Mac is less about memorizing one secret trick and more about understanding the three main routes: Adobe Fonts, system-installed fonts, and InDesign-specific font locations. Once you know which route matches your project, the process becomes fast and predictable.
If you use Adobe Fonts for convenience, system installation for custom typefaces, and Find/Replace Font for troubleshooting, you will handle most font situations without breaking your layout or your mood. And if a font still refuses to cooperate, the problem is usually not magic. It is almost always installation scope, activation status, duplicates, licensing, or an older unsupported format trying to relive its glory days.
Real-World Experiences With Adding Fonts in Adobe InDesign on PC or Mac
One of the most common experiences people have with InDesign fonts is assuming that if a font is visible somewhere on the computer, it must also be available inside InDesign. That sounds reasonable, but in real life it is not always true. A designer might install a font on Windows, open InDesign, and still not see it in the font list. Usually, the fix is boring rather than dramatic: restart the app, confirm the font actually installed, and make sure the file was not still zipped. It feels almost unfair that the solution is so ordinary after the problem felt so personal.
Mac users often have a different kind of adventure. They install a font in Font Book, everything looks great, and then they discover a duplicate version of the same family already existed. Suddenly one weight works, another weight disappears, and the italic seems to have gone on vacation. In those moments, Font Book becomes less of a utility and more of a referee. Cleaning duplicates and keeping one trusted version of the family usually restores order.
Another real-world pattern happens in team environments. One person builds a document using Adobe Fonts, another person opens it on a different machine, and the second person expects the file to behave exactly like a fully local font setup. Sometimes it does. Sometimes it asks for activation. Sometimes the timing is bad, the sync is slow, and everyone stares at the screen like they are trying to negotiate with it. The lesson is simple: teams should agree in advance on how fonts are sourced and managed. A shared workflow beats last-minute detective work every time.
There is also the classic client handoff story. A client sends an InDesign file with a gorgeous font that is central to the design. You open the document and get a missing-font alert. You ask for the font files, and they respond with something heroic like, “It should just be in there.” That is when experience kicks in. Instead of randomly clicking around, you open Find/Replace Font, identify exactly what is missing, confirm whether it is an Adobe Fonts family, a local font, or an outdated format, and decide whether to install it or replace it. Experience does not remove the problem, but it makes the problem smaller and much less mysterious.
Long-term users also learn that restraint matters. Installing every pretty font you find is fun for about ten minutes and confusing for the next three years. A cleaner library means faster searches, fewer duplicates, and less risk of activating the wrong version of a family. People who work in publishing, marketing, and brand design often become accidental minimalists with fonts. Not because they stopped loving type, but because they got tired of chasing down why “Pro,” “Std,” “Text,” and “Display” all seemed determined to start an argument inside one document.
In the end, adding fonts in Adobe InDesign on PC or Mac becomes easy when you stop treating it like a random technical chore and start treating it like part of your design system. Good font habits save time, protect layout consistency, and make collaboration smoother. The more you work with InDesign, the more you realize that the best font workflow is not flashy. It is reliable, repeatable, and blessedly boring in exactly the right way.