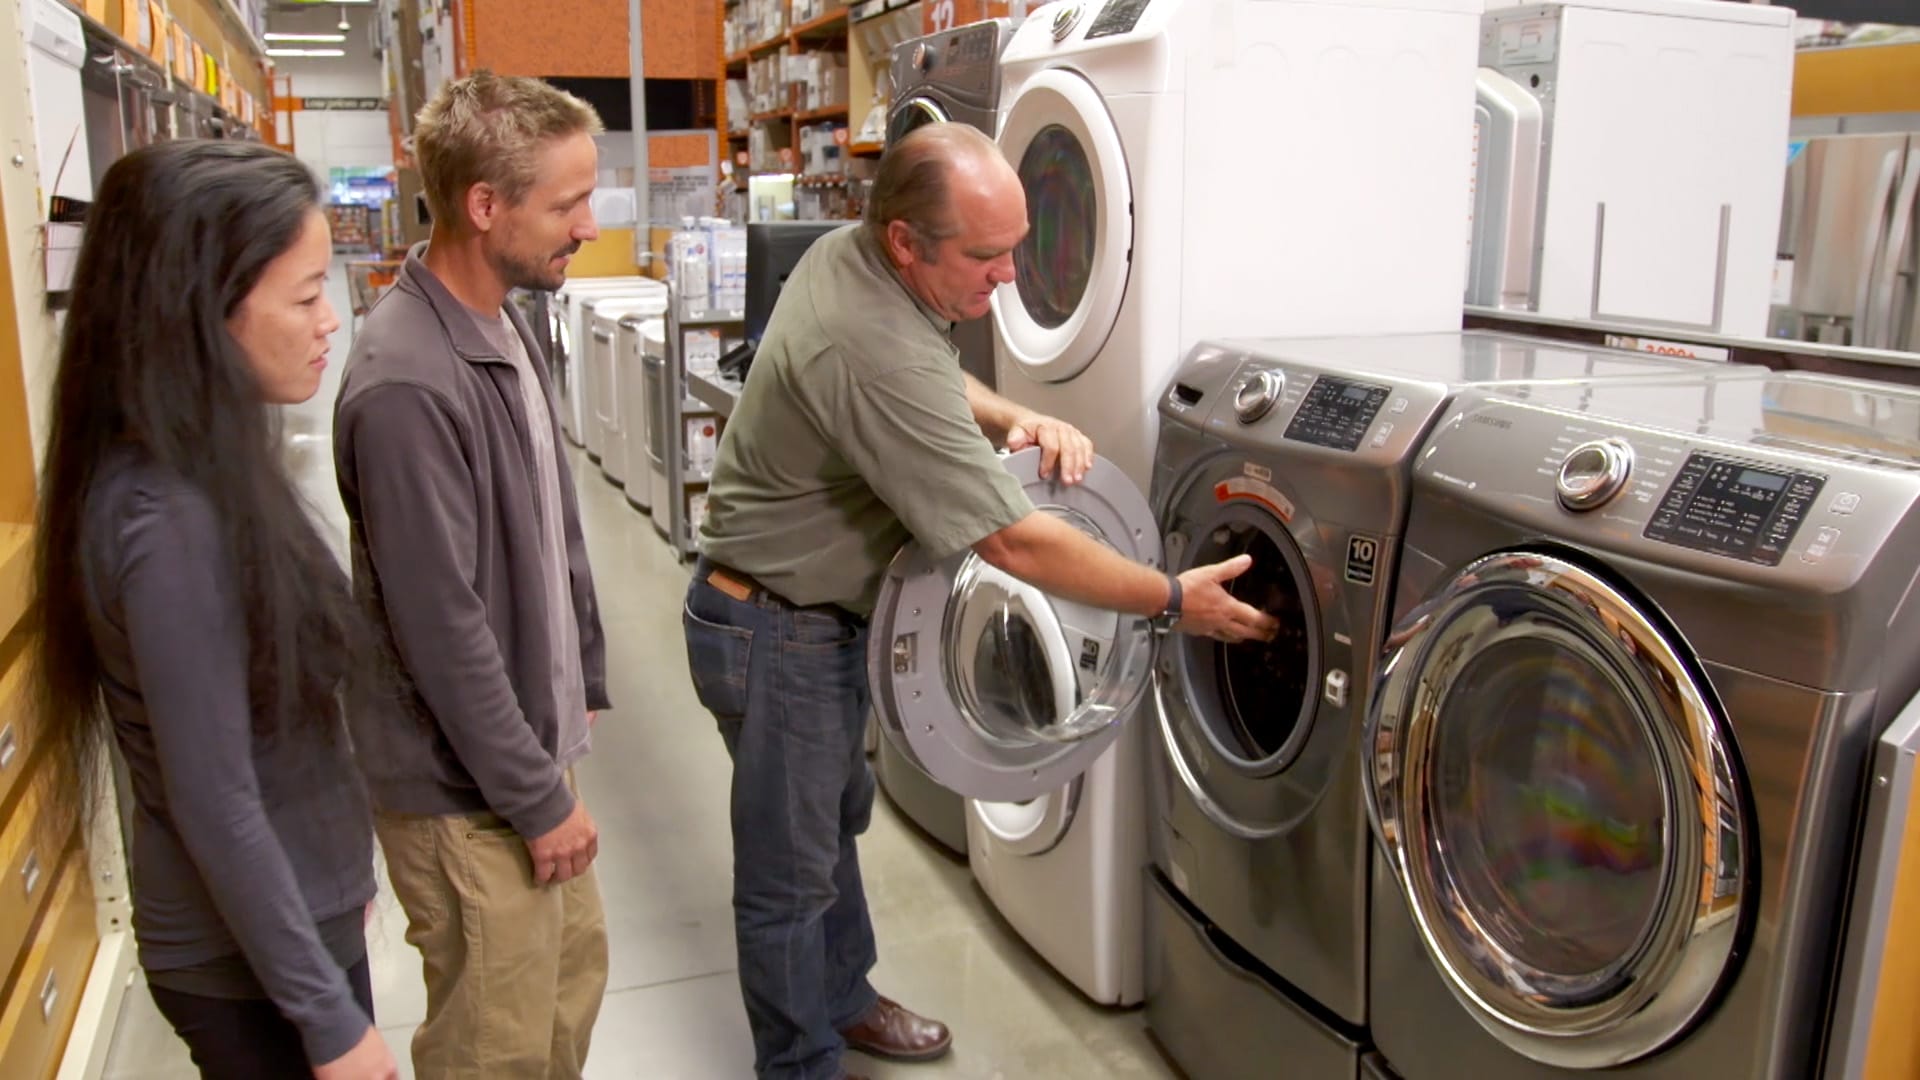
Buying a washer and dryer feels oddly personal. You’re not just choosing machinesyou’re choosing how loud your Tuesday night will be,
whether your towels will smell like “fresh linen” or “mysterious basement,” and how many times you’ll mutter, “Why is it walking?”
across the hallway.
The good news: you don’t need an engineering degree. You just need a smart plan: pick the right type and size for your home, make sure
your hookups are ready, and install everything so it’s safe, efficient, and not trying to escape during the spin cycle.
Start With Two Things: Your Space and Your Laundry Personality
Measure like you mean it
Before you fall in love with a shiny new set, grab a tape measure. Confirm:
- Appliance footprint: width, depth, and height (including controls and doors).
- Door swing + clearance: front-loaders need room to open; top-loaders need overhead space.
- The delivery path: hallways, door frames, tight turns, stairs, elevatorsmeasure those too.
- “Behind the machine” space: hoses, cords, and vents add depth.
Know your laundry habits (no judgment… okay, mild judgment)
A household that washes gym clothes daily needs different features than a “Sunday laundry marathon” household. Think about:
- Household size: more people = more loads, bigger capacity, and a bigger lint situation.
- Fabric types: activewear, delicates, pet bedding, baby items, work uniforms.
- Big items: comforters, duvet covers, bulky towels.
- Time pressure: quick cycles and strong spin extraction matter if you’re always in a hurry.
Choosing a Washer: The One That Does the Heavy Lifting
Top-load vs. front-load: pick your “loading philosophy”
Washers come in three main styles. Each has a personalitykind of like roommates.
| Type | Pros | Tradeoffs | Best for |
|---|---|---|---|
| Top-load (agitator) | Often cheaper; strong mechanical action for heavy soil | Can be rougher on fabrics; typically uses more water | Kids + sports + “how is mud in here?” loads |
| Top-load (impeller/plate) | More efficient than agitator models; more usable tub space | Cleaning performance varies by load style; may need thoughtful loading | Balanced households wanting a top-load feel with better efficiency |
| Front-load | Excellent cleaning; gentler tumbling action; high spin speeds help clothes dry faster | Usually pricier; needs basic upkeep to prevent odors | Efficiency-focused homes, small laundry rooms (stacking), frequent laundry |
Capacity: bigger isn’t always better
Capacity is usually listed in cubic feet. Full-size machines commonly live in the “mid-to-large” range, but the right size is the one
you’ll actually use well. Too small and you’ll do extra loads. Too large and you’ll be tempted to underfill (which can clean poorly and
waste resources), or you’ll toss in one blanket like it’s a lonely burrito rolling around the drum.
A practical approach:
- 1–2 people: compact or mid-size is often fine, especially if you do laundry regularly.
- 3–4 people: full-size capacity helps keep weekly loads manageable.
- 5+ people (or lots of linens/pets): bigger tubs and durable cycles become your best friends.
Efficiency: look past the sticker and think lifetime cost
Washers can quietly rack up costs through water use, energy use, and extra dryer time. Efficiency-focused models reduce water and energy
useand often spin faster, pulling out more water so the dryer does less work.
If you see ratings or terms like “ENERGY STAR,” “water factor,” or “energy factor,” that’s a good sign the model is designed to use fewer
resources without turning your shirts into sad, half-clean mysteries.
Features that are actually useful (and the ones that are mostly vibes)
- Worth considering: reliable soil level options, extra rinse, sanitize/high-temp cycle (if you need it), and a true “quick wash” that doesn’t sacrifice cleaning.
- Nice-to-have: automatic detergent dispensing (great if you tend to “eyeball it” into a foam festival), and a reversible door for front-loaders in tight spaces.
- Be picky with smart features: notifications are handy; remote-starting a washer at 2 a.m. is… a lifestyle choice.
Choosing a Dryer: Vented, Ventless, Gas, ElectricMake It Make Sense
Electric vs. gas: what changes?
Both dry clothes well. The biggest difference is your home’s existing setup. Electric models typically need a dedicated high-voltage outlet,
while gas models need a gas supply line plus standard electrical power for controls. If you don’t already have gas in the laundry area, adding it
can cost more than any “savings” you were promised at checkout.
Vented vs. ventless: the real space-saver decision
Traditional dryers vent warm, moist air outdoors through a duct. Ventless dryers (including heat pump models) don’t need that ductgreat for
condos, interior laundry closets, and homes where routing a vent would require turning your wall cavities into a maze.
Heat pump dryers are especially interesting because they recycle heat in a closed-loop system, typically using less energy and drying at
lower temperatures that are gentler on clothes. They do need a way to manage the collected moisture (a tank you empty or a drain setup),
so plan for that from day one.
Size matching: don’t pair a tiny washer with a “stadium” dryer
Dryer drums are usually larger than washer drumson purpose. Clothes need space to tumble and allow airflow. But if you buy an oversized
dryer relative to your typical loads, you may run lots of small cycles. Look for moisture sensors and auto-dry settings so the dryer stops
when clothes are dry (not when it has achieved peak “crispy towel”).
Plan the Install Before the Appliances Arrive
Washer hookups: water in, water out, no surprise indoor swimming pool
A washer needs hot and cold shutoff valves, supply hoses, and a proper drain setup (standpipe or laundry sink). A few best practices:
- Use new supply hoses: don’t reuse old ones “because they look fine.” That’s what they want you to think.
- Don’t overtighten fittings: snug + a small additional turn is usually enough.
- Drain hose placement matters: don’t jam it too deep or seal the pipeeither can cause siphoning or overflow.
- Consider a drain pan: especially on an upper floor or anywhere water damage would be catastrophic to your budget and your mood.
Drain standpipe basics (aka: where the water goes when it leaves your life)
Many installations use a trapped standpipe. Height rules vary by local code, but a common code range places the standpipe between a minimum
and maximum height above the trap weir to prevent siphoning and overflow. If you’re remodeling or relocating laundry, this is where a plumber
earns their keep.
Electrical: choose “safe and boring” every time
Washers typically plug into a standard grounded outlet. Electric dryers often require a dedicated 240V connection with a dryer-rated receptacle,
and installation instructions commonly reference 4-wire (newer) and 3-wire (older) configurations depending on the home and local rules.
If you’re unsure what you have, don’t guesshave a licensed electrician verify it. Laundry day is not the day to discover “mystery wiring.”
Dryer venting: this is both a performance issue and a safety issue
For vented dryers, the goal is simple: move moist air outdoors efficiently, with the shortest, smoothest route possible. Longer, twistier vents
slow airflow, increase drying time, and invite lint buildup.
- Use metal ducting: rigid or semi-rigid metal is widely recommended; avoid flimsy plastic/foil accordion-style ducts.
- Keep runs short and minimize bends: elbows add “equivalent length,” reducing effective vent capacity.
- Transition duct matters: the visible connection behind the dryer should be as short and straight as possible and properly rated.
- Don’t use screws that protrude into airflow: they can snag lint. Use clamps/foil tape designed for ducts.
- Terminate outdoors correctly: use a damper; avoid screens that trap lint; keep the outlet clear.
Gas dryer basics: don’t DIY your way into a “so I smelled something weird…” story
Gas dryers require proper gas connections, a shutoff valve, and leak testing. Manufacturers’ installation instructions often warn against reusing
old flexible connectors and emphasize leak checks. If you’re not already comfortable with gas appliance work, hire a qualified installer.
You’ll sleep betterand your nose will thank you.
Step-by-Step Installation Checklist
1) Prep the area
- Clean the floor, check that it’s solid, and place a drain pan if needed.
- Confirm shutoff valves work and the drain is clear.
- For front-load washers, locate and remove shipping bolts per the manual (this is a huge cause of “earthquake spin”).
2) Install the washer
- Connect new hot/cold hoses with the included washers/screens.
- Turn valves on slowly, check for leaks at every connection.
- Secure the drain hose with the provided bracket so it can’t jump out mid-cycle like a startled snake.
- Level the washer: side-to-side and front-to-back. Lock the feet if your model uses locknuts.
- Run a test cycle and inspect for leaks, odd noises, or excessive vibration.
3) Install the dryer
- Position the dryer so the vent won’t be crushed when you push it back.
- Connect the vent with clamps/foil tape (not duct tape, not screws into the airflow path).
- For electric: connect to the correct receptacle/cord setup per the manual.
- For gas: connect with a new approved connector, open the shutoff valve, and leak-test thoroughly.
- Test airflow outdoorsweak exhaust is a red flag for clogs or poor routing.
Common Mistakes That Cost You Time, Money, and Sanity
- Reusing old washer hoses: they can fail without warning and create expensive water damage.
- Ignoring leveling: vibration isn’t just noiseit’s stress on bearings, floors, and your patience.
- Overloading or underloading: both can reduce cleaning performance and increase wear.
- Using too much detergent: more soap doesn’t mean cleaner clothes; it can mean residue, odors, and extra rinse cycles.
- Bad dryer venting: long runs, crushed ducts, or lint-trapping materials increase drying time and safety risk.
- Skipping maintenance: the lint screen is not “optional décor.”
Maintenance Habits That Keep Everything Running Smoothly
Weekly
- Clean the dryer lint screen every load (yes, every load).
- Wipe up spills and keep the floor area clear so airflow and access aren’t blocked.
Monthly
- For front-load washers: wipe the door gasket and leave the door slightly open between uses to reduce moisture and odor.
- Run a washer cleaning cycle if your machine recommends it.
Yearly (or sooner if drying slows down)
- Inspect and clean the dryer vent and exterior termination.
- Check washer hoses and connections for any signs of wear or seepage.
Real-World Experiences From the Laundry Trenches (Bonus +)
If laundry appliances came with honesty labels, one would read: “I will only behave if you install me correctly.” Most problems I see aren’t
because someone bought the “wrong brand.” They’re because the setup was a little… optimistic.
One of the most common stories goes like this: “My dryer takes two cycles to dry.” Translation: the vent is either too long, too bendy, or
secretly packed with lint like it’s storing winter blankets for later. People often assume the dryer is weak. In reality, it’s suffocating.
Shortening the vent run, swapping to smooth metal duct, and removing unnecessary elbows can make the same dryer feel brand new. It’s the
home-improvement version of taking a deep breath and realizing you were wearing your hoodie backwards.
Washer “walking” is the other classic. The machine starts out innocentquiet, polite, maybe even proud of itself. Then one day it’s halfway
across the room, shaking like it’s auditioning for a drumline. Almost always: it’s not level, it’s on a slightly flexible floor, or shipping
bolts were left in a front-loader. The fix is rarely glamorous: level the feet, lock them down, add vibration pads if needed, and make sure the
floor can handle the spin. But once you do it, the difference is immediate. Your ears stop ringing. Your shelves stop rattling. Your pets stop
looking betrayed.
Odors in front-load washers deserve their own mini sitcom. The machine is extremely efficientwhich means it uses less water, and it also
keeps more moisture hanging around if you shut the door tight right after a cycle. The simple habit of wiping the gasket, running the occasional
cleaning cycle, and leaving the door slightly ajar can prevent that “why does my laundry smell like a forgotten gym bag?” moment. And yes,
using the right amount of detergent matters. Too much soap can leave residue that basically rolls out the welcome mat for funk.
Heat pump dryers create a different kind of learning moment: “Wait… where does the water go?” If you choose ventless, you need a plan for
moisture collectioneither emptying a tank or routing a drain hose. Homes that plan this upfront love the flexibility (laundry closets! interior
rooms!). Homes that don’t plan it discover the tank the same way you discover your phone is on 2%: suddenly, and with regret.
The big takeaway from all of these: picking the right appliances is half the job. Installing them thoughtfullyshort vents, proper drain setup,
correct power, fresh hoses, and a level stanceis what turns “new appliances” into “my laundry system actually works.” And that, honestly,
is one of adulthood’s underrated luxuries.
Conclusion
The best laundry appliances aren’t just the fanciest onesthey’re the ones that fit your space, match your habits, and connect safely to the
home you actually live in. Measure carefully, prioritize efficient designs that suit your loads, and treat installation as a real project (because
water, electricity, gas, and lint are not the cast you want in an improv show).
If you do three thingschoose the right size, vent the dryer properly (or go ventless on purpose), and install the washer with new hoses and
perfect levelingyou’ll get quieter cycles, faster drying, fewer repairs, and a laundry room that doesn’t feel like a weekly boss battle.