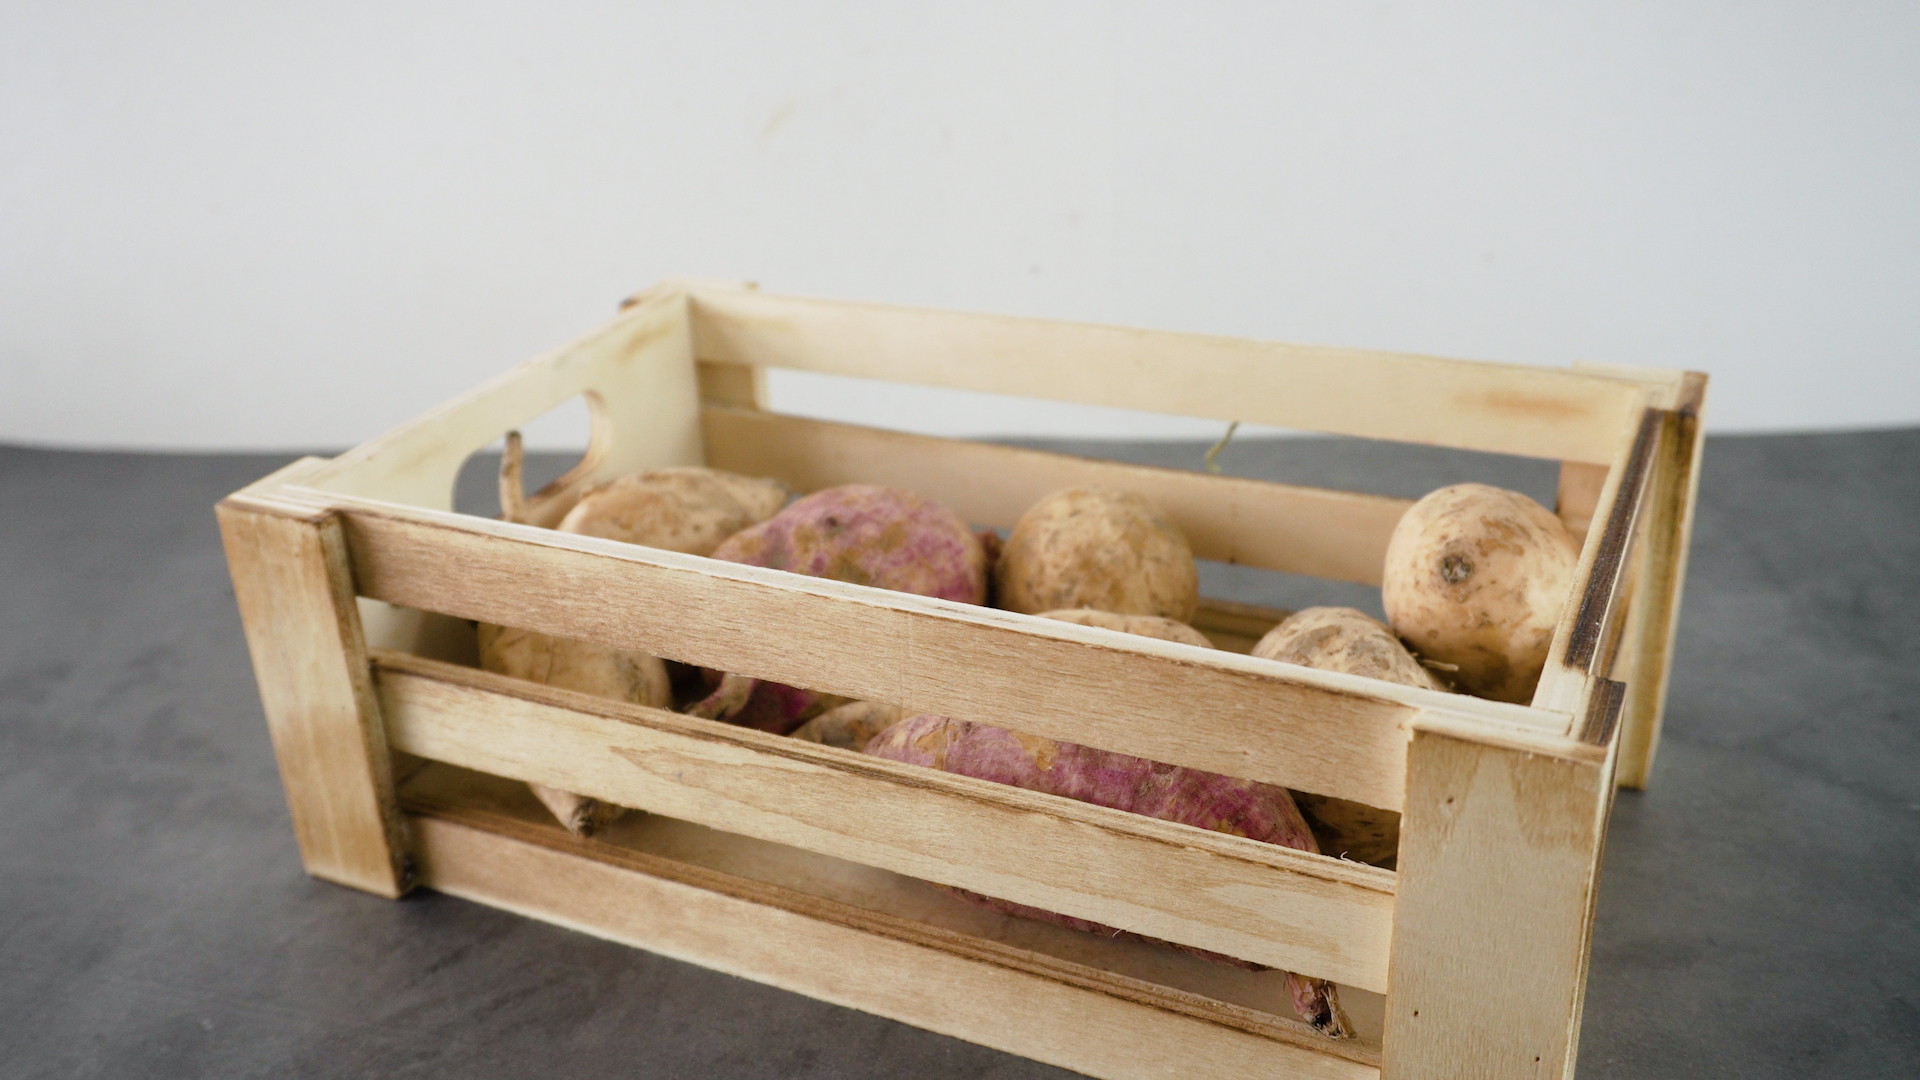
Freshly dug sweet potatoes are a little like teenagers on picture day: technically fine, but not yet ready for the big reveal. Right out of the soil, they are more delicate, less sweet, and far more likely to shrivel or rot in storage. That is where curing comes in. If you have ever harvested a basket of beautiful roots and then watched them turn sad, soft, and suspiciously dramatic a few weeks later, curing is probably the missing step.
This easy indoor guide explains exactly how to cure sweet potatoes at home, even if you do not have a fancy farm setup, a commercial curing room, or a humidity chamber that sounds like it belongs in a sci-fi movie. You just need warmth, a little humidity, decent airflow, and a bit of patience. Once cured properly, sweet potatoes store better, taste sweeter, and hold up much longer through fall and winter.
In other words, curing is not gardening trivia. It is the difference between “Look at my harvest!” and “Why are these roots acting like damp cardboard?” Let’s fix that.
What Does It Mean to Cure Sweet Potatoes?
Curing sweet potatoes is the short post-harvest period when freshly dug roots are kept warm and fairly humid so minor cuts, scrapes, and bruises can heal. During this time, the skin toughens, moisture loss slows down, and some of the starch begins shifting toward sugar. Translation: better shelf life, better texture, and noticeably better flavor.
This is especially important because sweet potatoes have thin, delicate skin at harvest. They bruise easily, nick easily, and hold grudges like tiny orange librarians. If you skip curing, those little wounds can turn into shrinkage, rot, or poor storage performance.
For home gardeners, the goal is simple: help the roots heal first, then move them into cooler long-term storage. Commercial recommendations often aim for about 80 to 85 degrees Fahrenheit with high humidity for roughly a week, though home growers often stretch the timeline a little when the room is not quite that warm.
Why Curing Matters So Much
1. It helps wounds heal
Even careful digging can leave tiny scratches and bruises. Curing helps those injuries seal over, which reduces rot and moisture loss later.
2. It improves sweetness
Fresh sweet potatoes are edible right away, but they are not always at their best. Curing and early storage help them develop a sweeter, fuller flavor. Think of it as the vegetable equivalent of letting cookie dough chill before baking. Good things happen when you do not rush.
3. It extends storage life
Properly cured sweet potatoes can last for months in the right conditions. Uncured ones are much more likely to shrivel, sprout early, or decay before winter is halfway over.
4. It makes indoor storage more reliable
If you want to keep your harvest in a basement, closet, pantry, or cool room, curing gives you a much better shot at success.
When to Cure Sweet Potatoes
Cure them as soon as possible after harvest. Same day is best when you can manage it. Do not leave freshly harvested sweet potatoes sitting outside overnight if temperatures may dip. Sweet potatoes are tropical by nature, and cold damage can happen faster than many gardeners expect.
Harvest timing matters too. Dig before a hard frost or right after a vine-killing frost, and handle the roots gently. If cold soil or cold nights start getting involved, quality can drop fast. Sweet potatoes do not enjoy chilly drama.
What You Need for Indoor Curing
You do not need a commercial curing room. For a small home harvest, you need a warm space, moderate-to-high humidity, and airflow.
- A warm indoor spot, ideally close to 80 to 85 degrees Fahrenheit
- Shallow boxes, crates, baskets, or trays
- Newspaper, paper, cloth, or cardboard for gentle layering
- A way to avoid drying them out too fast
- Good airflow, not sealed-up swamp conditions
The best home spots are often a warm utility room, laundry room, warm kitchen corner, insulated spare room, or another indoor area that stays consistently warm. If your house is cooler, curing can still work, but it usually takes longer. That is why many home guides suggest about 10 to 14 days indoors instead of assuming a perfect one-week commercial setup.
Step-by-Step: How to Cure Sweet Potatoes Indoors
Step 1: Harvest gently
Use a garden fork or spade to loosen the soil and lift the roots carefully. Do not yank them out like you are starting a lawn mower from 1987. Sweet potatoes bruise easily, and every unnecessary scrape becomes one more problem to manage in storage.
Step 2: Let them dry briefly
If they are muddy, let the roots air-dry for a short time so the surface soil loosens. Brush off excess dirt gently with your hands or a soft dry cloth.
Step 3: Do not wash them before curing
This is one of the biggest mistakes home gardeners make. Freshly dug sweet potatoes are easy to damage during washing. Leave the dirt on until after curing, or even until just before cooking. A little dust is less dangerous than a scratched skin.
Step 4: Sort the harvest
Separate damaged, cut, cracked, or insect-chewed roots from the sound ones. The ugly-but-still-usable potatoes should be eaten first. The best-shaped, healthiest roots are your storage stars.
Step 5: Arrange them in a single layer or loose layers
Spread the sweet potatoes out on screens, trays, or in shallow boxes. Avoid piling them into a heavy heap. Air should move around them, and pressure bruising should stay low.
Step 6: Keep them warm and fairly humid
Aim for a warm room around 80 to 85 degrees Fahrenheit if possible. If your home is more like 70 to 75 degrees, curing can still happen, but expect it to take closer to two weeks, and sometimes a bit longer. High humidity helps prevent shriveling while the skin heals, but do not trap the roots in a soggy, airless environment.
A practical home method is to place the boxes in your warmest indoor room and loosely cover them with paper or cloth to help hold humidity. Some gardeners also use perforated plastic around boxes or bins, but the key word is perforated. You want humidity support, not a tropical hostage situation.
Step 7: Cure for 7 to 14 days
If conditions are close to ideal, one week may be enough. If the room is cooler, stretch the curing period to about 10 to 14 days. Many home gardeners find this longer window more realistic.
Step 8: Move cured roots to storage
After curing, transfer the sweet potatoes to a dark, well-ventilated area around 55 to 60 degrees Fahrenheit. That might be a basement, closet, pantry, or unheated room that stays above the danger zone. Do not refrigerate them.
How to Tell If Sweet Potatoes Are Properly Cured
You are not waiting for fireworks. The signs are subtle but useful:
- The skin feels a bit tougher and less tender
- Small scrapes look dry and healed rather than fresh
- The roots seem less “just dug” and more stable
- They start tasting sweeter after a little time
Do not expect every root to look perfect. Curing improves the odds; it does not turn every potato into a pageant winner.
Best Indoor Setups for Home Gardeners
Warm room method
This is the easiest option. Place sweet potatoes in a warm room on trays or in shallow boxes. Cover loosely with paper or cloth, and leave them alone for 10 to 14 days. This method is simple, low-tech, and surprisingly effective for modest harvests.
Box-and-cloth method
Use cardboard boxes or crates lined with newspaper. Set the potatoes in one or two loose layers, then cover the container loosely with cloth or paper to slow moisture loss. This helps create a gentler microclimate without sealing off airflow.
Closet storage transition
Once curing is done, some gardeners wrap cured roots individually in newspaper and move them to a dark closet or cool room that stays around 55 to 60 degrees. This works well for smaller harvests and helps prevent one spoiled potato from affecting the whole bunch.
Common Mistakes to Avoid
Washing too soon
If you remember only one thing from this article, let it be this: do not scrub your sweet potatoes right after harvest. Fresh skin damages easily, and damaged skin stores poorly.
Letting them get too cold
Sweet potatoes are sensitive to chilling injury. Temperatures around 55 degrees Fahrenheit or below can cause trouble, especially if exposure lasts. Below that range, problems like off-flavor, internal browning, decay, shriveling, or a hard center after cooking become more likely.
Using the refrigerator
The fridge is not your friend here. Refrigeration may seem logical because that is where many vegetables go, but sweet potatoes are not playing by potato rules. Cold storage can damage flavor and texture instead of preserving them.
Overcrowding the roots
When sweet potatoes are stacked too tightly, airflow drops and bruising rises. Give them personal space. They have been through enough.
Trying to store damaged roots long term
Cut, cracked, or skinned roots should be used first. They are excellent candidates for roasting, soup, mash, or pie. They are not your long-haul storage team.
How to Store Sweet Potatoes After Curing
Once curing is finished, move the roots to a dark place with good air movement and a temperature around 55 to 60 degrees Fahrenheit. That range is the sweet spot for long-term storage. Too warm, and they may sprout or shrivel sooner. Too cold, and quality drops.
For containers, use baskets, crates, boxes, or bins that allow airflow. Newspaper liners are fine. Tight plastic tubs with poor ventilation are less fine. Think breathable, not airtight.
If stored well, cured sweet potatoes may last several months. Some guides suggest roughly four to six months under good home conditions, and sometimes longer when the roots were mature, handled gently, and stored in a very steady environment. Flavor can even continue to improve during the early weeks of storage.
Indoor Curing Example for a Small Harvest
Let’s say you harvest 20 pounds of Beauregard sweet potatoes from your backyard. You brush off the dirt, sort out a few nicked roots for immediate meals, and place the good ones in shallow boxes lined with newspaper. You set those boxes in a warm laundry room that stays around the upper 70s to low 80s, cover them loosely with cloth, and leave them for 12 days.
After that, you move them to a basement closet that stays close to 58 degrees Fahrenheit. Over the next month, the flavor gets sweeter, the skins stay firm, and your holiday side dish stops tasting like a root with commitment issues. That is the power of a proper cure.
Frequently Asked Questions
Can I eat sweet potatoes without curing them?
Yes. They are safe to eat fresh after harvest. They just may not taste as sweet, and they usually will not store as well.
What if my house never reaches 80 degrees?
You can still get useful results in a warm room, but the curing period may need to be longer. The warmer and steadier the conditions, the better.
Can I cure sweet potatoes in a garage?
Only if the garage stays warm enough. In many places, garages cool down too much at night. A protected indoor room is usually more reliable.
Should I wrap each potato?
For curing, not necessarily. For long-term storage afterward, wrapping in newspaper can help with small batches by reducing moisture swings and limiting spread if one root goes bad.
Experience-Based Tips From Real Indoor Curing Situations
Now for the part every gardener appreciates: what indoor curing actually feels like in practice. On paper, curing sounds wonderfully precise. Keep roots at the perfect temperature, add ideal humidity, protect the skin, store beautifully, smile into the sunset. In real homes, it is a little messier, a little improvisational, and a lot more human.
One of the most common experiences is discovering that the harvest looked amazing on day one and slightly less glamorous by day three. A root that seemed fine outside may show a bruise, a scrape, or a soft patch once it dries a bit. That is normal. Sorting twice is often smarter than sorting once. Many home growers learn quickly that the “eat first” pile grows after a couple of days, and that is not failure. That is good judgment.
Another common experience is underestimating how much warmth matters. A cool room may seem fine because the potatoes are indoors and protected, but curing is not just about getting them out of the weather. It is about actively helping the skin heal. Gardeners who place sweet potatoes in a chilly basement right after harvest often report disappointing results: less sweetness, more shriveling, and poorer storage. Meanwhile, the gardeners who use the warmest room in the house, even if it is not perfect, usually see much better curing progress.
Humidity is another lesson that tends to arrive with personality. Too little humidity, and the roots start looking wrinkled, like they just got back from a week in the desert without moisturizer. Too much trapped moisture, and the setup can edge toward decay. The sweet spot is gentle humidity with airflow. In real life, that often means a loose cover works better than a tight one. You are trying to create a comfortable spa, not a swampy submarine.
Many gardeners also notice that flavor improvement is not always immediate. People sometimes roast a sweet potato right after harvest, then try another batch a few weeks later and wonder whether they accidentally switched varieties. They did not. Curing and early storage really do make a difference. The roots often taste sweeter, richer, and more rounded after they have had time to settle in.
There is also the universal experience of learning not to wash too early. Plenty of growers do it once, regret it, and never do it again. Freshly dug sweet potatoes can look rugged, but their skins are surprisingly easy to scratch. What feels like “cleaning them up nicely” can quietly reduce how well they store. Home gardeners who leave the dirt on until later usually end up with better results, even if the boxes look less Instagram-ready.
Then there is storage psychology, which is very real. After curing, people often want to check on the potatoes constantly, reorganize them, admire them, and maybe give them motivational speeches. Resist the urge. A dark, steady storage space with decent airflow works better than frequent handling. The roots do not need applause. They need calm.
Over time, experienced growers tend to become less obsessed with perfection and more focused on patterns. They know the best roots for storage are mature, uninjured, and carefully handled. They know the oddballs should be eaten first. They know a warm room and patience solve more problems than gadgets. And they know that the best indoor curing setup is not the fanciest one. It is the one you can keep stable for a week or two without turning your house into an agricultural escape room.
In short, the real experience of curing sweet potatoes indoors is equal parts science and common sense. You learn to handle the roots gently, skip the sink, trust warmth, respect airflow, and stop expecting instant sweetness. Once that rhythm clicks, the process feels easy. And when you pull out a firm, flavorful sweet potato in the middle of winter, you will feel like a post-harvest genius. A humble, slightly dusty genius, but a genius all the same.
Final Thoughts
If you grow sweet potatoes at home, curing is not an optional extra for gardening overachievers. It is one of the most useful things you can do to protect your harvest. A short warm-and-humid rest period helps the roots heal, sweeten, and store well for months. Even if your indoor setup is simple, you can still get excellent results by avoiding early washing, keeping the roots warm, giving them airflow, and moving them to proper storage once curing is done.
So the next time you dig up a beautiful crop, do not rush straight to the pantry or the pie plate. Give those roots a proper cure first. Your winter meals will taste better, your storage losses will drop, and your sweet potatoes will finally get the graceful retirement they deserve.