Discord channels are a little like rooms in a busy clubhouse. Some rooms are for everyone. Some are for moderators. Some are for announcements. And some are for conversations that should absolutely not be interrupted by a member named “xXDragonSnackXx” posting twelve memes in a row. That is where learning how to lock a Discord channel on a PC or Mac becomes extremely useful.
Locking a Discord channel usually means one of two things: making the channel private so only selected roles or members can see it, or making the channel read-only so people can view it but cannot send messages. Both options are handled through Discord’s channel permissions. On desktop, the process is straightforward once you understand the relationship between roles, channel settings, and the famousor infamous@everyone role.
This guide walks you through how to lock a Discord channel on Windows, Mac, or browser. You will learn how to create private channels, restrict who can send messages, use roles correctly, fix common permission problems, and avoid turning your server into a digital escape room.
What Does It Mean to Lock a Discord Channel?
Before clicking through settings like you are defusing a bomb, it helps to know what “lock” actually means in Discord. Discord does not always use the word “lock” as a single button. Instead, you lock a channel by changing who can view, read, send messages, connect, speak, or manage that channel.
There Are Two Main Ways to Lock a Channel
The first method is to make a channel private. This hides the channel from users who do not have permission to view it. A private staff channel, VIP room, project channel, or event planning space would use this setup.
The second method is to make a channel read-only. This lets members see the channel but prevents them from posting. This is perfect for rules, announcements, server updates, guides, schedules, and any channel where you want information to stay clean and organized. Because, let’s be honest, one “lol” under your carefully written rule list can make the whole place feel less official.
What You Need Before Locking a Discord Channel
To lock a Discord channel on a PC or Mac, you need the right permissions. If you own the server, you are ready. If you are not the owner, you usually need permissions such as Manage Channels, Manage Roles, or Administrator access, depending on what you are changing.
You should also understand roles. Roles are groups assigned to members. For example, your server might have roles like Admin, Moderator, Member, Subscriber, Student, Client, or Guest. Channel permissions can be applied to these roles so you do not have to adjust access one person at a time.
The most important role to understand is @everyone. This role applies to every member in the server by default. If @everyone can view or send messages in a channel, then the channel is not truly locked for general members. In many cases, locking a channel starts by denying or removing permissions from @everyone, then allowing access for specific roles.
How to Lock a Discord Channel on a PC or Mac by Making It Private
This is the best method when you want only selected people to see and use a channel. It works for text channels, voice channels, project spaces, moderator rooms, and private team discussions.
Step 1: Open Discord on Desktop
Open the Discord desktop app on your PC or Mac. You can also use Discord in a web browser. The steps are very similar because the desktop and browser layouts share the same general design.
Step 2: Choose Your Server
Look at the server icons on the left side of the screen and click the server that contains the channel you want to lock. Make sure you are working in the correct server. Accidentally locking the wrong channel is not the end of the world, but it is a fun way to receive five confused messages from moderators in thirty seconds.
Step 3: Open Channel Settings
Find the channel in the channel list. Hover your mouse over the channel name and click the gear icon that appears. You can also right-click the channel and choose Edit Channel.
Step 4: Go to Permissions
Inside the channel settings menu, click Permissions. This is where Discord lets you control who can access the channel and what they can do inside it.
Step 5: Turn On Private Channel
Look for the Private Channel option and turn it on. When this setting is enabled, Discord limits access to selected roles and members. In practical terms, this removes general access from @everyone and lets you decide who gets the key to the room.
Step 6: Add Roles or Members
Click Add members or roles. Choose the roles or individual members who should be able to view the channel. For example, if you are creating a staff-only channel, you might add Admin and Moderator roles. If you are creating a client channel, you might add one client role and one internal team role.
Step 7: Save Your Changes
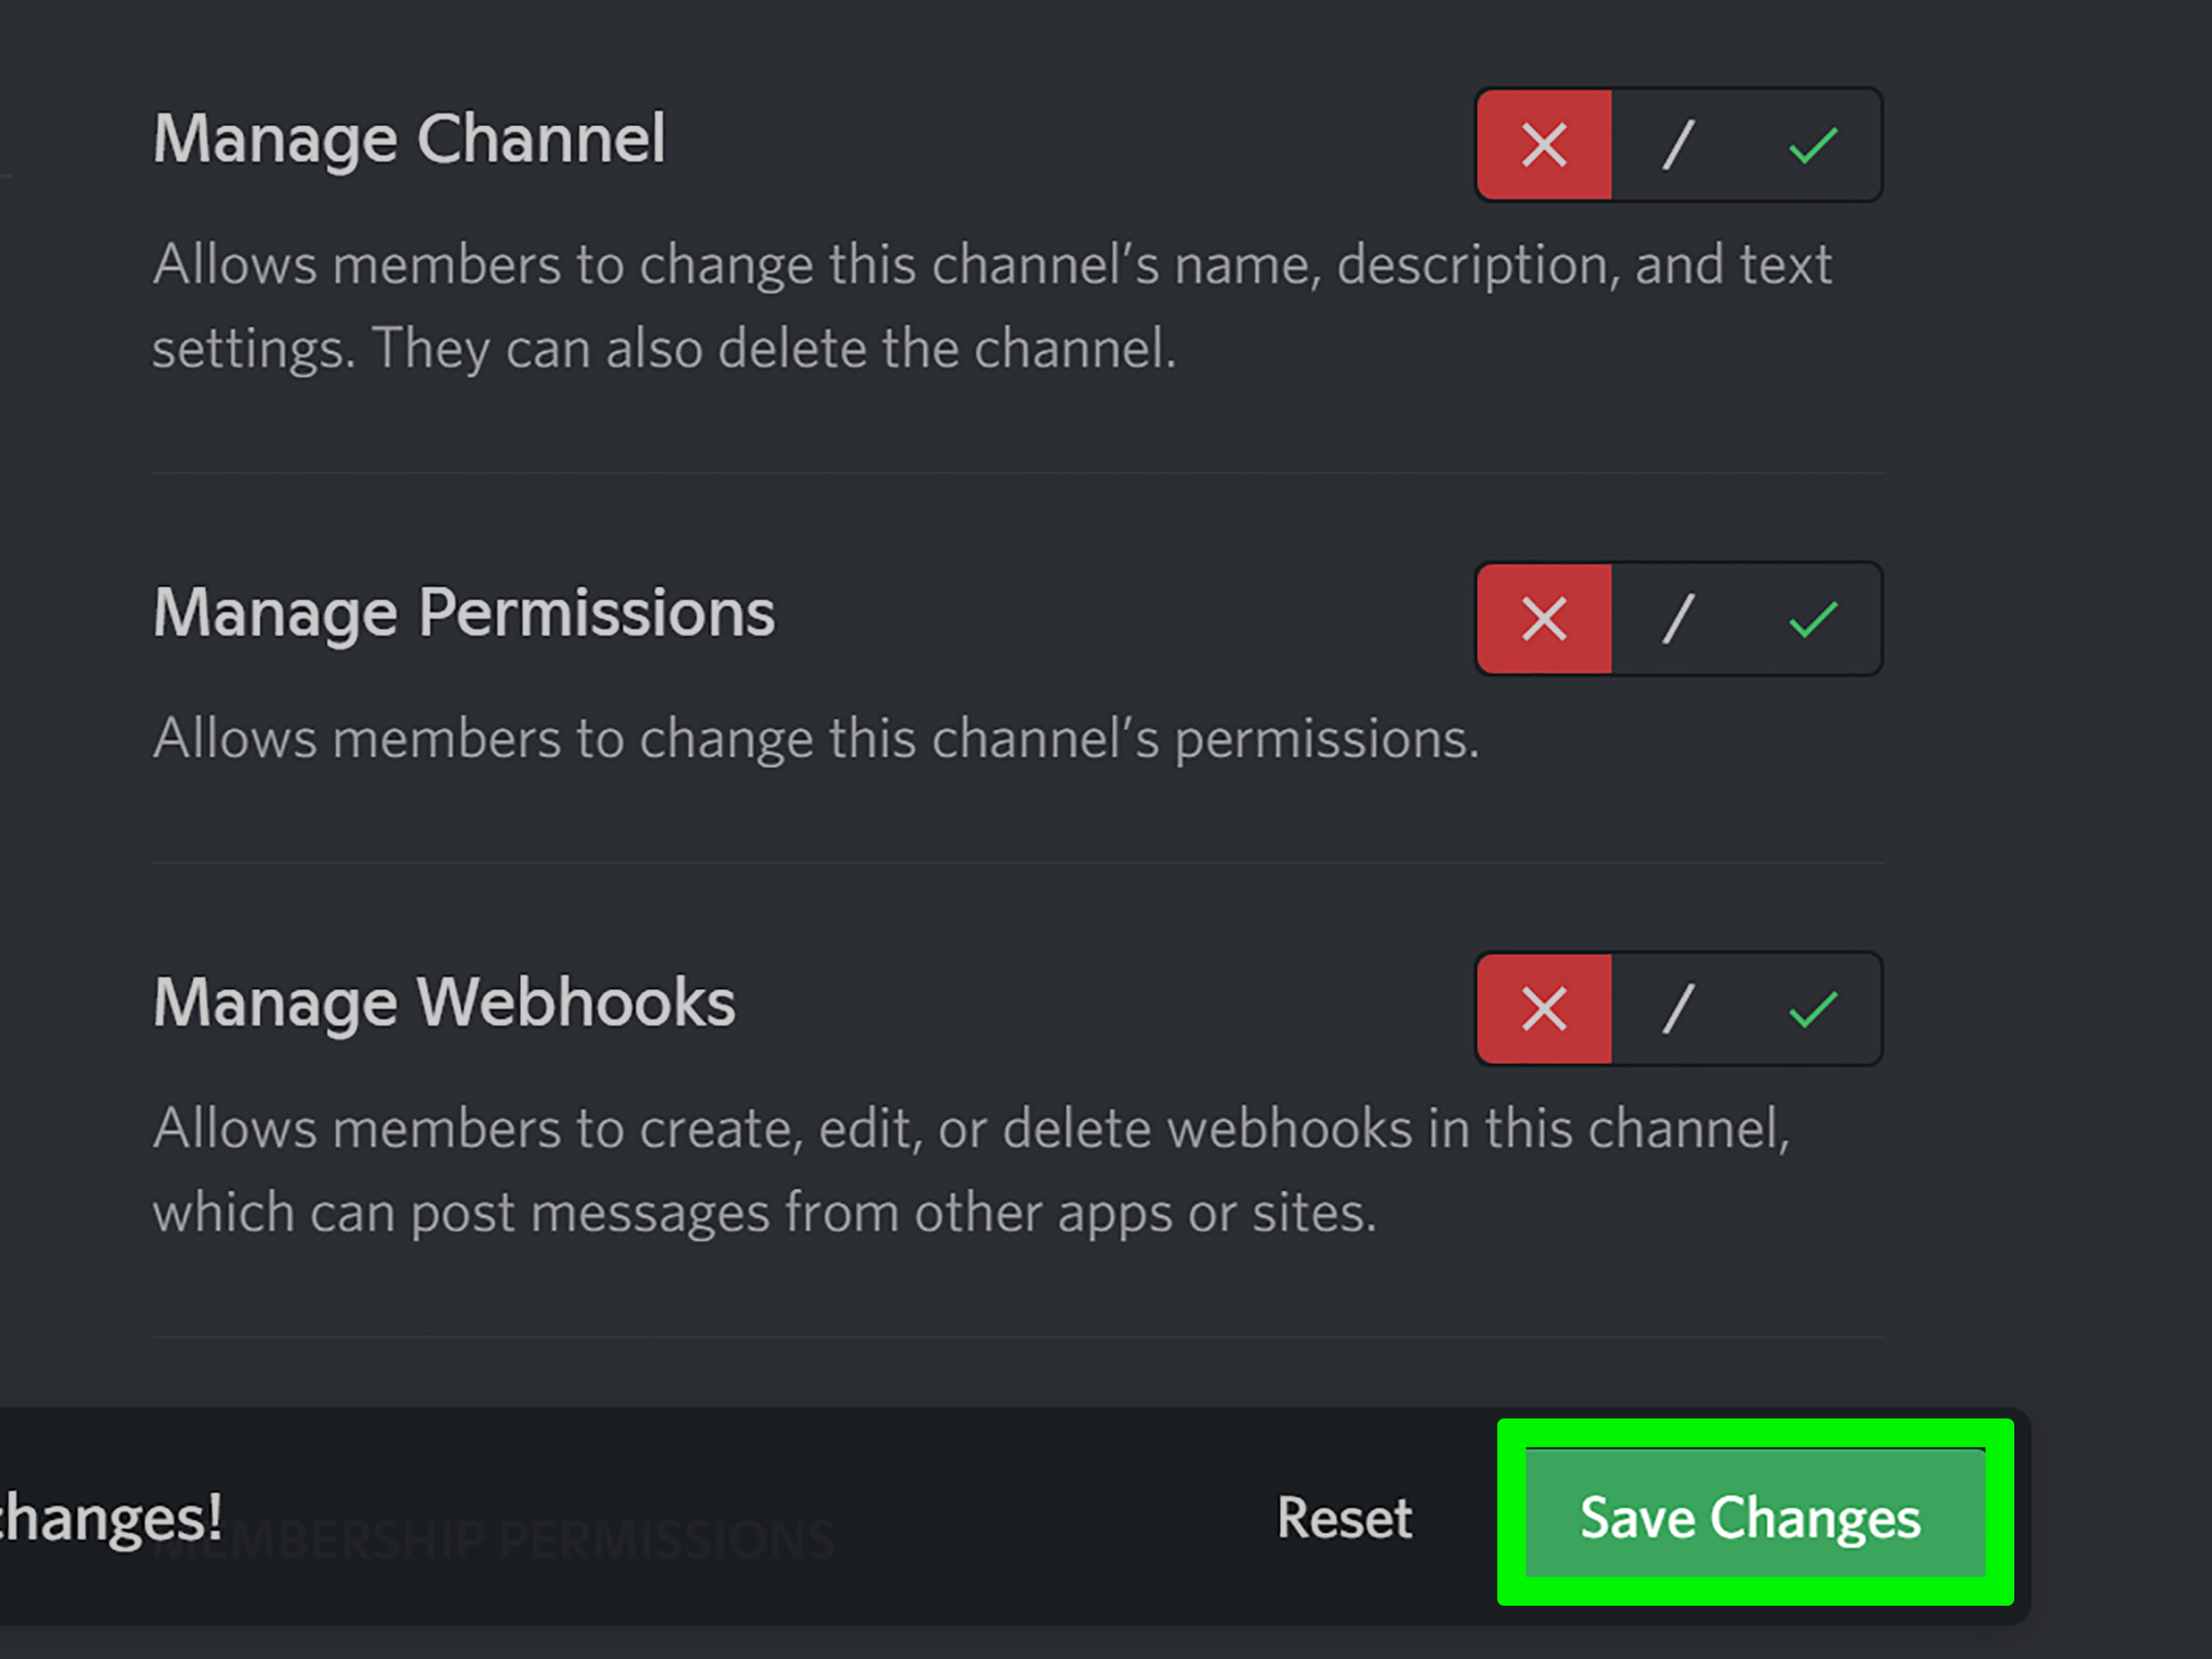
Click Save Changes if Discord prompts you. After saving, only the selected roles or members should be able to see and access the private channel.
How to Make a Discord Channel Read-Only on PC or Mac
A read-only channel is visible, but members cannot post messages. This is one of the most useful setups for public-facing information channels. Think of it as putting your announcement board behind glass. Everyone can read it, but nobody can scribble “first” underneath it.
Step 1: Open the Channel Settings
In your Discord server, hover over the channel you want to lock for posting. Click the gear icon or right-click the channel and select Edit Channel.
Step 2: Click Permissions
Go to the Permissions tab. This area controls what roles and members can do in the channel.
Step 3: Select @everyone
Under roles or members, select @everyone. This is the default role for all server members. If you want regular members to read but not write, @everyone is usually the role you need to adjust.
Step 4: Deny Send Messages
Find the text channel permission called Send Messages. Set it to deny for @everyone. This prevents general members from posting in the channel.
Step 5: Allow Trusted Roles to Post
If admins, moderators, or announcement managers should still be able to post, add those roles to the channel permissions and allow Send Messages for them. This creates a clean hierarchy: regular members can read, trusted roles can publish.
Step 6: Save Changes
Save your changes. Your channel is now read-only for regular members while still usable by approved roles.
How to Lock a Voice Channel on Discord
Locking a voice channel works much like locking a text channel, but the permissions are different. Instead of focusing on Send Messages, you will manage permissions like View Channel, Connect, and Speak.
To make a voice channel private, open the voice channel settings, go to Permissions, and enable Private Channel. Then add the roles or members who should be allowed in. If you want people to see the voice channel but not join, deny Connect for @everyone. If you want them to join but not talk, deny Speak. That last setup can be useful for stage-like listening rooms, although Discord also has dedicated Stage channels for more formal speaking events.
How to Lock an Entire Discord Category
If you have several related channels, locking them one by one can feel like organizing socks by thread count. A better option is to lock the whole category.
Step 1: Right-Click the Category
Find the category name in your server’s channel list. Right-click it and choose Edit Category.
Step 2: Open Category Permissions
Click Permissions. Category permissions can apply to channels inside that category, especially when those channels are synced.
Step 3: Adjust @everyone and Allowed Roles
For a private category, deny or remove View Channel for @everyone, then allow View Channel for specific roles. For a read-only category, deny Send Messages for @everyone while allowing trusted roles to post.
Step 4: Sync Channel Permissions
If a channel is synced with the category, it follows the category’s permissions. If a channel is not synced, it may keep its own custom settings. Open an individual channel’s permission settings and use Sync Now if you want it to match the category.
Common Examples of Locked Discord Channels
A locked Discord channel can serve many purposes. A rules channel is usually read-only so members can review server expectations without adding comments. An announcements channel lets admins share updates without the message getting buried under emoji reactions and side conversations.
A moderator channel should usually be private, visible only to staff roles. This is where moderators can discuss reports, warnings, internal notes, and community issues. A VIP channel can be locked behind a supporter, subscriber, or member role. A project channel may be private to a small group working on a specific task.
For study groups, locked channels can separate class years, subject areas, or team projects. For gaming communities, they can separate raid planning, clan leadership, strategy rooms, and event coordination. For businesses, they can protect client conversations, internal support notes, and team-only decisions.
Why Your Discord Channel Is Still Not Locked
Discord permissions are powerful, but they can be confusing because several settings may overlap. If your locked channel is not behaving the way you expected, check these common issues.
Someone Has Administrator Permission
Members with Administrator permission can usually bypass channel restrictions. If someone can still see a private channel, check whether they have an admin-level role. Administrator should be given only to people you trust completely.
A Role Still Has View Channel Allowed
A user may have more than one role. Even if one role is denied access, another role may still allow it depending on the permission setup. Review all roles assigned to that user and check the channel’s role permissions carefully.
The Channel Is Synced to a Category
If a channel is synced to a category, changing the category permissions can affect the channel. If you edited the channel directly but it keeps acting strangely, check whether category permissions are involved.
You Forgot to Save Changes
It happens. Discord often shows a save bar after permission edits. If you close the settings panel before saving, your changes may not apply. The server will not judge you, but your channel may remain unlocked.
Best Practices for Locking Discord Channels
Use roles whenever possible instead of adding individual members one by one. Roles are easier to manage as your server grows. If someone joins the moderation team, you can assign the Moderator role and instantly give them access to the right channels.
Keep your role structure simple. A server with 47 overlapping roles can become a permissions jungle. Use clear names like Admin, Moderator, Member, Guest, Subscriber, Client, or Event Team. Your future self will thank you.
Be careful with Administrator and Manage Channels permissions. These permissions are powerful and can override or change channel access. Give them only to trusted staff. Also, review private channels regularly. People change teams, projects end, and old access can become a quiet security risk.
Finally, test your setup. Discord includes role-based viewing tools in many server management workflows, and you can also use a test account or ask a trusted moderator to confirm what regular members can see. A locked channel is only useful if it is locked in real life, not just in your optimistic imagination.
Security Tips for Private Discord Channels
Private channels can protect conversations, but they are not magic vaults. Do not share passwords, financial information, legal secrets, private medical details, or sensitive personal data in Discord unless you fully understand the risks. A private Discord channel is useful for access control, but it is still part of an online communication platform.
Review your roles after adding bots. Some bots need permissions to function, but you should avoid giving bots more access than necessary. If a bot has Manage Roles, Manage Channels, or Administrator permissions, treat it seriously. Only invite reputable bots, and remove bots you no longer use.
You can also check your server’s audit log for administrative actions. Audit logs can help server managers review changes such as role updates, channel changes, and permission-related activity. This is especially helpful when a channel suddenly becomes visible or someone says, “I didn’t change anything,” which is the server admin version of “the dog ate my homework.”
Experience-Based Tips: What Locking Discord Channels Teaches You Over Time
After managing Discord servers for a while, you learn that channel locking is not just a technical setting. It is community design. The way you lock, hide, organize, and label channels shapes how people behave. A messy permission setup can make members feel lost. A clean setup makes the server feel intentional, safe, and easy to use.
One of the biggest lessons is that private channels should have a clear purpose. Do not create hidden rooms just because you can. If members see half the server disappear behind mysterious role walls, they may feel excluded. Private channels work best when they support a real need: moderation, planning, paid membership, team work, or sensitive coordination.
Another useful experience is to name locked channels clearly. A moderator channel called #mod-chat is obvious. A private project channel called #client-redesign is understandable. But a channel called #secret-room-7 may create confusion unless your server is role-playing as a haunted mansion. Clear naming helps staff know where conversations belong.
Read-only channels are also more powerful than many new server owners realize. A well-locked rules channel keeps important information clean. A locked announcements channel makes updates easier to scan. A locked FAQ channel reduces repetitive questions. When members know exactly where to find official information, moderators spend less time repeating themselves like a broken robot with caffeine.
Testing is another habit that saves headaches. After locking a channel, check it from the perspective of a normal member. Many permission mistakes happen because admins forget that users can have multiple roles. For example, someone may not have the Moderator role but may still have an Event Team role that can view the same private category. That might be intentional, or it might be a surprise wearing a fake mustache.
It is also smart to document your server’s permission logic. You do not need a 90-page manual. A simple staff note can explain which roles access which categories. For example: “Moderator sees staff channels. Subscriber sees VIP channels. Guest sees welcome and rules only.” This makes future edits easier, especially if multiple admins help manage the server.
Finally, remember that locking channels is about reducing noise as much as protecting privacy. Not every channel needs to be open for conversation. Sometimes the best user experience is a quiet channel where the information stays exactly where you put it. In a busy Discord server, that kind of order feels like finding a clean desk in a room full of confetti cannons.
Conclusion
Learning how to lock a Discord channel on a PC or Mac is one of the most useful skills for managing a clean, safe, and organized server. Whether you want a private staff room, a read-only announcements channel, a VIP space, or a locked voice room, the process comes down to channel permissions and roles.
The simplest method is to open the channel settings, go to Permissions, and either enable Private Channel or deny specific actions such as Send Messages, View Channel, Connect, or Speak. For larger servers, category permissions and synced channels can save time. For safer servers, careful role management is the secret ingredient.
Discord gives you a lot of control, but with great permission power comes great responsibilityand occasionally, a few confused moderators. Keep your roles simple, review access regularly, test your setup, and avoid giving Administrator permissions to anyone who simply asks nicely. Your server will be cleaner, calmer, and much easier to manage.