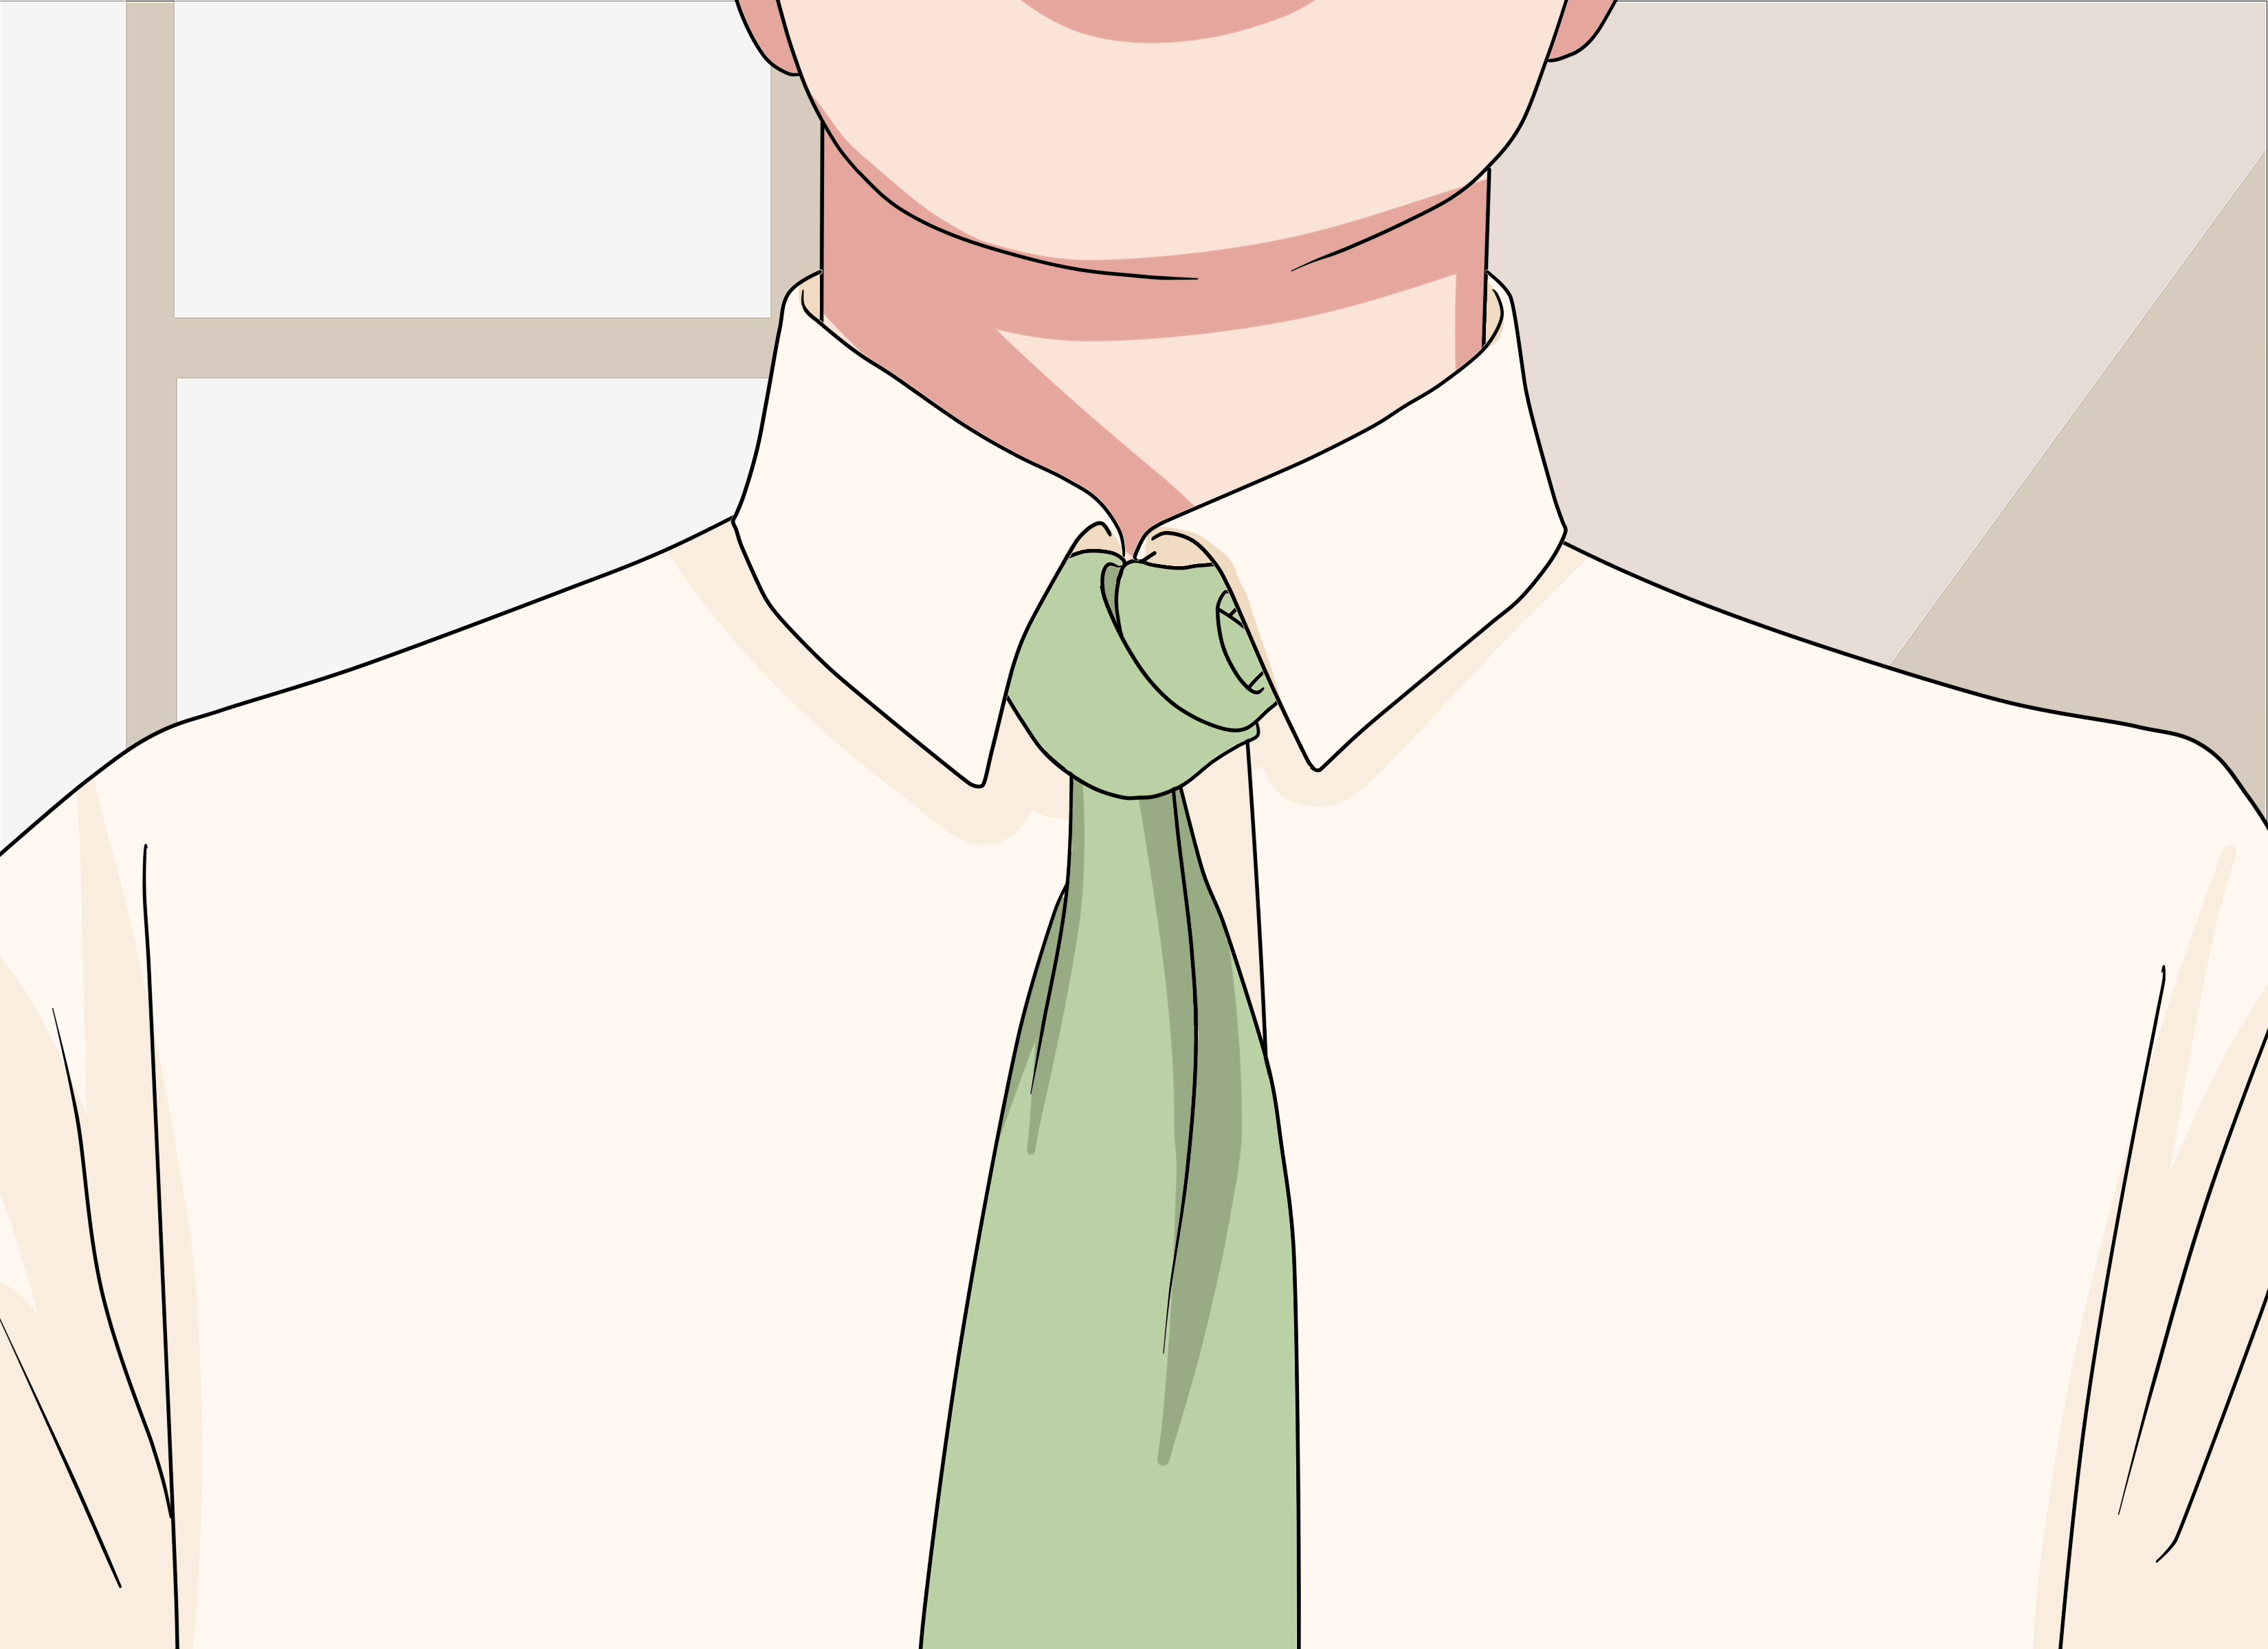
Note: This publish-ready guide is based on real necktie-knot techniques, classic menswear styling principles, and practical experience with decorative knots. It is rewritten in original language for web publication.
The Rose Bud tie knot is what happens when a necktie decides it has had enough of being “business casual” and wants to become a tiny fabric sculpture. It is decorative, romantic, eye-catching, and just complicated enough to make people assume you have either excellent style or an unusually intense relationship with mirrors.
Unlike the Four-in-Hand or Half Windsor, the Rose Bud knot is not the knot you tie while sprinting out the door with coffee in one hand and regret in the other. It is a specialty knot. It is best for weddings, date nights, formal dinners, prom, creative black-tie events, fashion shoots, and occasions where a normal knot would feel a little too quiet. When tied correctly, the finished knot resembles a rosebud sitting neatly at the collar, with folded layers that create a petal-like shape.
This guide explains how to tie a Rose Bud tie knot step by step, how to choose the right tie, which shirt collar works best, what mistakes to avoid, and how to style the knot without looking like you lost a duel with a napkin.
What Is a Rose Bud Tie Knot?
The Rose Bud tie knot, sometimes written as the Rosebud knot or Rose Bud knot, is a decorative necktie knot that uses the narrow end of the tie as the active end. That makes it different from classic knots such as the Windsor, Half Windsor, Pratt, or Four-in-Hand, where the wide blade usually does most of the work.
The Rose Bud knot is related in spirit to other fancy tie knots such as the Trinity knot and Eldredge knot. These knots are designed less for strict office tradition and more for visual impact. The goal is not simply to secure the tie. The goal is to create shape, texture, and a focal point at the collar.
Because the Rose Bud knot has multiple folds and visible layers, it needs patience. The first attempt may look less like a rosebud and more like a confused croissant. That is normal. Decorative tie knots reward small adjustments, gentle tightening, and a willingness to start over without blaming the tie, the mirror, or your ancestors.
When Should You Wear a Rose Bud Tie Knot?
The Rose Bud tie knot works best when the setting allows personality. It is a strong choice for romantic and celebratory events because the rose-like shape naturally suggests elegance, charm, and a little drama. It can look excellent at weddings, anniversaries, engagement parties, Valentine’s Day dinners, galas, school dances, and creative formal events.
For conservative business meetings, job interviews, court appearances, or very traditional corporate environments, choose a simpler knot. A Rose Bud knot in a boardroom can be stylish, but it can also distract from what you are saying. Sometimes you want people to notice your ideas before they notice your collar has gone full botanical garden.
Best Tie, Shirt, and Collar for the Rose Bud Knot
Choose a Light or Medium-Weight Tie
A thin or medium-weight silk tie usually works best. Smooth silk, microfiber, or a soft satin-finish tie is easier to fold and shape. Thick wool ties, heavy knit ties, and stiff textured ties can make the knot bulky. The Rose Bud already has layers, so giving it a heavy tie is like asking a cupcake to wear a winter coat.
Use a Tie With Enough Length
Because the narrow end does most of the wrapping, you need enough fabric to complete the knot. If you are tall or have a larger neck, consider using an extra-long tie. The wide end should still finish near the top of your belt buckle, but the narrow end must have enough length to form the decorative folds.
Pick the Right Pattern
Solid ties are the easiest choice. A deep red, burgundy, navy, charcoal, emerald, or black tie can make the Rose Bud shape stand out. Subtle patterns can also work, especially small dots or fine jacquard textures. Loud diagonal stripes or large prints may fight with the shape of the knot and make the petals harder to see.
Wear a Spread or Semi-Spread Collar
The Rose Bud knot needs space. A spread collar or semi-spread collar gives the knot room to sit comfortably without crowding the collar points. A narrow point collar can squeeze the design and make the knot look cramped. Button-down collars are usually too casual for this style, though they can work for playful outfits.
Before You Start: Quick Setup Tips
Stand in front of a mirror with your shirt buttoned all the way up. Flip your collar up if that helps you see the neck loop clearly. Smooth the tie with your hands before starting. Decorative knots show wrinkles more than simple knots, so begin with a tie that is clean, pressed, and cooperative.
For the Rose Bud knot, the wide end is mostly the foundation, and the narrow end is the working end. This means the wide blade should be positioned where you want the finished tie length to sit. The narrow end should hang with extra length so it can travel around the knot.
How to Tie a Rose Bud Tie Knot Step by Step
The following steps are written for someone tying the knot on themselves while looking in a mirror. Move slowly. Keep the fabric flat. Do not pull too tightly too early; the Rose Bud knot needs shape before it needs strength.
Step 1: Drape the Tie Around Your Neck
Place the tie around your neck with the seam facing inward. Let the wide end hang on your right side and the narrow end hang on your left side. Set the wide end close to its final length, usually around the belt buckle. The narrow end should be longer than usual because it will do the wrapping.
Step 2: Pinch the Wide End Below the Collar
Make a small vertical pinch in the wide blade just below your neck. This pinch creates the center of the rosebud shape. Hold it gently with one hand. The fold does not need to be dramatic; a small crease is enough to give the knot structure.
Step 3: Cross the Narrow End Over the Pinch
Take the narrow end and cross it over the front of the pinched wide end, moving toward your opposite shoulder. This creates the first visible crossing and locks the central fold in place.
Step 4: Bring the Narrow End Up Through the Neck Loop
Bring the narrow end upward from underneath the knot and pass it through the neck loop. Pull it down on the same side. Keep the fabric flat and avoid twisting. This is where many first attempts go sideways, usually because the narrow end flips over and exposes the seam.
Step 5: Wrap Under and Across
Move the narrow end underneath the knot and across to the other side. Then bring it up and over the collar loop, pulling it down neatly. This begins building the layered structure around the central pinch.
Step 6: Create the Front Band
Bring the narrow end horizontally across the front of the knot. Slip one finger under this front band before tightening. That small opening will help you pass the fabric through in the next step. Think of your finger as a tiny construction worker holding the tunnel open.
Step 7: Pass Through the Front Loop
Bring the narrow end up through the neck loop again, then down through the front band you saved with your finger. Pull gently. At this point, the knot should sit at your collar, and the narrow end should hang in front of the wide blade with the finished side of the fabric showing.
Step 8: Fold the Narrow End
Fold the narrow end lengthwise so it becomes slimmer and more petal-like. This fold is important because it creates the raised, rounded look of the Rose Bud knot. If you skip the fold, the knot can look flat and less floral.
Step 9: Wrap the Folded End Around the Knot
Bring the folded narrow end up and over the knot, then down and around it. Keep the fold soft, not crushed. You are trying to build curved petals around the center, not tighten a rope around a suitcase.
Step 10: Make the Diagonal Petal Layer
Guide the folded tail across the knot diagonally. This diagonal fold creates the rosebud effect. Repeat the wrap if you have enough fabric, keeping the layers close but not stacked directly on top of each other. The goal is a spiral impression, like petals gently curling inward.
Step 11: Tuck the Remaining Tail
Once the rose shape looks balanced, tuck the remaining narrow end behind the knot or under the neck loop. Hide any excess fabric under the collar. The back does not need to win a beauty contest, but the front should look clean and intentional.
Step 12: Adjust, Fluff, and Center
Use both hands to center the knot. Gently loosen or tighten individual folds until the rosebud shape appears. The best Rose Bud knot has visible layers, a neat center, and a slightly rounded shape. If it looks too flat, loosen the outer folds slightly. If it looks too bulky, smooth the fabric and tuck the tail more tightly.
Common Rose Bud Knot Mistakes and How to Fix Them
The Knot Looks Too Bulky
This usually happens when the tie is too thick or the folds are pulled too tightly together. Try a lighter tie and keep the petal layers soft. Also, avoid creating too many wraps if the fabric is already substantial.
The Rose Shape Is Not Visible
If the knot looks like a normal knot with extra fabric, the narrow end may not have been folded or angled properly. Rework the final wraps and create more diagonal movement. The flower shape comes from the layered spiral, not from brute force.
The Narrow End Is Too Short
Start over with more length on the narrow side. Since the Rose Bud knot uses the narrow end as the active end, it needs more fabric than a traditional knot. If your tie is short, use an extra-long tie or choose a simpler decorative knot.
The Tie Ends Too High or Too Low
Because the wide end stays mostly passive, set it near the correct final length before you begin. If the wide blade ends several inches above your belt, the knot may look unfinished. If it hangs too low, adjust the starting position and try again.
The Knot Slips During the Day
A decorative knot can loosen if the fabric is very slick. Tighten the base gently before shaping the petals. You can also use a tie bar lower on the tie to control movement, but avoid placing accessories too close to the knot. The Rose Bud already has enough going on; it does not need a metal sidekick stealing the spotlight.
Styling Ideas for the Rose Bud Tie Knot
The Rose Bud knot is already a statement, so keep the rest of the outfit balanced. A plain white or light blue dress shirt gives the knot a clean background. A dark suit makes the shape look elegant, while a lighter suit can make it feel more festive and spring-friendly.
For weddings, try a burgundy, dusty rose, champagne, navy, or forest green tie. These colors photograph well and pair nicely with classic suits. For date night, a black suit with a deep red Rose Bud knot has a dramatic look without needing a velvet cape, which is usually frowned upon unless you are a magician or a very confident opera villain.
If you wear a pocket square, keep it simple. A white pocket square with a straight fold or soft puff works better than a loud floral square. The tie knot is the flower; the pocket square does not need to start a garden club meeting in your jacket pocket.
Rose Bud Knot vs. Rose Knot: Are They the Same?
The names are sometimes used loosely, but many style guides treat the Rose knot and Rose Bud knot as related decorative knots rather than strict everyday standards. The Rose knot usually aims for a fuller flower effect, while the Rose Bud knot creates a smaller, tighter bloom at the collar. Both are romantic, decorative, and more advanced than classic tie knots.
If you are new to fancy knots, start with the Trinity knot before trying the Rose Bud. The Trinity teaches you how to work with the narrow end and manage visible layers. Once that feels comfortable, the Rose Bud knot becomes much easier to understand.
How Long Does It Take to Learn?
Most people can understand the basic Rose Bud knot after three to five attempts. Making it look clean may take a few practice sessions. The best way to learn is to practice when you are not in a rush. Do not attempt your first Rose Bud knot ten minutes before a wedding ceremony unless you enjoy formalwear panic as a cardio workout.
Practice with a tie that has a clear front and back so you can see when the fabric twists. A solid tie is ideal because it lets you focus on the structure. Once you understand the movement, you can experiment with textured or patterned ties.
Care Tips After Wearing a Rose Bud Tie Knot
Always untie the knot carefully after wearing it. Do not pull the narrow end out aggressively. Decorative knots create more pressure points than simple knots, and rough handling can wrinkle or stretch the fabric. Loosen the tucked tail, reverse the wraps, and hang the tie overnight.
If the tie is wrinkled, roll it gently from the narrow end to the wide end and let it rest. For deeper wrinkles, use steam carefully, but avoid pressing the tie flat with a hot iron unless the care label allows it. A tie should look smooth, not like it lost an argument with a frying pan.
Personal Experience: What It Is Really Like to Tie and Wear a Rose Bud Tie Knot
The first thing you learn when tying a Rose Bud tie knot is that confidence arrives about two attempts after frustration. At first, the steps feel strange because the narrow end is doing the work. If you are used to a Four-in-Hand or Windsor, your hands will keep trying to take over with the wide blade. The Rose Bud knot politely refuses that plan.
In practice, the most important moment is the beginning pinch. A clean pinch in the wide blade gives the knot a center. Without it, the whole design tends to collapse into a decorative lump. The second most important moment is the final folding of the narrow end. That fold creates the petal effect. When the folded fabric wraps diagonally around the knot, the Rose Bud finally starts to appear.
A helpful trick is to practice with a solid red or burgundy tie. The color reinforces the rose effect, and the solid fabric makes it easier to see the shape. Patterned ties can look stylish, but they also hide the folds. Beginners often think they tied the knot incorrectly when the real problem is simply that the pattern is too busy.
Another real-world lesson: this knot gets attention. People may ask how you tied it. Some will assume it took an hour. Others will stare at it quietly, trying to determine whether it is a knot, flower, or tiny fabric pastry. That attention is part of the charm, but it also means the rest of your outfit should be polished. A Rose Bud knot with a wrinkled shirt is like putting a diamond ring on a garden hose.
Comfort matters too. Because the knot has multiple layers, it can feel bulkier than a standard knot. Do not tighten it until it feels rigid. A little softness helps the petals look natural and makes the collar more comfortable. If you plan to wear it for a long event, test it at home first. Sit down, move your neck, button your jacket, and make sure the knot stays centered.
For photos, the Rose Bud knot looks best when the collar points frame it evenly. Before a picture, check three things: the knot is centered, the tie blade hangs straight, and the tucked narrow end is hidden. These tiny adjustments make the difference between “stylish and intentional” and “I fought my tie and we both lost.”
The Rose Bud knot is not the easiest tie knot, but it is one of the most rewarding. It turns a small accessory into a conversation piece. It works especially well for people who enjoy formalwear but do not want to look exactly like everyone else. Once you learn the rhythm, the knot becomes less intimidating and more fun. And yes, the first clean version feels like a small personal victory. You may even look in the mirror and nod like you just solved menswear algebra.
Conclusion
Learning how to tie a Rose Bud tie knot is a stylish way to move beyond basic necktie knots and add personality to formalwear. The key is choosing the right tie, giving yourself enough narrow-end length, creating a clean center pinch, and shaping the final folds gently. This knot is not meant for every day, and that is exactly why it works. Save it for moments when you want your outfit to feel memorable, romantic, and just a little unexpected.
With practice, the Rose Bud knot becomes easier, cleaner, and faster. Start with a smooth solid tie, use a spread collar, keep the rest of your outfit simple, and let the knot do what it does best: bloom at the collar without needing water, sunlight, or a florist.