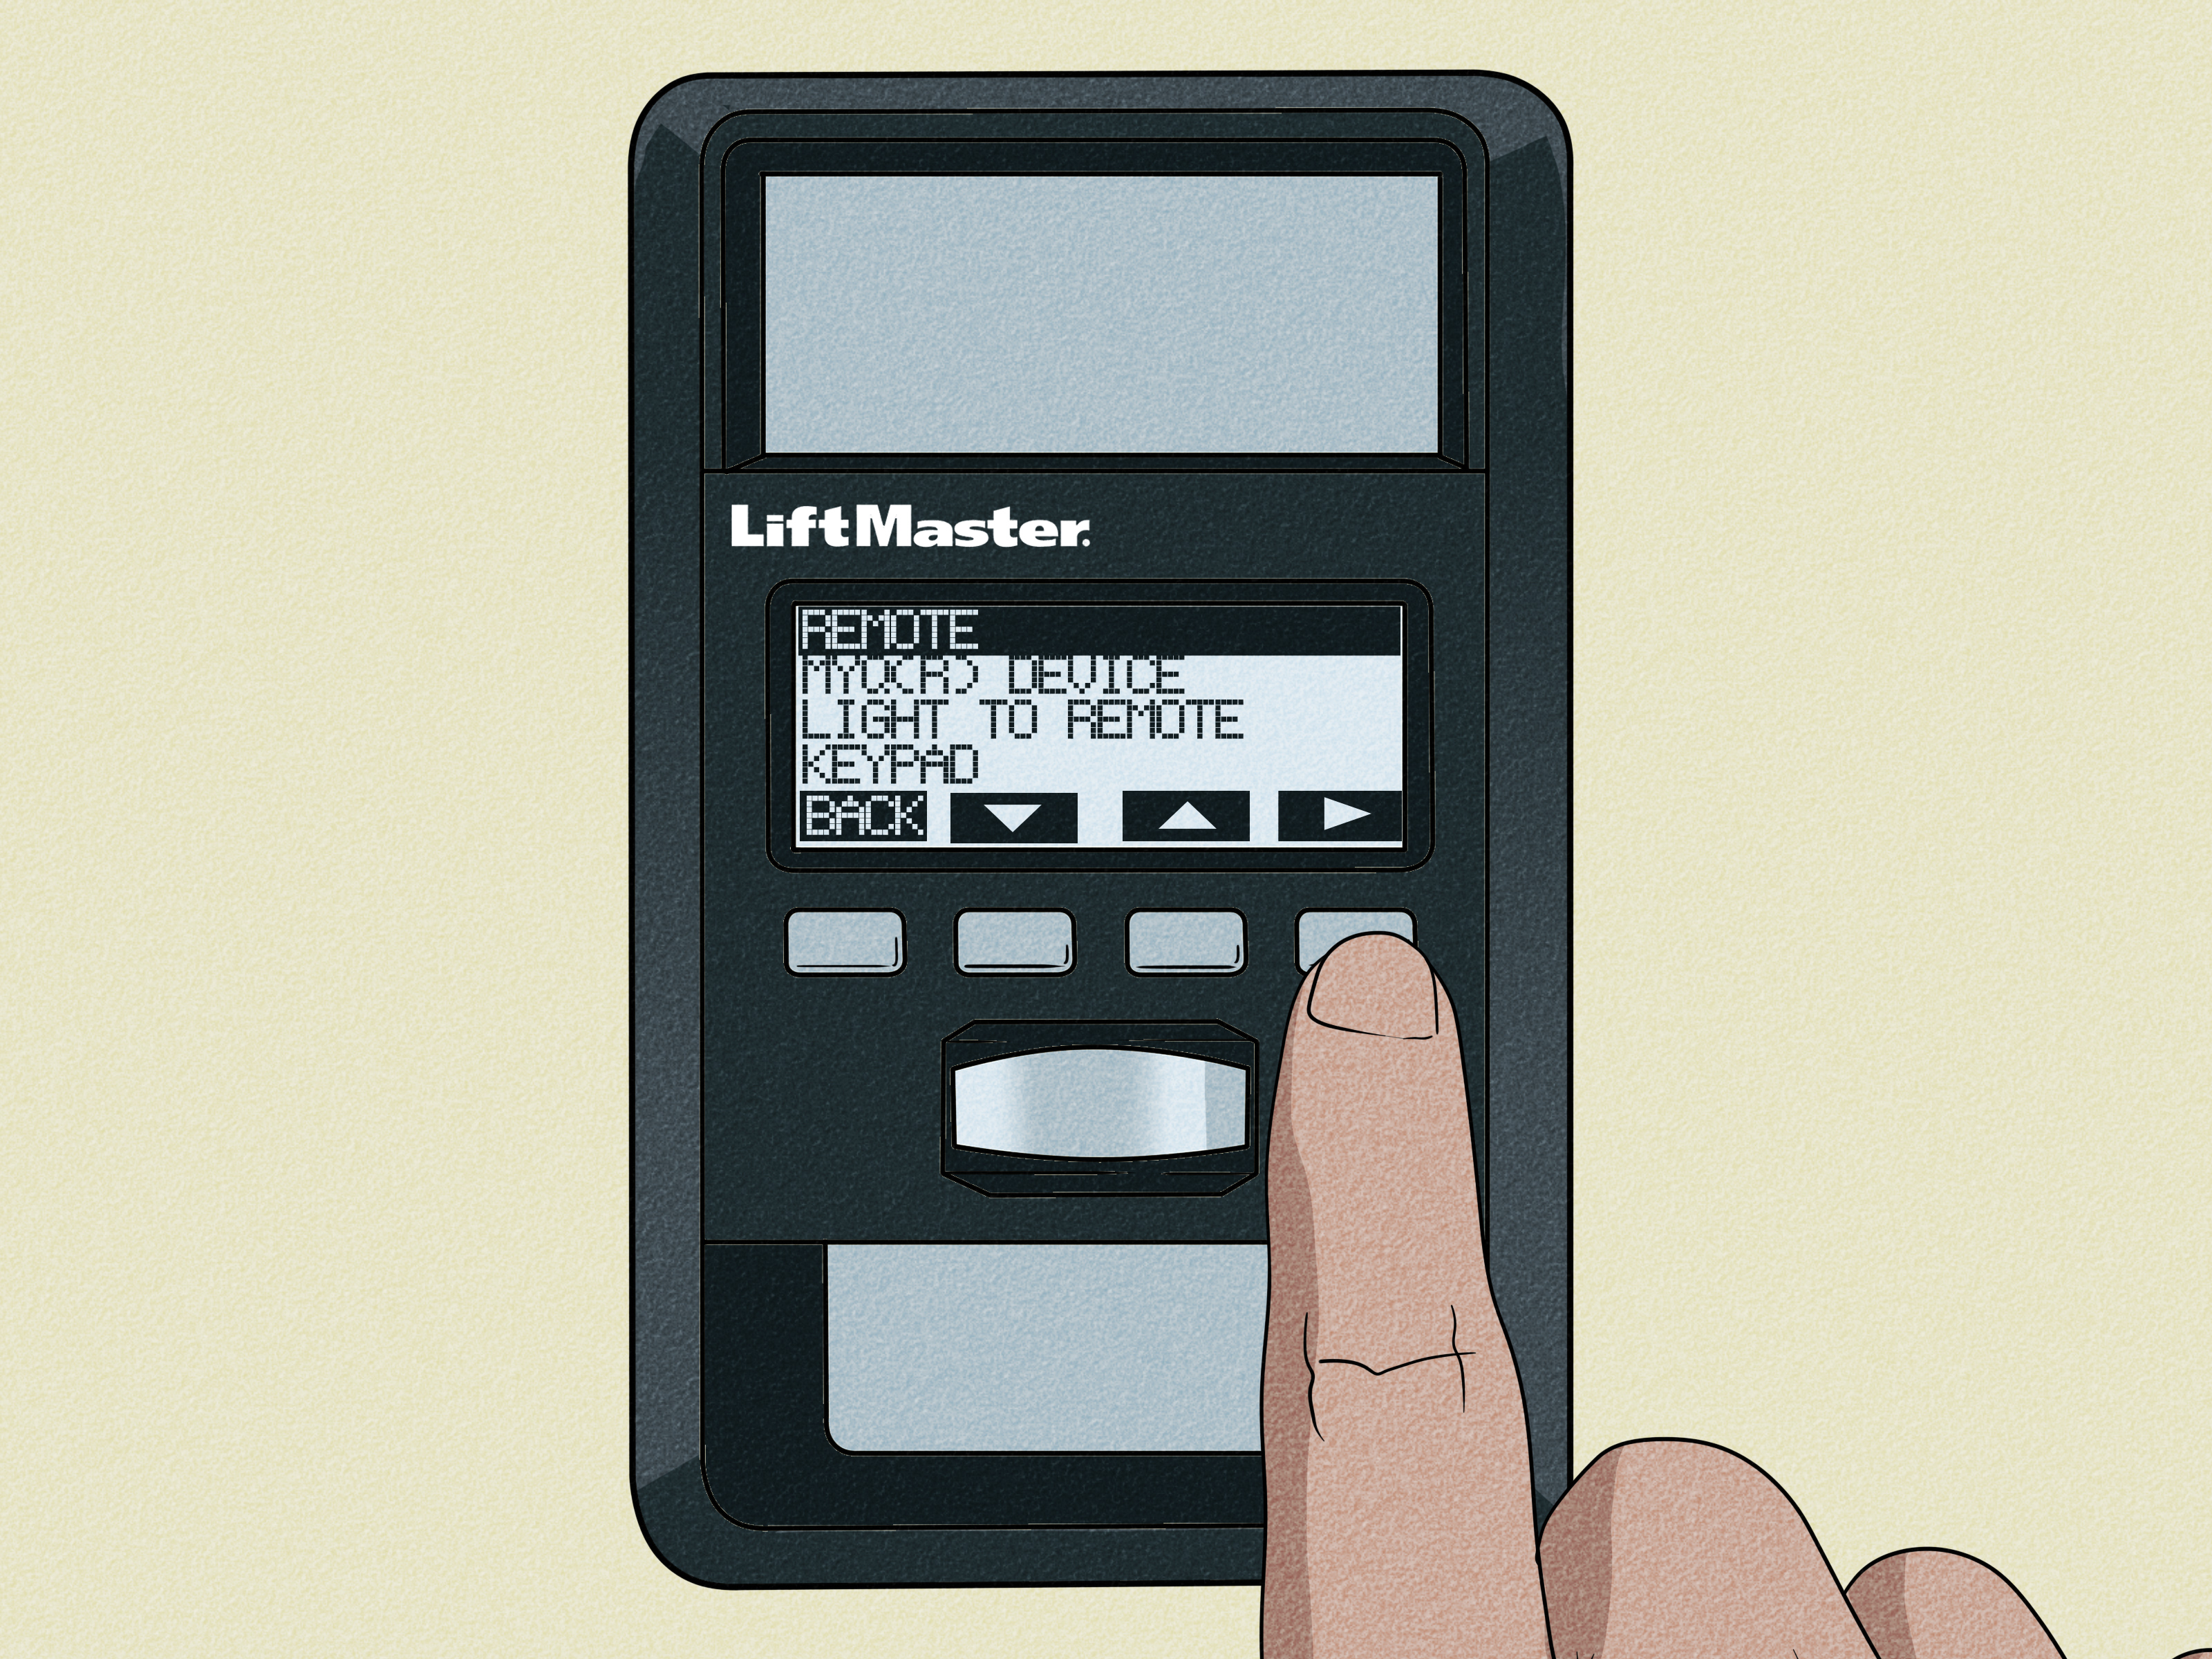
Note: A garage door opener is not just a button-powered convenience machine. It is attached to a heavy moving door, high-tension springs, electrical wiring, safety sensors, remotes, wall controls, and sometimes Wi-Fi. Handle simple checks yourself, but leave springs, cables, major electrical work, bent tracks, and opener replacement to a qualified garage door technician.
A LiftMaster garage door opener usually works so quietly in the background that you forget it is there. Then one morning, the door stops halfway, the opener light blinks like it is trying to send Morse code, and your car is trapped inside the garage like a museum exhibit. The good news: many LiftMaster garage door opener problems come from simple causes such as dead remote batteries, dirty safety sensors, a tripped breaker, a locked wall control, or travel limits that need resetting.
This in-depth guide explains how to troubleshoot a LiftMaster garage door opener step by step. We will cover power problems, remote control issues, keypad failures, safety sensor alignment, blinking lights, myQ Wi-Fi errors, strange noises, door balance, travel limits, and the situations where calling a professional is not just smartit is the difference between “fixed it” and “why is the door hanging sideways?”
Start With the Symptom, Not the Panic
Before grabbing tools, take a moment to identify what the opener is actually doing. A LiftMaster garage door opener that does nothing at all has a different problem from one that opens but refuses to close. A remote that fails while the wall button works points to a different cause than a door that reverses after touching the floor.
Use this quick symptom map:
- Nothing works: Check power, outlet, breaker, GFCI, and the opener’s plug.
- Wall control works but remote does not: Check remote battery, lock mode, range, compatibility, and programming.
- Remote works but keypad does not: Replace keypad battery, reprogram PIN, and check keypad condition.
- Door opens but will not close: Inspect safety reversing sensors, sunlight interference, wiring, and wall-control lock mode.
- Door closes then reverses: Check obstructions, floor contact, travel limits, force settings, and door balance.
- Opener hums but door does not move: Stop testing and inspect for a stuck trolley, broken spring, jammed door, or failed opener part.
- myQ app does not work: Confirm power, Wi-Fi, router settings, account connection, and recent network changes.
Safety First: What You Should Not Touch
Garage doors are heavy, and the springs are under serious tension. If a torsion spring, extension spring, cable, bottom bracket, or pulley looks broken or loose, do not try to repair it as a weekend “learning experience.” That is not DIY; that is auditioning for a cautionary tale.
Safe homeowner checks include replacing remote batteries, cleaning sensor lenses, removing objects from the door path, reconnecting Wi-Fi, resetting travel limits according to the manual, and checking whether the opener is plugged in. Unsafe repairs include adjusting or replacing springs, repairing frayed cables, forcing a jammed door, modifying safety sensors, or bypassing safety systems.
Modern garage door openers are designed with entrapment protection, including built-in reversing systems and external safety sensors. Those little photo eyes near the floor are not decorations. They help prevent the door from closing on people, pets, bikes, trash cans, and that one storage bin everyone swears they will organize next weekend.
Step 1: Check Power to the LiftMaster Opener
If your LiftMaster opener is completely silent, start with electricity. Look at the ceiling outlet where the opener is plugged in. Make sure the plug has not worked loose from vibration. If the opener uses a battery backup, remember that the battery is not meant to cover every possible power problem forever.
What to inspect
- Confirm the opener is firmly plugged into the outlet.
- Check the circuit breaker or fuse panel.
- Look for a tripped GFCI outlet in the garage, basement, laundry room, or exterior circuit.
- Test the outlet with a lamp or phone charger.
- Listen for beeping from a battery backup model.
If the outlet is dead and the breaker keeps tripping, stop resetting it repeatedly. A constantly tripping breaker can mean a wiring problem, a short, or a failing opener. That is electrician territory.
Step 2: Test the Wall Control
The wall control is your best diagnostic shortcut. Press the wall button and watch what happens. If the wall control operates the door normally but the remote does not, the opener motor is probably fine. The problem is likely the remote, keypad, lock setting, battery, or programming.
If the wall control is blank, unresponsive, or flickering, inspect the low-voltage wires connected to the opener and wall console. Do not work on wiring while the opener has power. Unplug the opener first. Look for loose connections, damaged staples, corrosion, or a wire that was pinched during storage-shelf installation. Garage organization projects are often where innocent low-voltage wires go to suffer.
Check lock mode
Many LiftMaster wall controls include a lock or vacation mode. When activated, this feature disables remote controls while still allowing the wall button to operate the door. If your remote suddenly stopped working but the wall button still works, check the wall console for a lock indicator or button. Turn lock mode off, then test the remote again.
Step 3: Troubleshoot the Remote Control
If your LiftMaster remote control is not opening or closing the garage door, begin with the easy fix: replace the battery. Use the correct battery type for your remote model. A weak battery may still light the remote LED but fail to send a strong enough signal to the opener.
Remote control checklist
- Replace the battery with a fresh one.
- Stand closer to the garage door and test again.
- Check whether the wall control lock mode is active.
- Make sure the remote is compatible with your LiftMaster opener.
- Reprogram the remote using the opener’s Learn button.
- Inspect the remote button for sticking or physical damage.
LiftMaster openers use different Learn button colors and security systems depending on age and model. Common modern openers use Security+ 2.0 technology with a yellow Learn button. Older models may use purple, red/orange, green, or other Learn button colors. Always match the remote to the opener’s technology. A universal remote is only universal when it is actually compatible; otherwise, it is just a tiny plastic rectangle with ambition.
Step 4: Fix a Wireless Keypad That Does Not Work
If the wall control and remote work but the keypad does not, the most common culprit is a dead keypad battery. Many wireless garage door keypads use a 9-volt battery, though older or different models may use another type.
Replace the battery, then enter the PIN slowly and deliberately. If the keypad lights up but does not operate the door, reprogram the PIN according to your keypad model. Also check for stuck buttons, cracked casing, water damage, or a keypad mounted where rain hits it directly. Keypads are tough, but they are not submarines.
Step 5: Inspect the Safety Reversing Sensors
When a LiftMaster garage door opens but will not close, the safety sensors should be your first major inspection. These sensors sit near the bottom of the garage door tracks, usually about 4 to 6 inches above the floor. One sensor sends an invisible beam; the other receives it. If the beam is blocked, dirty, misaligned, disconnected, or affected by wiring trouble, the opener may refuse to close the door.
Common safety sensor symptoms
- The door starts closing, then reverses.
- The opener lights flash repeatedly.
- The door will close only when you hold the wall button down.
- One sensor LED is off or flickering.
- Both sensor LEDs are off.
- The problem happens mostly at a certain time of day due to direct sunlight.
How to clean and align LiftMaster safety sensors
First, remove anything blocking the sensor beam: boxes, leaves, garden tools, toys, or the mystery object you have been stepping over for six months. Next, wipe each sensor lens with a soft dry cloth. Do not spray the lens with harsh cleaner. Then check alignment. The sensors should face each other directly, and both LEDs should be steady rather than flickering.
If one LED is off, loosen the wing nut slightly, adjust the sensor until the light becomes steady, and tighten it again without knocking it out of position. If both LEDs are off, check that the sensors are connected to the opener and that the wires are not cut, pinched, reversed, or shorted. If wires look damaged, unplug the opener before inspecting further.
Step 6: Understand Blinking Lights and Diagnostic Codes
LiftMaster openers often communicate through blinking lights, Learn button LEDs, or up/down arrow diagnostic codes. A common clue is the main opener light flashing when the door will not close. In many cases, repeated flashing points toward a safety sensor issue or an activated lock feature.
Some LiftMaster and Chamberlain diagnostic systems use flashes to indicate safety sensor wiring problems. For example, one flash may indicate a broken or disconnected sensor wire, while two flashes may point to a shorted wire or reversed black/white sensor wiring. Newer Security+ 2.0 openers may use up and down arrow flashes to identify problems such as misaligned sensors, travel issues, excessive force, or control errors.
The exact meaning depends on your opener model, so check the label on the motor unit and look up the owner’s manual. The manual is not bedtime reading, but when your opener is blinking like a tiny garage disco, it becomes surprisingly useful.
Step 7: When the Door Hits the Floor and Reverses
If the garage door closes all the way, touches the floor, and then reverses, the opener may think it has hit an obstruction. This often happens when the down travel limit is set too far. In simple terms, the opener is pushing the door farther than it needs to go, feels resistance at the floor, and reverses for safety.
On many modern LiftMaster models, travel limits are adjusted with up and down arrow buttons on the motor unit. Older models may use limit adjustment screws. Follow the model-specific instructions because the process differs by opener generation.
Before adjusting limits
- Clear the door path.
- Make sure the safety sensors are aligned.
- Check that the door moves smoothly by hand.
- Confirm the floor is not uneven or blocked by a thick rubber seal.
- Do not increase force to “bully” the door into closing.
Force settings are safety-related. If the opener needs excessive force to move the door, the real problem may be poor door balance, damaged rollers, bent tracks, or worn hardware.
Step 8: Test Garage Door Balance
A garage door opener is designed to move a properly balanced doornot to bench-press a failing one. If the door is heavy, crooked, or difficult to lift manually, the opener will struggle, stop, reverse, or eventually wear out.
To test balance, close the door fully. Pull the red emergency release handle to disconnect the opener from the door. Lift the door manually about halfway, then carefully let go. A balanced door should stay near that position. If it slams down, shoots upward, or feels extremely heavy, call a garage door technician. The springs may need adjustment or replacement.
After testing, reconnect the opener by moving the door until the trolley re-engages, or follow your opener’s manual. Never pull the emergency release while the door is open unless you are sure the door is stable. If a spring is broken, an open door can drop fast.
Step 9: Listen for Unusual Noises
Garage doors talk. Unfortunately, their language is squeaks, rattles, grinding, popping, and the occasional dramatic bang. A noisy LiftMaster opener does not always mean the motor is dying. The sound may come from the door itself.
Noise clues
- Squeaking: Dry rollers, hinges, or springs may need garage-door-rated lubricant.
- Grinding: Worn gears, stripped sprockets, or opener drive problems may be present.
- Rattling: Loose hardware, track bolts, chain slack, or worn rollers may be the cause.
- Loud bang: A spring may have broken. Stop using the opener and call a professional.
- Humming with no movement: The door may be jammed, the trolley may be stuck, or the motor/capacitor may have failed.
Lubricate rollers, hinges, and springs with a lubricant intended for garage doors. Avoid coating the tracks with grease. Tracks should be clean, not slippery. The rollers roll in the tracks; they are not supposed to hydroplane like a minivan in a rainstorm.
Step 10: Check Chain, Belt, Rail, and Trolley
LiftMaster openers may use chain drive, belt drive, wall-mount jackshaft systems, or other configurations. If the motor runs but the door does not move, inspect the trolley connection. The emergency release may still be disengaged, especially after a power outage or manual operation.
For chain drive models, check for extreme chain sag, broken sprockets, or unusual vibration. For belt drive models, look for belt damage, missing teeth, or slipping. A little movement is normal; violent shaking is not. If the trolley is jammed against the stop bolt because the door traveled too far, stop operating the opener and consult the manual or a technician.
Step 11: Troubleshoot myQ Wi-Fi Problems
If the LiftMaster opener works from the wall button but not from the myQ app, separate the garage door problem from the Wi-Fi problem. The opener may be mechanically fine while the app is offline.
myQ troubleshooting checklist
- Confirm the opener has power.
- Check your home internet connection.
- Restart the router.
- Make sure the opener or hub is within Wi-Fi range.
- Use a 2.4 GHz Wi-Fi network if required by your myQ device.
- Reconnect the device after changing your router, Wi-Fi name, password, or internet provider.
- Update the myQ app and sign in to the correct account.
Garages are often Wi-Fi dead zones because they sit behind exterior walls, metal doors, appliances, and storage shelves packed with things “too useful to throw away.” If the signal is weak, consider moving the router, adding a mesh node, or improving coverage near the garage.
Step 12: What to Do If the Garage Door Opens by Itself
A garage door that opens or closes on its own is unsettling. Before assuming ghosts have discovered home automation, check practical causes. A stuck remote button, damaged wall control wire, shorted sensor wire, faulty control panel, or neighbor interference on older systems can create unexpected operation.
Remove batteries from remotes one at a time and observe whether the problem stops. Inspect the wall button for sticking. Look for exposed or pinched low-voltage wires. If the opener is older, erase the opener memory and reprogram only the remotes and keypads you actually use. If random operation continues, a logic board or control issue may require professional diagnosis.
When to Call a Professional
Call a qualified garage door technician if you see broken springs, frayed cables, bent tracks, damaged panels, loose drums, a crooked door, a stuck door, or repeated opener failures after basic troubleshooting. Also call for electrical burning smells, smoke, opener replacement, major rail problems, or any repair that requires handling high-tension parts.
It is tempting to keep pressing the remote button and hoping the opener changes its attitude. Resist that urge. Repeated operation against a jammed or unbalanced door can damage the opener, bend hardware, or turn a modest repair into a dramatic invoice.
Preventive Maintenance for a LiftMaster Garage Door Opener
The best troubleshooting is the kind you never need. Once a month, give your garage door system a quick look and listen. Check sensors, hardware, rollers, cables, springs, and door movement. Test the auto-reverse feature according to your owner’s manual. Replace weak remote batteries before they fail. Keep the sensor area clear. Clean the tracks. Lubricate moving door parts as recommended.
Also, do not ignore small changes. A door that suddenly sounds louder, moves slower, shakes more, or reverses occasionally is asking for attention. Garage doors rarely wake up one morning and decide to be dramatic. They usually whisper first, then shout later.
Real-World Experience: What Troubleshooting a LiftMaster Opener Usually Looks Like
In real homes, LiftMaster garage door opener troubleshooting is rarely a neat textbook moment. It is usually a small mystery that starts when someone is already late. The opener light flashes, the door refuses to close, and everyone in the house suddenly becomes a garage door expert for seven minutes.
One common experience is the “it opens fine but will not close” problem. Most homeowners first suspect the motor, but the motor is often innocent. The actual villain is a cardboard box leaning into the sensor beam, a dirty lens, or a sensor bracket bumped by a broom. After clearing the path and aligning the LEDs, the door closes perfectly. The motor gets blamed, the broom says nothing, and peace returns.
Another familiar scenario is the remote that suddenly stops working while the wall button still operates the door. This feels mysterious because the remote may still light up. But a glowing LED does not guarantee a strong signal. A fresh battery often fixes the issue in under two minutes. If not, checking lock mode on the wall control is the next move. Many people accidentally activate vacation lock mode and then spend an afternoon accusing the remote of betrayal.
Keypads create their own brand of garage comedy. A keypad with a weak battery may work once, fail twice, and then behave normally when you try to show the problem to someone else. Replacing the battery and reprogramming the PIN usually solves it. If the keypad is cracked, weather-beaten, or full of moisture, replacement may be more sensible than arguing with it.
Travel-limit problems are also common after installation, door repair, or seasonal changes. A door that touches the floor and reverses may not be “broken” so much as confused about where the floor is. Resetting the down travel can fix it, but only after confirming that the door is balanced and the sensors are aligned. Adjusting travel limits without checking the door is like changing your glasses prescription because the window is dirty.
Wi-Fi issues are a newer frustration. The opener works perfectly from the wall button, but the myQ app says the device is offline. In many cases, the router was changed, the Wi-Fi password was updated, the opener is connected to the wrong network, or the garage has a weak signal. Reconnecting the device to a 2.4 GHz network and improving Wi-Fi coverage often restores app control.
The most important experience-based lesson is this: troubleshoot from simple to serious. Start with power, controls, batteries, lock mode, sensors, obstructions, and Wi-Fi. Then move to travel limits, balance, rollers, rail, belt, chain, and diagnostic codes. Do not jump straight to replacing the opener. Many “dead” openers are just unplugged, locked, blocked, misaligned, or underappreciated.
At the same time, know when to stop. If the door is crooked, heavy, hanging unevenly, making a loud bang, or showing a broken spring or frayed cable, the right troubleshooting step is a phone call. A LiftMaster opener is reliable when the door system is healthy. Treat the opener and the door as a team, and repairs become easier to diagnose.
Conclusion
Troubleshooting a LiftMaster garage door opener is all about reading the symptoms carefully. If nothing works, check power. If the wall button works but the remote does not, look at batteries, lock mode, and programming. If the door opens but will not close, inspect the safety sensors. If the door reverses, review obstructions, travel limits, force settings, and door balance. If myQ is offline, troubleshoot Wi-Fi separately from the opener itself.
The smartest approach is simple: begin with the safest, cheapest, and most common fixes before assuming the opener has failed. Keep sensors clean, batteries fresh, hardware maintained, and the door balanced. And when the problem involves springs, cables, major wiring, or a door that no longer moves smoothly by hand, call a professional. Your LiftMaster opener can do many things, but it should not be forced to wrestle a broken garage door while you stand nearby holding a remote like a magic wand.