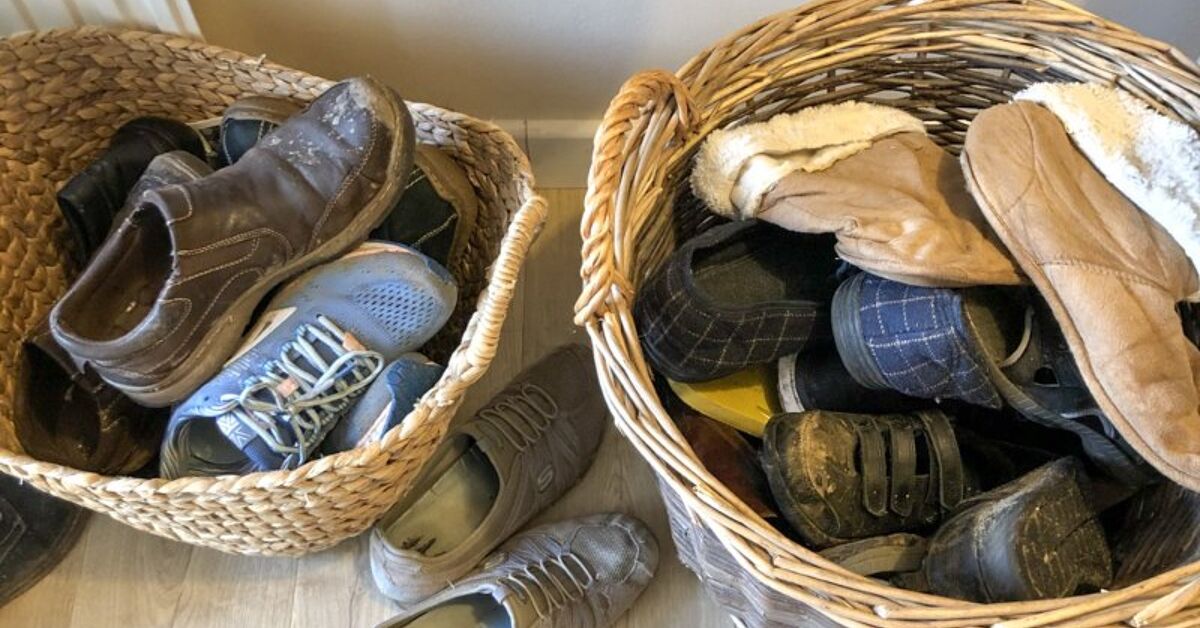
Shoes have a magical talent: they multiply by the door, hide under furniture, and somehow make one sneaker disappear exactly when you are already late. If your entryway looks like a footwear traffic jam, the good news is that you do not need a custom closet, a power-tool collection worthy of a reality show, or a weekend lost to lumber-store confusion. You just need a smart plan, a few inexpensive materials, and a willingness to tell your shoes, “Everyone gets a parking spot.”
This guide to super easy DIY shoe storage is designed for real homes: apartments with tiny entrances, busy family mudrooms, closets that have seen better days, and garages where sneakers go to retire. These ideas are beginner-friendly, budget-conscious, and flexible enough to match your style, whether your home leans farmhouse, modern, minimalist, cozy, or “I have children and a dog, please send help.”
Note: Before building or installing any shoe storage, measure your space, avoid blocking walkways, sand rough wood edges, and anchor tall or wall-mounted units securely. Pretty storage is great; safe storage is better.
Why DIY Shoe Storage Works So Well
Store-bought shoe racks can be helpful, but they often come with one annoying problem: they do not always fit your actual life. Maybe you have tall boots, chunky sneakers, kids’ rain shoes, flip-flops, work shoes, or “special occasion” heels that have not seen a special occasion since 2019. A DIY shoe organizer lets you build around your space, your shoe collection, and your daily routine.
The best shoe storage ideas usually follow three simple rules. First, use vertical space so shoes stop eating the floor. Second, keep everyday pairs easy to grab. Third, give seasonal or rarely worn shoes a separate home so they do not clutter the entryway. Once you sort shoes by use, height, and location, the project becomes much easier.
Start With a Quick Shoe Audit
Before you buy wood, crates, baskets, PVC pipe, or anything else, gather every pair of shoes in one place. Yes, every pair. This is the part where you discover three pairs of black sandals, one lonely slipper, and sneakers you forgot you owned. Do not judge yourself. Shoes are sneaky.
Sort Shoes Into Four Groups
Daily shoes are the pairs you wear several times a week. These belong in the most accessible spot, such as the entryway, mudroom, or closet floor. Occasional shoes, like dress shoes or hiking boots, can go on upper shelves, in labeled bins, or under the bed. Seasonal shoes should rotate in and out depending on the weather. Donate or toss shoes include pairs that hurt, are damaged beyond repair, or have not been worn in years.
This quick edit prevents your new DIY shoe rack from becoming a beautiful wooden monument to clutter. The goal is not to store every shoe forever. The goal is to make your home easier to live in.
Idea 1: The No-Fuss Wooden Crate Shoe Rack
If you want easy DIY shoe storage with personality, wooden crates are a fantastic starting point. They are sturdy, stackable, and charming in that “I casually organize my life with rustic flair” kind of way.
What You Need
- Wooden crates
- Sandpaper
- Wood stain or paint
- Screws or zip ties for securing stacked crates
- Felt pads for the bottom
How to Make It
Sand the crates lightly so there are no rough spots. Paint or stain them to match your home, or leave them natural for a casual look. Stack the crates horizontally or vertically depending on your space. For an entryway, two crates wide and two crates tall often creates a compact shoe cubby with room for eight to twelve pairs. Secure the crates together so they do not shift, then add felt pads to protect the floor.
This project works especially well for sneakers, flats, sandals, and kids’ shoes. You can also add baskets inside the crates for smaller items like shoe polish, no-show socks, umbrellas, or dog leashes. If you have a narrow hallway, turn the crates sideways to reduce depth.
Idea 2: A Simple Entryway Shoe Bench
A shoe bench is the multitasker of entryway organization. It stores shoes, gives you a place to sit, and quietly prevents the “balancing on one foot while tying laces” circus act. A basic DIY shoe bench can be made with a wooden board top, cubby-style shelves underneath, and optional baskets for a cleaner look.
Best Places to Use It
This shoe storage bench works beautifully in entryways, mudrooms, bedrooms, and garages. It is ideal for families because everyone can have a section. Assigning each person one cubby may not solve every household problem, but it does reduce the mysterious mountain of shoes by the door.
Easy Design Tip
Keep the bench low enough to sit on comfortably and deep enough for your largest everyday shoes. A depth of about 12 to 15 inches works for many adult shoes, while boots may need extra height. Add a cushion on top if you want the piece to feel more finished. Use washable fabric if the bench will live near a door, because mud exists and has no respect for upholstery.
Idea 3: PVC Pipe Shoe Cubbies
For a playful, inexpensive, and surprisingly effective DIY shoe organizer, try PVC pipe cubbies. This idea is especially useful for flats, sandals, kids’ shoes, slippers, and low-profile sneakers. It looks modern when painted one color and quirky when arranged in a honeycomb pattern.
How It Works
Cut wide PVC pipe into equal lengths, sand the edges smooth, and stack the pieces together. Use strong adhesive suitable for the material, then let everything cure fully before adding shoes. You can arrange the pipe pieces in rows, a pyramid, or a compact square. Paint the finished organizer to match your closet, bedroom, or entryway.
PVC shoe storage is lightweight, budget-friendly, and great for small spaces. It is not the best option for tall boots or oversized footwear, but for everyday shoes, it keeps pairs separated and easy to see. That matters more than people realize. When shoes are visible, you are less likely to buy yet another pair of black slip-ons because you forgot the first pair existed.
Idea 4: Over-the-Door Shoe Storage for Tiny Spaces
When floor space is precious, look up. The back of a closet door, bedroom door, laundry room door, or pantry-style mudroom door can become a high-value storage zone. Over-the-door shoe organizers are not technically a build-from-scratch project, but they are one of the easiest DIY-friendly upgrades because you can customize how you use the pockets.
Smart Ways to Use It
Use the lower pockets for kids’ shoes and the upper pockets for adult sandals, flats, scarves, gloves, shoe care supplies, or rolled-up cleaning cloths. Clear pockets make it easy to see what is inside, while fabric organizers look softer and more decorative. If the organizer swings when the door opens, secure the bottom with removable adhesive hooks or small ties.
This solution is perfect for renters because it usually requires no drilling. It also works well in small apartments where every square inch must earn its keep. If your entryway is barely large enough for a welcome mat and a sigh, over-the-door storage can be your secret weapon.
Idea 5: Floating Shelves for Shoes
Floating shelves are a stylish way to turn shoes into a neat display instead of a floor-based obstacle course. They are especially good for dress shoes, heels, favorite sneakers, and carefully curated collections. In a closet, floating shoe shelves can make the space feel more boutique-like without requiring a full custom renovation.
Installation Tips
Choose shelves with enough depth for your shoes and install them into wall studs or use the proper anchors for your wall type. Keep spacing generous if you plan to store boots or high-top sneakers. For heels, shallow picture ledges or narrow rails can work well because the heel can hook over the edge. For sneakers and flats, flat shelves are usually more practical.
If you like a polished look, group shoes by color or type. If you prefer speed over styling, simply place the pairs you wear most often at eye level and less-used pairs higher or lower. Organization should help your life, not audition for a magazine cover every morning.
Idea 6: A DIY Boot Tray That Actually Looks Good
Boots are the drama queens of shoe storage. They are tall, muddy, floppy, and somehow always in the walkway. A DIY boot tray gives wet or dirty shoes a contained landing zone and protects your floors from water, salt, and outdoor grit.
Easy Boot Tray Options
Use a shallow tray, an old drawer, or a low wooden box. Add a waterproof liner, then fill it with smooth stones, a removable rubber mat, or a washable tray insert. The stones help lift boots slightly so water can drain away from the soles. If you use an old drawer, sand it, paint it, add casters if desired, and seal it so moisture does not damage the wood.
Place the tray near the door you use most. A boot tray in the “wrong” location will be ignored like a gym membership in February. Put it where people naturally kick off shoes, and your floors will thank you.
Idea 7: Repurpose a Bookshelf Into Shoe Storage
A small bookshelf can become an easy shoe rack with almost no effort. This is a great upcycling project for thrifted furniture, old cube shelves, or a bookcase that no longer fits your decor. The shelves keep shoes visible and organized, while the furniture-style look feels more intentional than a basic rack.
Make It Work for Your Home
Remove unnecessary shelves to create space for taller shoes. Add peel-and-stick wallpaper to the back panel for a pop of pattern. Use baskets on the bottom shelf for flip-flops, slippers, or kids’ shoes. If the bookcase is tall, anchor it to the wall for safety. For a mudroom or garage, choose a washable paint finish so you can wipe away dirt.
This is one of the best DIY shoe storage ideas for people who want a project that looks custom but does not require cutting lumber. A little paint, new hardware, and thoughtful styling can make a secondhand shelf look like it was born to organize footwear.
Idea 8: Under-Bed Shoe Storage for Seasonal Pairs
Not every shoe deserves prime real estate by the door. Snow boots in July, beach sandals in January, and formal shoes you wear twice a year can live under the bed in labeled containers. This keeps daily storage simple and prevents your entryway from becoming a shoe museum.
Best Containers to Use
Choose low-profile bins with lids, rolling drawers, or fabric under-bed organizers with compartments. Clear lids are helpful because you can see what is inside without opening every container like a detective searching for clues. Add labels by season or shoe type: “winter boots,” “dress shoes,” “summer sandals,” or “sports shoes.”
Before storing shoes long-term, clean them and let them dry completely. Add a small deodorizing sachet if needed. Shoes stored dirty tend to become unpleasant little time capsules, and nobody wants to open a bin of mystery smells six months later.
Idea 9: Garage Shoe Storage for Outdoor Footwear
Garages are excellent for storing outdoor shoes, sports cleats, gardening clogs, rain boots, and work footwear. The trick is to keep garage shoe storage practical and easy to clean. This is not the place for delicate fabric bins or anything that panics at the sight of mud.
What Works Best
Use metal racks, plastic shelving, wall-mounted shelves, or heavy-duty crates. Add a boot tray for wet footwear and hooks for items like skates or sports bags. If your garage is dusty, choose closed bins for shoes you do not use often. For everyday outdoor pairs, open storage is usually better because it allows airflow and quick access.
Garage storage is also a smart way to separate “clean home shoes” from “I mowed the lawn and stepped in something questionable” shoes. That separation alone can make your house feel cleaner.
How to Choose the Right DIY Shoe Storage for Your Space
The right project depends on your room, shoe count, and habits. If your entryway is narrow, choose vertical storage, wall shelves, or a slim cabinet-style solution. If you have a family, use cubbies, crates, or a bench with assigned sections. If you rent, focus on removable options like over-the-door organizers, freestanding racks, or under-bed bins. If you love a clean look, use closed cabinets or baskets. If you need speed, open shelves are easier to maintain.
Think about how people actually move through your home. The best shoe organizer is the one placed exactly where shoes naturally come off. If everyone drops shoes by the back door, do not build a beautiful shoe rack in the front closet and expect a miracle. Storage should follow behavior, not fantasy.
Budget-Friendly Materials for Easy DIY Shoe Storage
You do not need expensive supplies to create functional shoe storage. Many great projects use basic materials such as plywood, wooden crates, dowels, PVC pipe, tension rods, wire baskets, cube shelves, old drawers, or thrifted furniture. Paint, stain, peel-and-stick wallpaper, and new handles can make budget materials look stylish.
For a low-cost makeover, start with what you already own. A spare bookshelf can become a shoe tower. A dresser drawer can become a boot tray. Cardboard boxes can be reinforced and covered with fabric for closet storage. A utility cart can hold shoes and accessories near the door. The more creative you get, the less you need to spend.
Common DIY Shoe Storage Mistakes to Avoid
Building Before Measuring
Always measure the width, depth, and height of your space before starting. Also measure your largest shoes. A rack that fits sandals but rejects boots is only half useful.
Ignoring Airflow
Shoes need ventilation, especially athletic shoes, rain boots, and work footwear. Avoid sealing damp shoes in airtight containers. Let them dry first, then store them.
Keeping Too Many Shoes by the Door
The entryway should hold current, frequently worn pairs only. Everything else belongs in a closet, under-bed bin, garage, or seasonal storage box.
Forgetting Maintenance
Even the best DIY shoe rack needs a quick reset now and then. Spend five minutes each week returning stray shoes to their spots. This tiny habit prevents the return of the dreaded shoe avalanche.
My Experience With Super Easy DIY Shoe Storage
The first time I tried to organize shoes, I made the classic mistake: I bought a cute little rack, placed it by the door, and expected my household to transform into a calm, catalog-worthy group of people who gently placed shoes in perfect rows. That lasted about two days. By day three, the rack was full, the floor was full, and one pair of sneakers was somehow sitting on top of the rack like a tiny rebellion.
What finally worked was not buying a bigger rack. It was creating zones. Everyday shoes went by the entryway. Messy shoes moved to a tray near the back door. Seasonal shoes went into labeled bins. Dress shoes were stored on a closet shelf. This changed everything because each category had a logical home. Nobody had to think too hard, which is important because most people are not doing their finest strategic planning while taking off wet boots.
One of the easiest upgrades was adding a simple bench with open cubbies underneath. The bench made the entryway feel intentional, but the real magic was the sitting space. People actually used it. Shoes went underneath because the cubbies were directly below the place where shoes came off. That taught me a valuable organizing lesson: make the correct behavior the easiest behavior.
I also learned that open storage works better for busy mornings. Closed cabinets look beautiful, but if your family is rushing out the door, shoes may not make it behind the doors. For daily pairs, open shelves, baskets, or cubbies are more realistic. Closed storage is better for occasional shoes, seasonal footwear, or pairs you want to protect from dust.
Another helpful experience was using a boot tray during rainy weather. At first, it seemed too simple to matter. Then I realized the floor was cleaner, shoes dried in one place, and no one was leaving muddy footprints across the hallway. A tray is not glamorous, but neither is scrubbing dirt out of a rug while questioning your life choices.
The biggest lesson is that DIY shoe storage does not need to be perfect. It needs to be useful. A crate rack with a few scratches can still save your entryway. A repurposed bookshelf can look charming even if it is not custom-built. A PVC organizer can make kids excited to put shoes away because each pair gets its own little tunnel. The best system is the one your household will actually use on a random Tuesday.
If you are starting from chaos, begin small. Pick one doorway, one closet, or one shoe category. Build a simple solution, test it for a week, and adjust as needed. Shoe storage is not a one-time decoration project. It is a living system, and like any living system, it needs room for real habits, real weather, and real people who occasionally kick off their shoes with the enthusiasm of a cartoon character.
Conclusion
Super easy DIY shoe storage is less about building the fanciest rack and more about giving every pair a sensible place to land. Whether you choose wooden crates, a storage bench, PVC cubbies, floating shelves, an over-the-door organizer, a boot tray, or a repurposed bookshelf, the goal is the same: reduce clutter, save floor space, and make your daily routine smoother.
Start by sorting your shoes, then choose a storage idea that fits your space and habits. Keep everyday pairs accessible, move seasonal shoes out of the way, and use vertical space whenever possible. With a few simple materials and a little creativity, you can turn a messy shoe pile into an organized, stylish, and surprisingly satisfying part of your home.