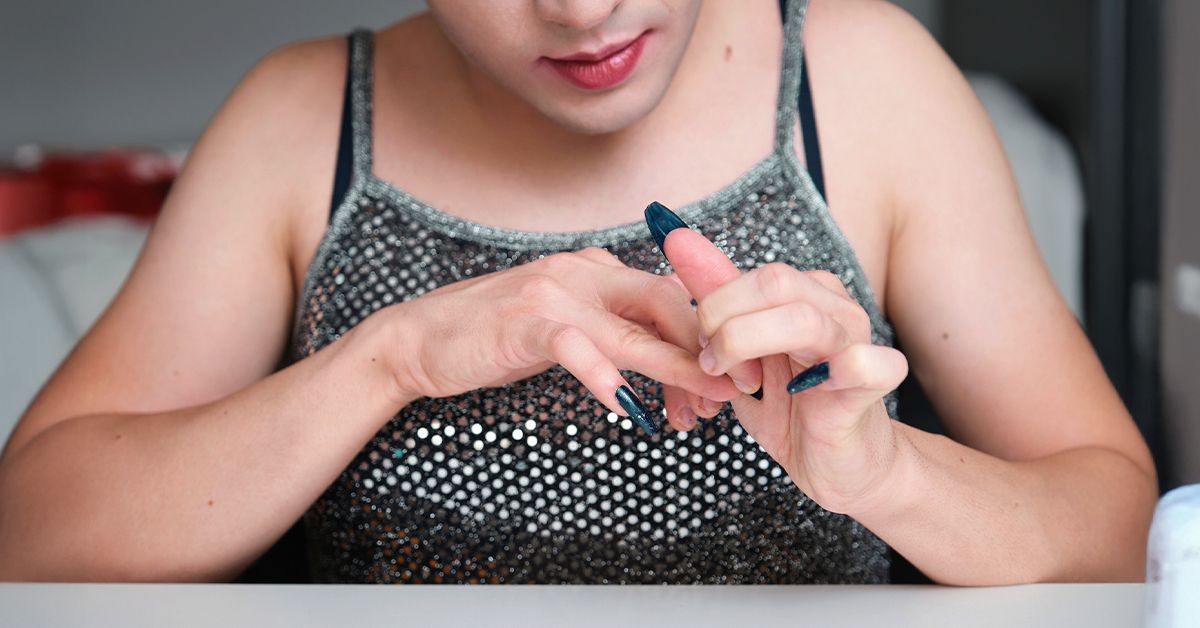
Press-on nails are the beauty world’s equivalent of a great weekend trip: quick, exciting, surprisingly affordable, and just temporary enough to feel fun. But when it’s time to take them off, a lot of people switch from “careful manicure queen” to “tiny home demolition crew” in about five seconds. That is exactly how natural nails end up thin, sore, flaky, and downright offended.
If you want healthy nails after your press-ons come off, the golden rule is simple: never yank, rip, pry, or pop them off by force. Safe removal is all about softening the adhesive first, then gently easing the press-on away from the natural nail. It is slower, yes. It is also far less dramatic, and your nails will thank you.
This guide walks you through how to remove press-on nails safely, what tools to use, when to use warm water versus acetone, how to deal with leftover glue, and what to do afterward so your nails do not look like they just survived a breakup.
Why Safe Press-On Nail Removal Matters
Press-on nails may seem harmless because they are not as intense as acrylics or hard gels, but they still bond to the nail surface. If you pull them off too soon, you can lift layers of the natural nail along with the adhesive. That can leave nails rough, peeled, thinned out, or extra sensitive for days or even weeks.
Improper removal can also irritate the skin around your nails. If you dig under the nail too hard with metal tools or keep picking at loosened edges, you can create tiny breaks in the skin. Tiny breaks may sound tiny because they are tiny, but they can still become a problem if bacteria gets involved.
In other words, safe removal is not just about keeping your manicure cute until the end. It is about protecting your natural nails, nail bed, and surrounding skin so your next manicure starts on healthy ground.
Know What Type of Press-On You’re Removing
Before you do anything, figure out how your press-ons were applied. That determines the safest removal method.
Press-Ons Applied With Adhesive Tabs
If your nails were attached with sticky tabs, removal is usually easier. Warm water, soap, and oil are often enough to loosen the bond. This is the gentlest route and the best choice if you want to preserve reusable press-ons.
Press-Ons Applied With Nail Glue
If you used nail glue, you may need more patience and sometimes an acetone-based remover. Glue bonds more firmly than adhesive tabs, so soaking and gentle lifting matter even more. Translation: this is not the moment to test your upper-body strength.
What You’ll Need
- A bowl of warm water
- Gentle hand soap or dish soap
- Cuticle oil, baby oil, olive oil, or coconut oil
- An orangewood stick or wooden cuticle stick
- A soft towel
- Cotton pads or cotton balls
- Acetone or an acetone-based remover, if needed
- Petroleum jelly, optional
- A gentle nail buffer
- Hand cream and cuticle oil for aftercare
A quick note: you do not need every tool under the sun. You need patience, softening time, and a gentle hand. Fancy gadgets are optional. Self-control is not.
Method 1: How To Remove Press-On Nails With Warm Water and Oil
This is the best first method for most press-ons, especially if you used adhesive tabs or if your manicure is already starting to loosen on its own.
Step 1: Trim Extra Length if Needed
If your press-ons are very long, clip them down a bit first. That reduces leverage and makes accidental bending less likely while you soak. You do not need to cut them to stubs. Just make them less likely to act like tiny diving boards.
Step 2: Soak Your Nails
Fill a bowl with warm, not painfully hot, water. Add a little soap and a few drops of oil. Soak your fingertips for 10 to 15 minutes. If the nails are still firmly attached, soak longer or repeat the process.
The soap helps break down residue, while the oil adds slip and can help loosen adhesive. This method is gentle, affordable, and less drying than acetone.
Step 3: Gently Lift the Edges
After soaking, use an orangewood stick to gently nudge at the sides of the press-on. Work from the edges, not the center. If the nail does not budge easily, stop and soak again. The correct amount of force here is “barely any.”
Step 4: Slide, Don’t Pry
Once the edge starts to loosen, continue sliding the stick underneath very slowly. The goal is to separate softened adhesive from the natural nail, not to wedge the two apart aggressively.
Step 5: Remove Leftover Adhesive
After the press-on comes off, you may still see glue or sticky residue. Rub a little oil into the nail, then gently buff if needed. Keep the buffing light. Your natural nail is not a hardwood floor.
Method 2: How To Remove Press-On Nails With Acetone
If warm water and oil are not enough, especially with glue-on press-ons, acetone may be the more effective option. It works faster on glue, but it can dry out the nail plate and surrounding skin, so it is best used carefully.
Step 1: Protect the Skin Around Your Nails
Apply a thin layer of petroleum jelly or cuticle oil around the nail folds and fingertips. This can help reduce the drying effect of acetone on the skin.
Step 2: Lightly File the Surface if Necessary
If the press-ons have a glossy sealed topcoat, lightly roughing up the top can help acetone penetrate faster. Keep this step gentle and brief. You are only breaking the shine, not sanding for a home renovation show.
Step 3: Soak Cotton and Hold It in Place
Soak a cotton pad or ball with acetone, place it on top of the press-on, and hold it there. You can also wrap the fingertip with foil if that is easier. Let it sit for 10 to 15 minutes.
Step 4: Check for Loosening
When you remove the cotton, test the edges gently with an orangewood stick. If the press-on is still firmly attached, reapply acetone and wait longer. Do not decide that “close enough” means “time to rip.” It does not.
Step 5: Gently Remove and Clean Up
Once loosened, slide the press-on off carefully. Use a fresh cotton pad and a bit more acetone to dissolve leftover glue if needed. Wash your hands after removal, then follow up immediately with cuticle oil and hand cream.
What Not To Do When Removing Press-On Nails
- Do not rip them off. This is the fastest route to peeling layers off your natural nails.
- Do not force a metal tool underneath. That can gouge the nail plate or injure the skin.
- Do not over-file the natural nail. Glue residue should be softened and gently buffed, not aggressively sanded away.
- Do not soak your whole hands in acetone for long periods. Targeting the nails is better than marinating your fingers.
- Do not keep going if it hurts. Pain is a sign that the adhesive is not ready yet.
How To Remove Leftover Nail Glue Safely
Sometimes the press-on comes off, but the glue decides to stay and start paying rent. Do not panic. Glue residue is common.
Option 1: Oil First
Massage cuticle oil, olive oil, or coconut oil into the nail and let it sit for a few minutes. This may help loosen the residue enough that you can rub some of it away with a soft cloth or wooden stick.
Option 2: Acetone for Stubborn Spots
If oil does not do the trick, dab a little acetone onto a cotton pad and press it over the glue for a short time. Then wipe and repeat as needed.
Option 3: Gentle Buffing
Use a very soft buffer to smooth what remains, but stop as soon as the nail feels even. The goal is to remove residue, not reduce your natural nail to a paper-thin memory.
Aftercare: How To Help Nails Recover After Press-Ons
Removal is only half the story. What you do next determines whether your nails bounce back quickly or stay dry and ragged.
Hydrate Immediately
Apply cuticle oil right away, followed by a rich hand cream. If you used acetone, this step is non-negotiable. Your nails and skin have been through enough.
Keep Nails Short for a Few Days
If your natural nails feel weak, trim them to a manageable length. Shorter nails are less likely to bend or split while they recover.
Use a Strengthening or Protective Treatment
A simple nail strengthener or clear protective coat can help nails look better while they grow out. Choose something gentle and avoid layering on more glue-based products immediately.
Take a Break Before Reapplying
You do not always need a long break, but if your nails feel thin, dry, or sensitive, give them a few days to recover. A bare-nail intermission can be surprisingly helpful.
When To See a Professional
Sometimes at-home removal is not the best idea. Consider professional help if:
- The press-ons feel painfully stuck even after soaking
- Your natural nail starts lifting
- The skin around the nail becomes red, swollen, or tender
- You notice signs of infection, such as increasing pain, discharge, or warmth
- You used a stronger product or gel-based adhesive and are not sure how to remove it safely
There is no prize for suffering through a bad removal session alone at your kitchen table.
Quick Answers to Common Questions
Can I remove press-on nails without acetone?
Yes, often you can. Warm water, soap, and oil may be enough, especially for adhesive tabs or older sets that are already loosening.
Does acetone ruin your nails?
Acetone can be drying, but the bigger issue is usually rough removal. Used carefully and followed by moisture, it can be a practical option for stubborn glue.
Can I reuse press-on nails after removal?
Sometimes, yes. If you removed them gently and did not melt or warp them with too much acetone, many higher-quality press-ons can be cleaned and reused.
How long should I soak press-on nails?
Start with 10 to 15 minutes for warm water and about the same for targeted acetone soaking, then reassess. Some sets need more time. Patience is doing most of the work here.
Common Experiences People Have When Removing Press-On Nails
One of the most common experiences is assuming a loose corner means the whole nail is ready to come off. It is not. A corner may lift because water got underneath, because you bumped it, or because one side of the glue broke down faster than the other. A lot of nail damage happens when people feel that little wiggle and think, “Perfect, time to peel.” Then the center stays stubbornly attached and takes part of the natural nail along for the ride. That moment usually leads to regret, followed by aggressive hand lotion application and a promise to “never do this again,” which lasts until the next cute nail set appears online.
Another common experience is discovering that removal depends heavily on the application method. People who used adhesive tabs often describe the process as surprisingly easy. After a soak in warm soapy water with a little oil, the nails begin loosening at the sides and can often slide off with minimal effort. People who used nail glue usually tell a different story. Those sets can feel solid for days, which is great for wear time but less fun during removal. The lesson most people learn is that stronger hold means slower removal, not stronger pulling.
Many people also notice that acetone is not the villain, but impatience is. The nails that come off most cleanly are usually the ones that were allowed enough time to soak. When people rush, they tend to alternate between prying, filing, muttering, and making dramatic life choices. When they slow down, re-soak, and let the adhesive actually soften, the removal is usually much smoother. It is not glamorous, but neither is having flaky nail layers for the next two weeks.
A very relatable post-removal experience is the sticky glue leftovers that refuse to leave peacefully. This can make people think they did something wrong, but a little residue is normal. The smarter approach is to soften it with oil or a bit of remover, then gently buff only what remains. People who scrub, scrape, or over-file in this stage often create more damage than the press-ons did in the first place. The natural nail is delicate after removal, so this is the moment to be gentle, not heroic.
Finally, lots of press-on users say the biggest improvement in their routine came from aftercare. Once they started using cuticle oil, hand cream, and short breaks between sets, their nails looked healthier and felt stronger. In other words, the best press-on removal experience is usually not about a secret hack. It is about using the right method, giving it enough time, and treating your natural nails like they have to live with you long after the fake ones are gone.
Final Thoughts
If you remember only one thing from this guide, let it be this: the safest way to remove press-on nails is to soften the adhesive first and never force the nail off. Warm water and oil are a great starting point, acetone can help with stubborn glue, and aftercare matters more than many people realize.
Press-ons are supposed to be a fun beauty shortcut, not a nail-bed revenge plot. Remove them slowly, moisturize generously, and your natural nails can stay in good shape for the next manicure, the next meeting, or the next moment you impulsively order a shiny almond-shaped set at midnight.